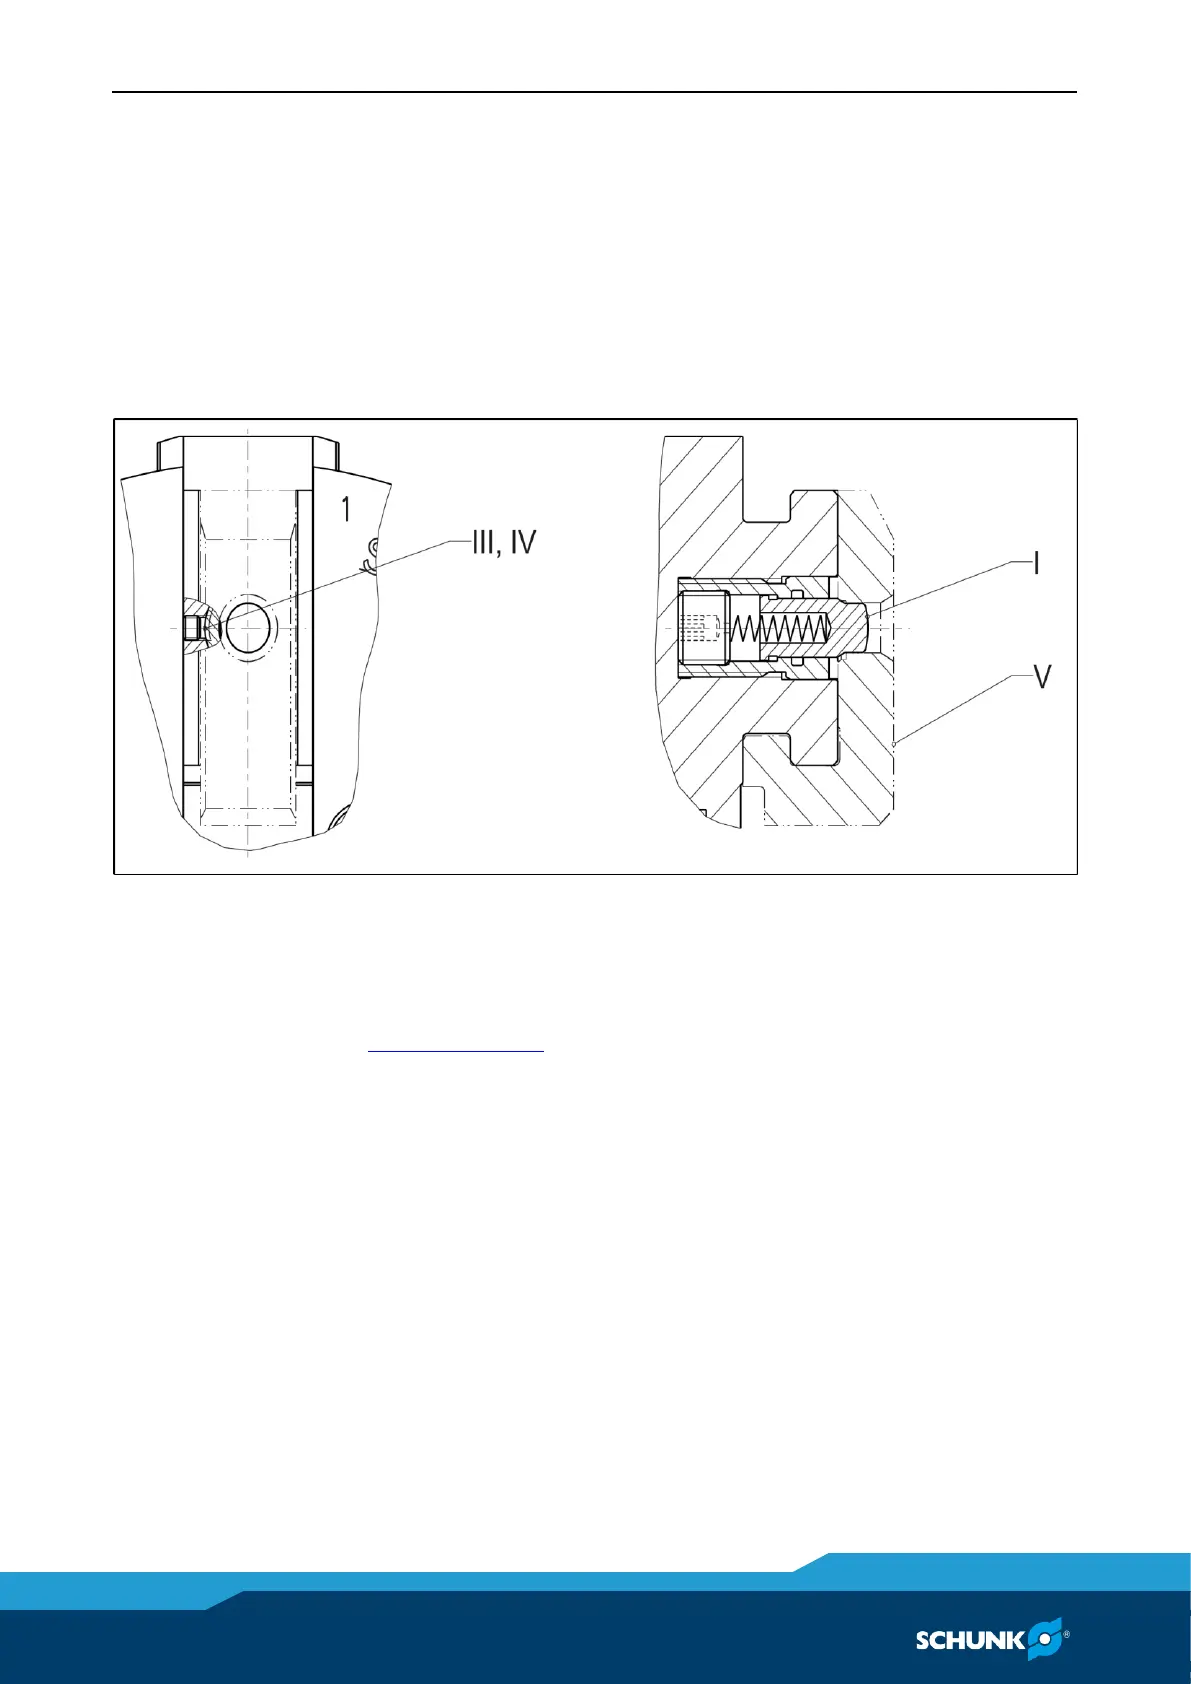
Rapid quick change with cartridge pin (See Fig. 3):
I: Cartridge quick change
III, IV: Set-screw with soft washer
V: Chuck jaws
The chuck jaw (V) can be changed if the pin of the cartridge (I) is
depressed with a punch or screwdriver. The quick change is
suitable for O.D. and I.D. clamping.
Figure 3
Disassembly and assembly of the Chuck
To disassemble the chuck, it must be removed.
( 7.3, Page 29)
• Remove the screws (Item 28) and use the press-off threads to
press off the center sleeve (Item 4) from the chuck body (Item
1) and then remove it entirely.
• Mark the position of the mount (Item 7) to the chuck body
(Item 1).
• Loosen the screws (Item 29) a few turns and tap the screw
heads lightly with a rubber hammer. This releases the mount
(Item 7) from the centering device of the chuck body (Item 1).
Remove the screws and the mount.
• Remove the levers (Item 10) from the chuck body (Item 1)
(ROTA NCF plus 2 only).
• Remove the locking pins (Item 11) from the chuck body (Item 1)
(ROTA NC plus 2 only).
 Loading...