Installation ST144-21 C/Ku-Band TVRO
3-6
3.4.3.
Refer to the Radome Assembly drawing for your system and the procedure below. It is best to have at least
TWO people sub-assembling the radome, one working from the inside and the other outside. Sub-assemble
the sections of the radome on a clean, flat location that is free of rocks & debris (ie concrete) to assure a
horizontal alignment of the panels.
Sub-assemble the 168” Radome Assembly
NOTE: Unless otherwise indicated, all nuts and bolts should be assembled
with Loctite 242 or its equivalent.
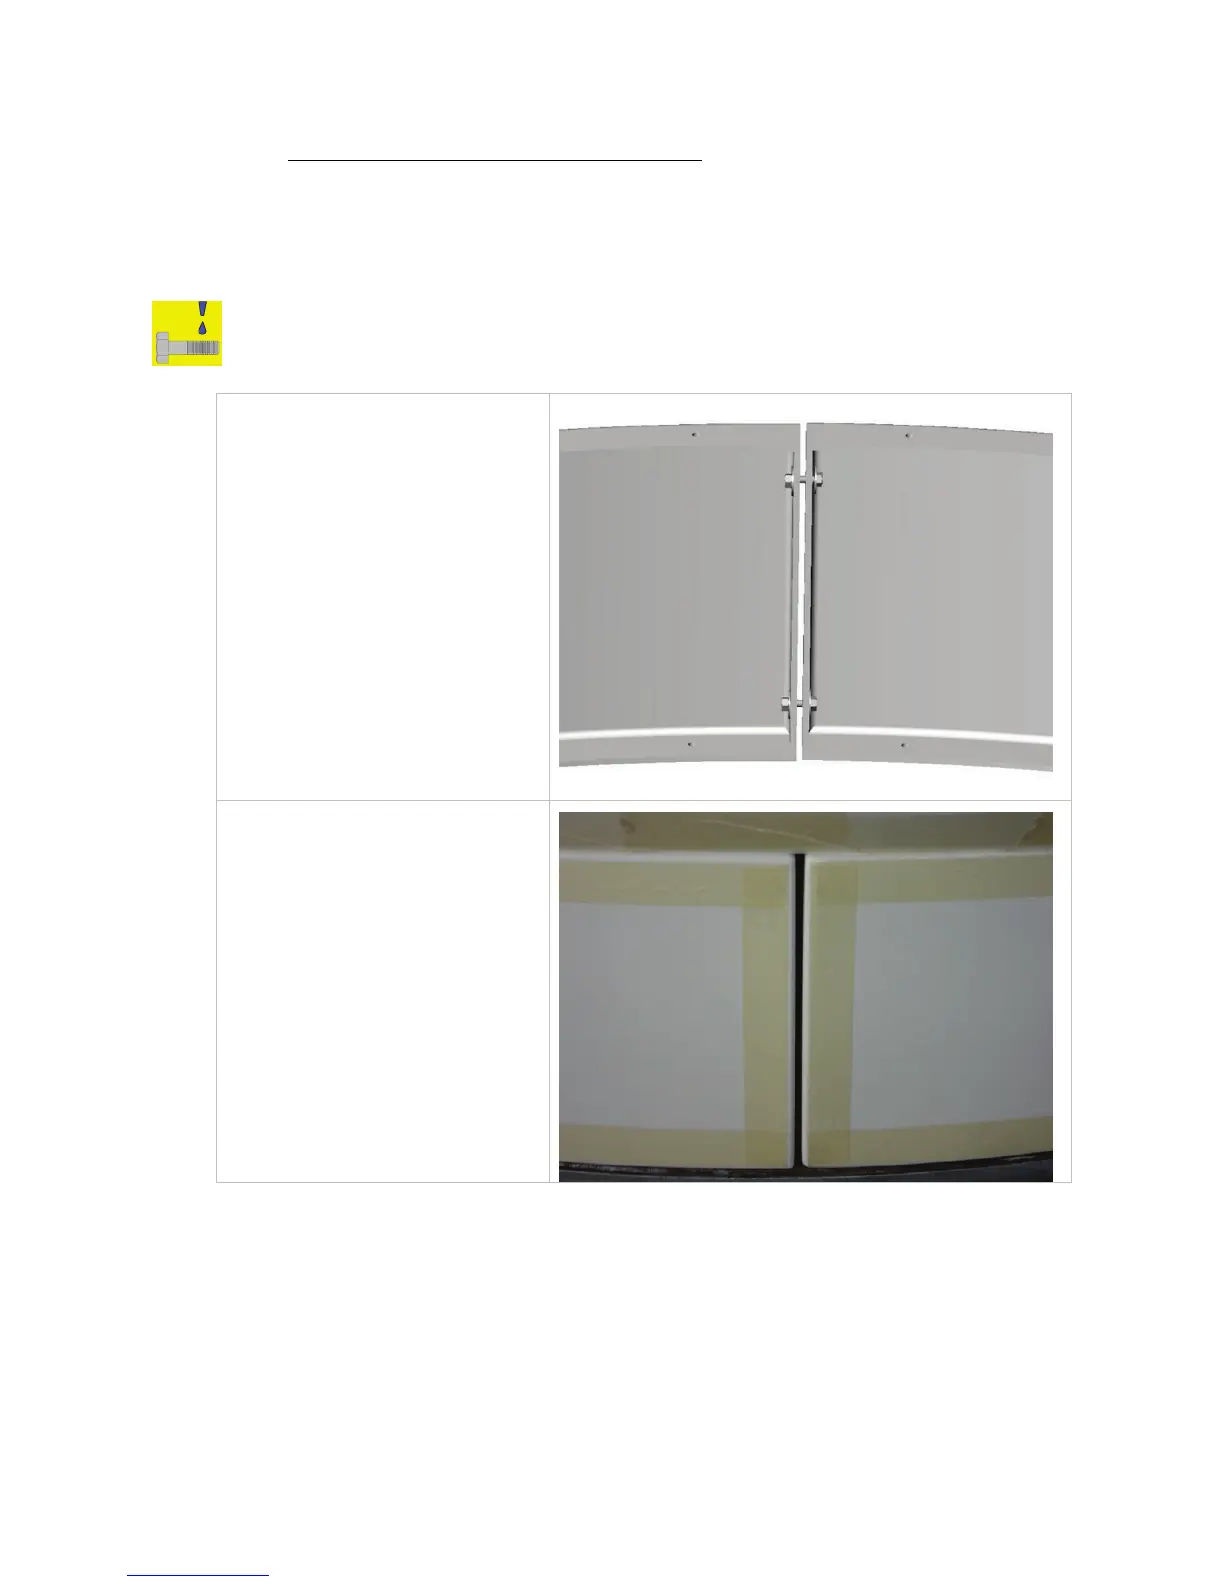
1. Loosely assemble the 8 riser
panels using the hardware
provided. Do NOT tighten the
bolts at this time. You may
want to set this sub-assembly
on the base pan to provide
good horizontal alignment of
the panels. Good alignment
of the bottom edge of the
panels is important for good
seal on the base pan.
2. To provide a clean caulked
seam all around the panels:
apply painters masking tape
to the outside perimeter of
each of the panels about ¼ “
from the top, bottom, left and
right edges at each flange
joint. The tape will be
removed just before the
radome caulking has had time
to set. Messy, smeared,
caulking will make the outside
of the radome look bad.
 Loading...