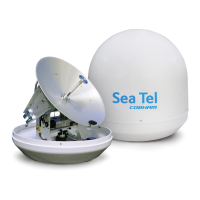
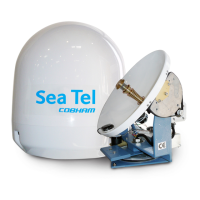
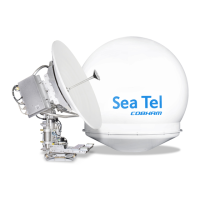
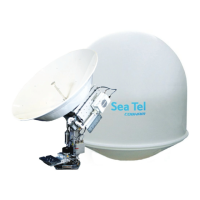
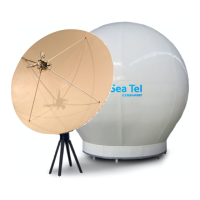
Installation ST144-21 C/Ku-Band TVRO
3-24
3.9.2.
To Connect AC Power, Gyro Compass Connection and IF Input refer to the Antenna Control Unit manual.
Installation of optional (remote) Pedestal, and /or Radio, Monitor & Control connection(s) from a PC
Computer are also contained in the ACU manual.
ACU & TMS
3.9.3.
Refer to the vendor supplied manuals for installation of the other below decks equipment.
Other BDE Equipment
3.10. Power-Up
Verify that all shipping straps and restrains have been removed prior to energizing the antenna.
When all equipment has been installed, turn ACU Power and Antenna power ON. The ACU will initially sequentially
display:
“SEA TEL – MASTER and DAC-2202 VER 6.xx” followed by,
“SEA TEL – RCVR and SCPC VER 5.xx” followed by,
“SEA TEL – IO MOD and COMMIF VER 1.xx” followed by,
“SEA TEL – REMOTE and INITIALIZING”. After initialization, the bottom line of the remote display will display
the antenna model number and the software version from the PCU.
Energize and check the other Below Decks Equipment to verify that all the equipment is operating. You will need to
assure that the ACU is setup correctly and that the antenna acquires the correct satellite before you will be able to
completely check all the below decks equipment for proper operation.
3.11. Power-Up The ADE
Turn Pedestal AC power breaker ON.
3.11.1.
Turn the pedestal power supply ON. The PCU will initialize the stabilized portion of the mass to be level with
the horizon and at a prescribed Azimuth and Elevation angles. The antenna will go through the specific
sequence of steps to initialize the level cage, elevation, cross-level and azimuth to predetermined starting
positions. Each phase must complete properly for the antenna to operate properly (post-initialization). Refer
to the initialization text in the Troubleshooting section in this manual. Observe the Initialization of the
antenna pedestal.
Initialization
If any of these steps fail, or the ACU reports model "xx97", re-configure the PCU as described in the Setup
section of this manual. If initialization still fails, this indicates a drive or sensor problem, refer to the
Troubleshooting section.
3.11.2.
Note the approximate position of the antenna relative to the bow of the ship while it is at the home switch
position. This information will be used later to calibrate the relative position display of the antenna.
Home Flag Position
3.11.3.
Turn Power ON to the ACU. Record the power-up display, Master (ACU) Model & Software version and the
Remote (PCU) Model & Software version.
BDE
3.11.4.
The antenna and equipment frame are balanced at the factory however, after disassembly for shipping or
maintenance, balance adjustment may be necessary. The elevation and cross-level motors have a brake
mechanism built into them, therefore, power must be ON to release the brakes and DishScan® and
antenna drive must be OFF to balance the antenna. . Do NOT remove any of the drive belts. Balancing
is accomplished by adding or removing balance trim weights at strategic locations to keep the antenna from
falling forward/backward or side to side. The antenna system is not pendulous so 'balanced' is defined as the
antenna remaining at rest when left in any position.
Balancing the Antenna
The “REMOTE BALANCE” parameter (located at the end of the Remote Parameters after REMOTE TILT) of the
ACU. When enabled, Remote Balance Mode temporarily turns DishScan, Azimuth, Elevation and Cross-Level
drive OFF. This function is required when trying to balance antenna systems that have a built-in brakes on
the elevation and cross-level motors.
 Loading...