SET-UP
sbl2006-002-101_b
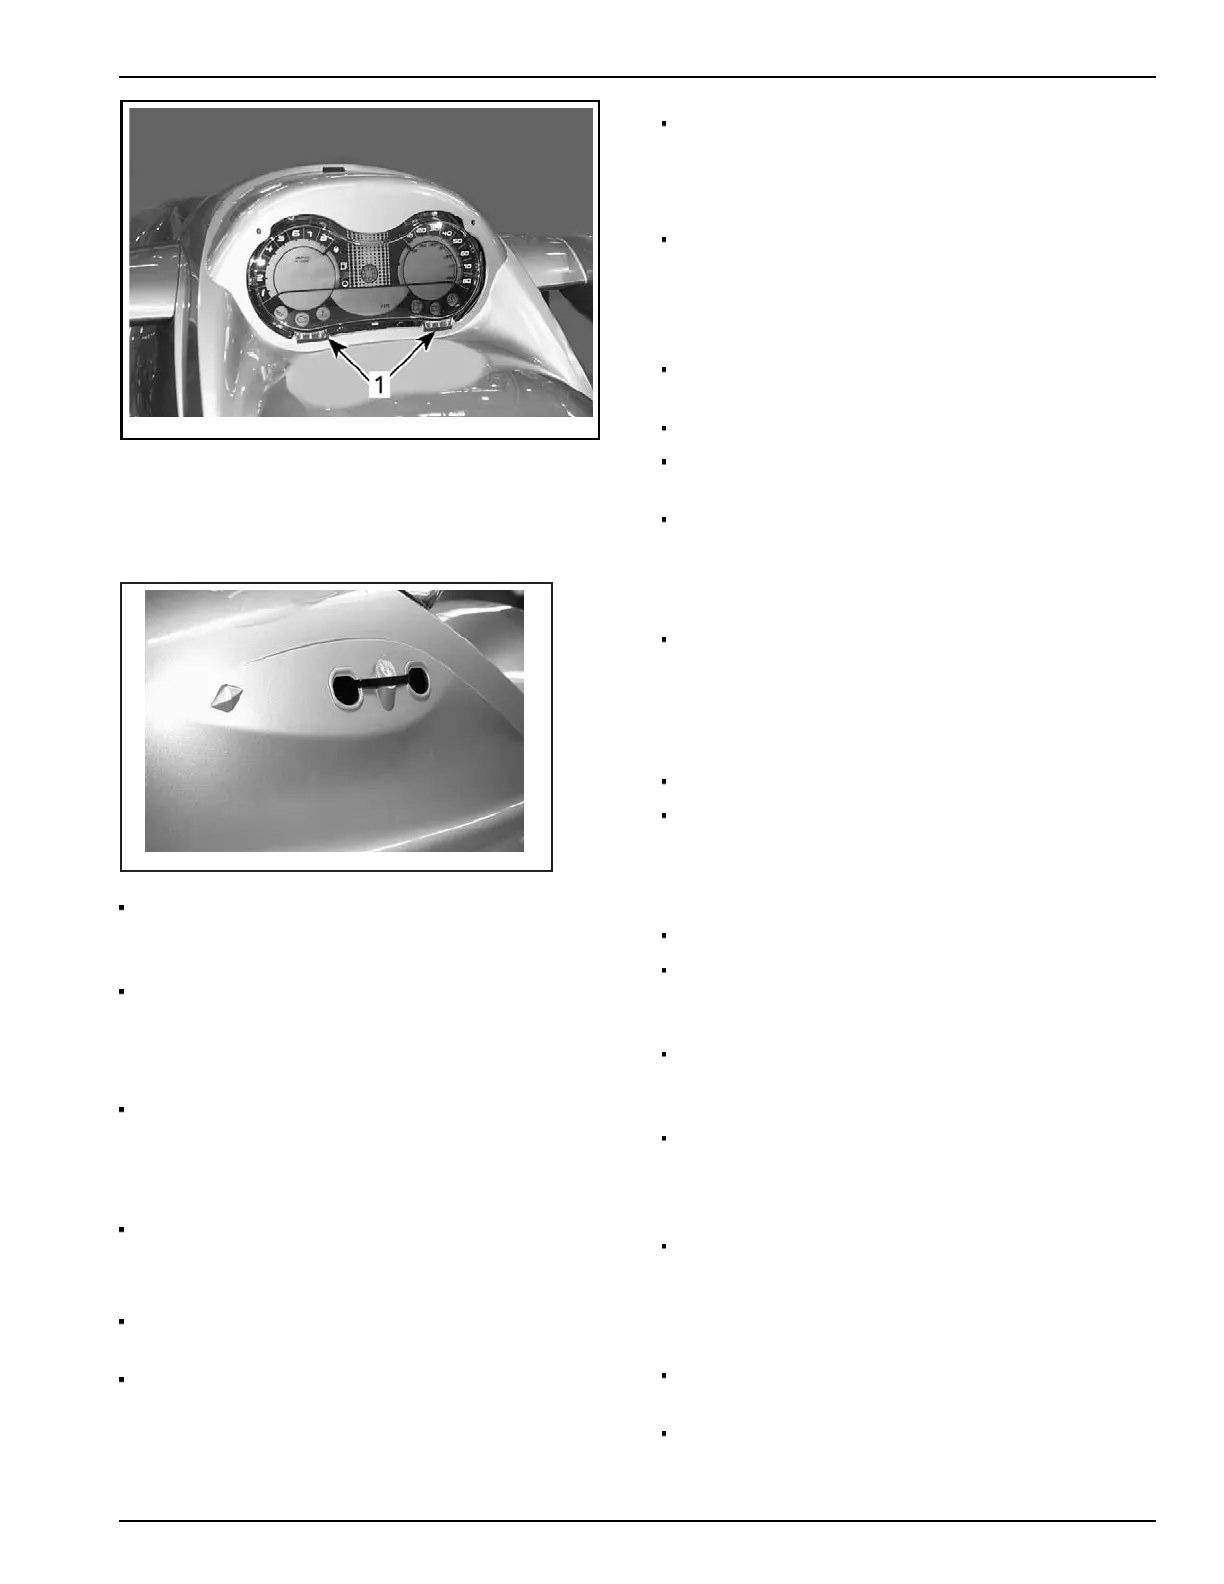
NOTE: At 2 places at bottom of cluster, rubber
shims [1] are folded on body for a tight fit; care
should be ta
ken not to lose those shims so they
are reused when reinstalling cluster.
F19L236
On some models, it is required to cut the
locking tie retaining support plate to front
storage cover or to mirror.
Insta
ll rear view mirrors on both sides.
NOTE: Install left and right mirrors so that
inscription “OBJECTS IN MIRROR ARE CLOSER
THAN THEY APPEAR” is in upright position.
Secure each mirror with:
– 2 M8 x 120 hexagonal bolts and
– 2 M8 stainless steel flat washers, all from
predelivery kit .
Torqueto5N•m(44lbf•in).
NOTE: To ensure a correct installation, torque rear
bol
ts (closest to mirror) before front ones.
Reconnect instrument cluster and secure
back in place using same screws.
Torque screws to a MAXIMUM of
1.5N•m(13lbf•in).
— Models WITH the cluster bezel
al
ready installed —
Reinstall instrument cluster bezel simply by
pushing it in so it snaps back in place.
— Models WITHOUT the cluster bezel
already insta
lled —
Bezel is in mirror bag; install instrument cluster
bezel simply by pushing it in so it snaps in place.
Model(s): GTI SE
(International Only)
Pull out temporary plastic fasteners, 2 retaining
pod and 2 reta
ining glove box.
Set glove box aside.
Align mirro
r support inside pod to install
each side mirror.
Secure each mirror with:
– 2 M8 x 120 socket head bolts and
– 2 M8 stainless steel flat washers, all from
predelivery kit .
Insert rearward screw through mirror support
hole and in mirror and tighten manually.
NOTE: Ins
tall left and right mirror so that the
inscription “OBJECTS IN MIRROR ARE CLOSER
THAN THEY APPEAR” is in upright position.
Insert forward screw and tighten manually.
Without touching mirrors, complete tightening
both mirrors in the following sequence:
–leftre
ar screw then right rear;
– left front screw then right front.
Torqueto5N•m(44lbf•in).
Reinstall pod in place and insert 6 new rivets
(from
predelivery kit ) in their respective
holes; do not pop yet.
Reinstall box in place and insert 4 new rivets
(from predelivery kit ) in their respective
hole
s; do not pop yet.
Secure mirror support using M10 stainless
steel flat washer and M10 x 40 socket head
screw from predelivery kit ; start screwing only
to g
rab threads; do not torque yet.
Pop all rivets, box's and pod's and then, tighten
mirror support screw. Torque to 8 N•m (71 lbf•in).
Model(s): GTI std and GTI std R International
Only
Insert 6 new rivets (from predelivery kit ) i n their
re
spective holes, in pod; do not pop yet.
Insert 4 new rivets (from predelivery kit ) i n their
respective holes, in box; do not pop yet.
Predelivery 2007-2 7 / 22