9JDL V1.0 8 2022
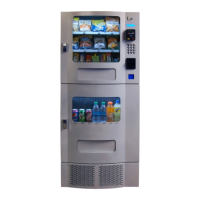
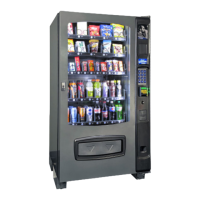
The Beverage Unit has a live product display that is lit by LED lighng. Locate the LED Light harness, Figure 5,
on the inside of the Beverage Unit Door. Insert the LED Light harness up through the Snack Unit as done for the
other connecons. Connect the LED Light harness to the corresponding connector.
Reinsert the Styrofoam piece for maximum insulaon of the refrigeraon unit.
Figure 5-Beverage
Display LED Light
Harness; insert
through
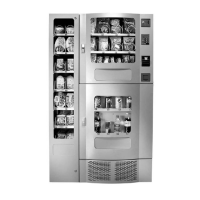
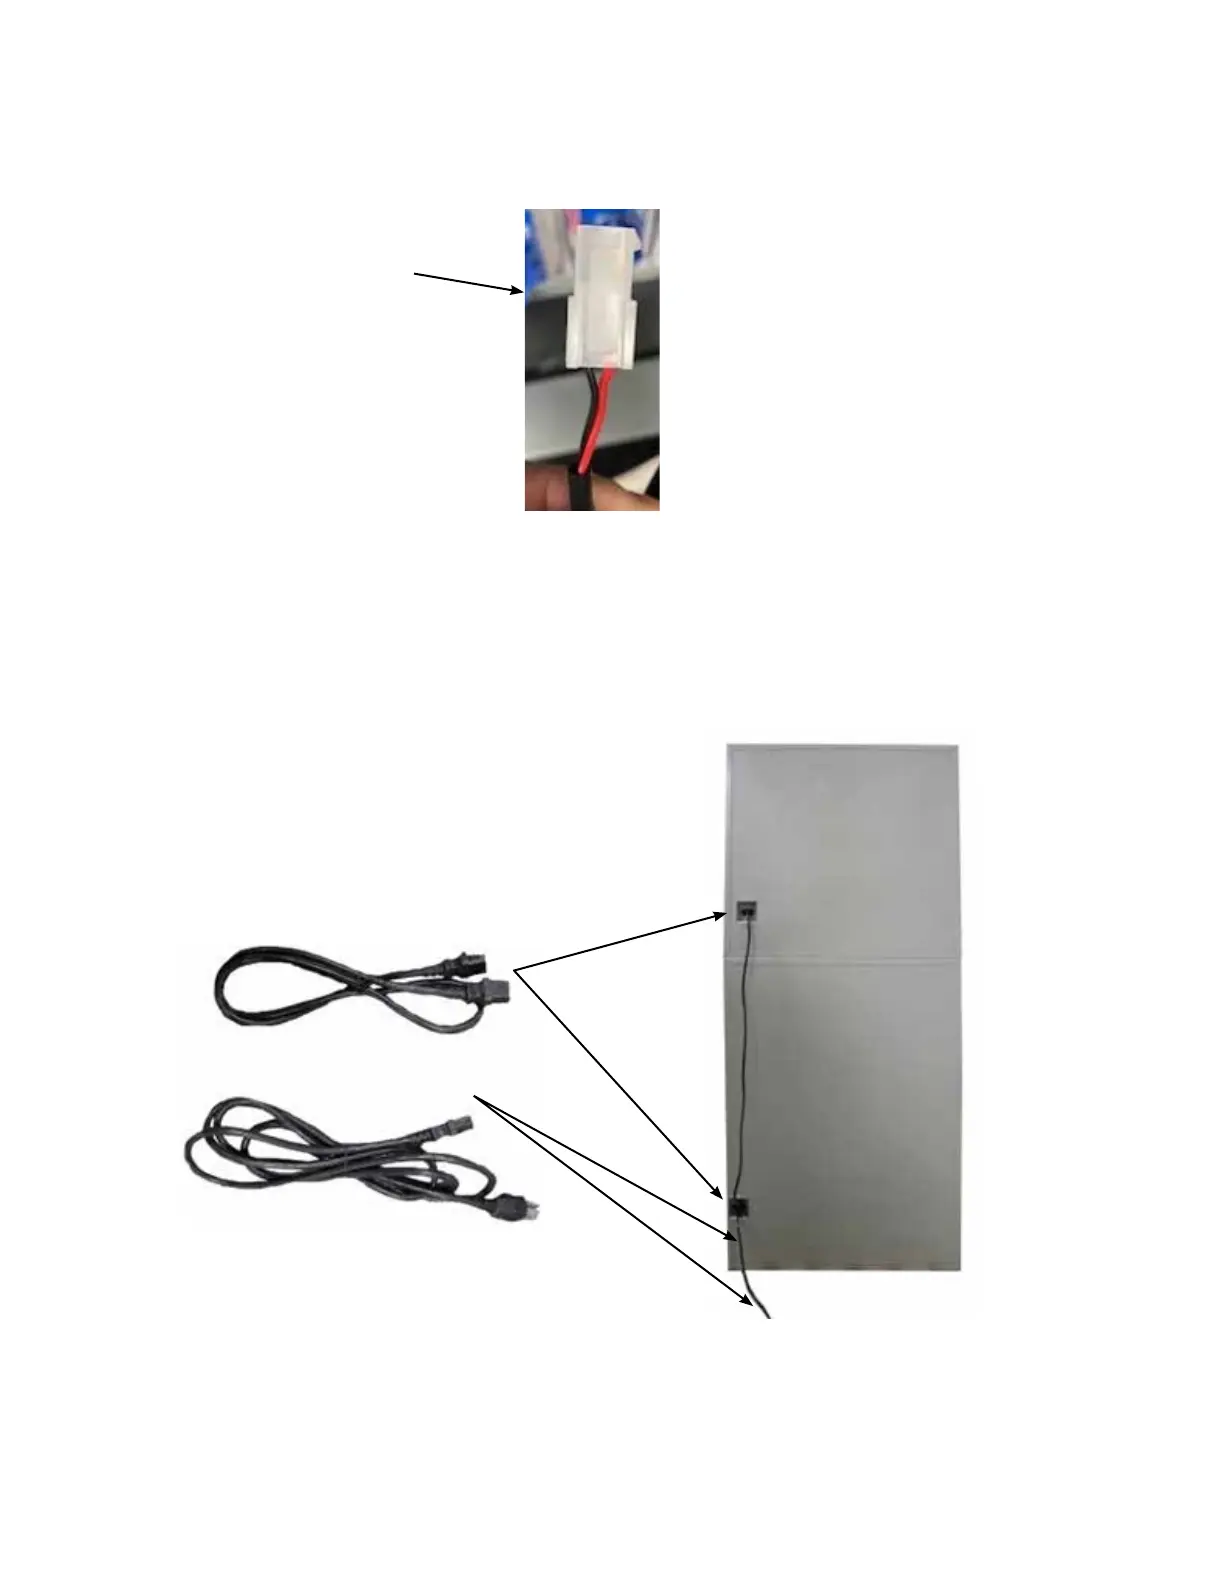
Connect the snack unit to the beverage unit with the jumper power cord. Posion cord cover over the jumper
cord and aach with four(4) screws into holes provided while ensuring the cord is not pinched or trapped
between the cover and the cabinet. The cord cover is not necessary for the operaon of the machine, but it
does protect the cord and make the machine more aesthecally pleasing.
Then connect the beverage unit power cord to wall socket with power. Using a power strip is recommended.
CAUTION: to avoid risk of electrical shock, the power to the wall socket should be made last of all connecons.
Figure 6 – Main Power Connecon
Jumper Cord – FIRST connect
Snack to Beverage
Power Cord – connect
Beverage to wall socket LAST