Installing an NVMe SSD Expansion Drive
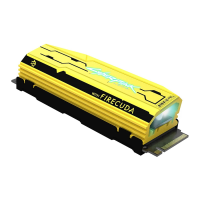
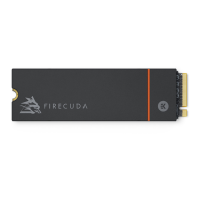
Upgrade your FireCuda Gaming Dock with premium performance flash storage. Seagate recommends the
FireCuda NVMe SSD.
Review the precautions below before installing your NVMe SSD to avoid damaging it. Safely eject the
FireCuda Gaming Dock volume in the operating system and disconnect its cable from your computer.
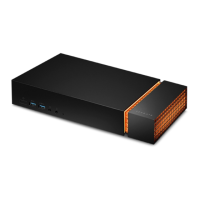
For your safety, removing the end cap automatically powers off FireCuda Gaming Dock.
Remove the end cap
Gently pull on the end cap to loosen and remove it.
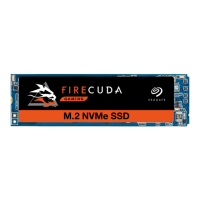
FireCuda Gaming Dock supports 2280 sized M.2 NVMe SSDs. Note that M.2 SATA SSDs with a
2280 size are not supported.
Precauons
Your drive may be exposed to handling and electrostatic discharge (ESD) hazards after unpacking.
Observe the following precautions:
Keep the NVMe SSD in the electrostatic discharge (ESD) bag until ready for installation to
limit the drive’s exposure to ESD.
Make sure FireCuda Gaming Dock is turned off and unplugged before removing the end cap.
Wear a properly grounded anti-static wrist strap throughout the entire installation procedure.
Wrist strap not included.
Handle the NVMe SSD by its edges or frame only. Do not touch the connector pins or the
printed circuit board. Rest the NVMe SSD flat on a padded anti-static surface until mounting
it.