TIP: Once you've tightened the
nuts on the tees, mark them with
a permanent marker as shown in
figure 3-6. This makes it easy
to inspect them for tightness
later.
3-8
© 2017 SeaStar Solutions i7700 Installation Supplement, Rev. B
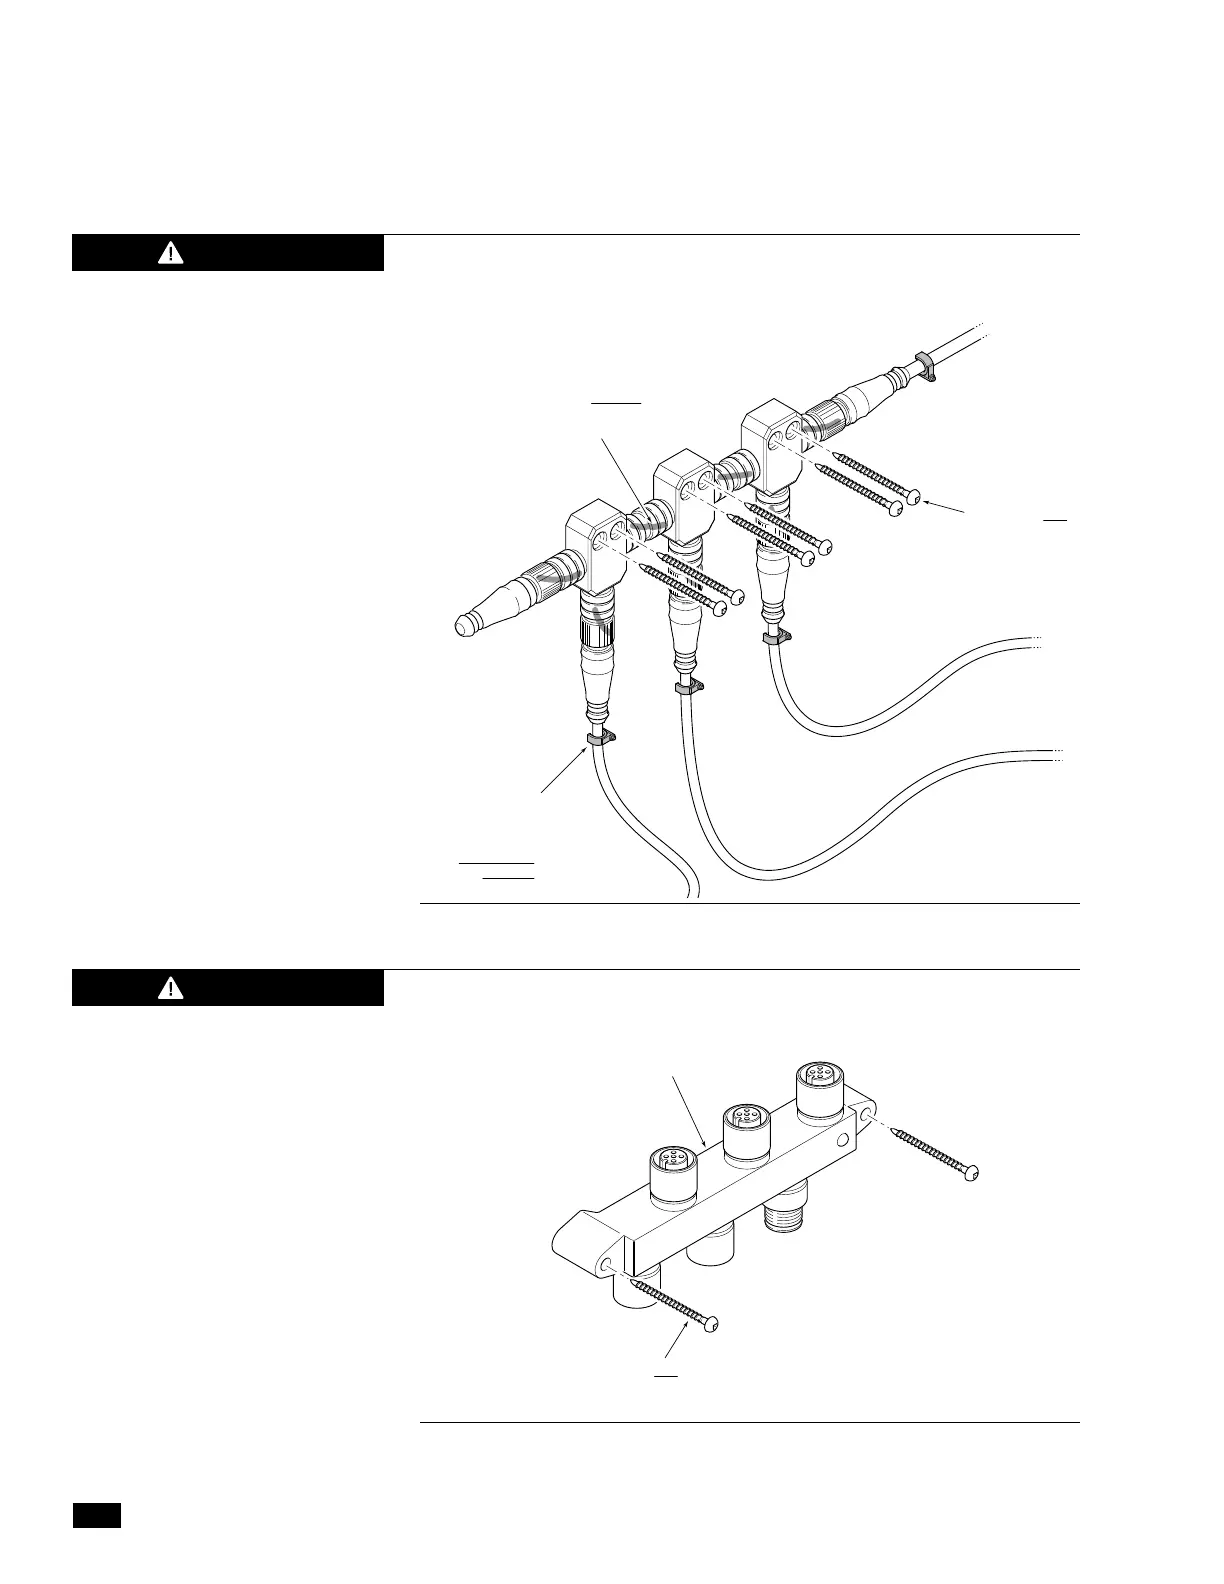
SCREWS IN ALL
MOUNT HOLES
CM20064
Figure 3-7. Alternative CAN2 6-port hub connection (available separately).
Figure 3-6. Correct CAN2 tee installation example.
FAILURE TO SECURE HARNESS MAY RESULT IN HARNESS WEAR,
CAUSING LOSS OF THROTTLE CONTROL, PROPERTY DAMAGE,
PERSONAL INJURY AND/OR DEATH.
WARNING
SCREWS IN ALL
MOUNT HOLES
NOTE: TEES MAY NOT LOOK
EXACTLY AS SHOWN
EACH CABLE
APPROPRIATELY
SECURED AND
STRAIN RELIEVED
CLOSE TO TEES
NO PULLING
ON TEES
ALL NUTS DOUBLE
CHECKED FOR TIGHTNESS
AND MARKED
CAUTION
Do not connect anything other than SeaStar components to the
CAN2 network.

 Loading...