GETTING STARTED
The purpose of this section is to get you started with the 3610 DGNSS receiver as
quickly as possible.
When the receiver is supplied to you, it will be configured with default factory settings.
This means that you need to configure the receiver and get a subscription before it
can deliver useful corrections. In addition, you also need to connect the appropriate
cables and apply power to the receiver (and antenna).
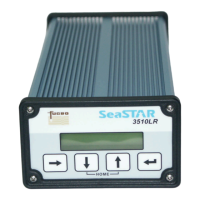
There are six buttons on the keypad; ESC , , , and (Enter) (see figure 5).
The button is used to confirm user input and settings. It is also used to select a
page. The ESC button is used to exit pages without changing settings, while the
arrow buttons are used to turn pages and to set parameters.
Initial setup
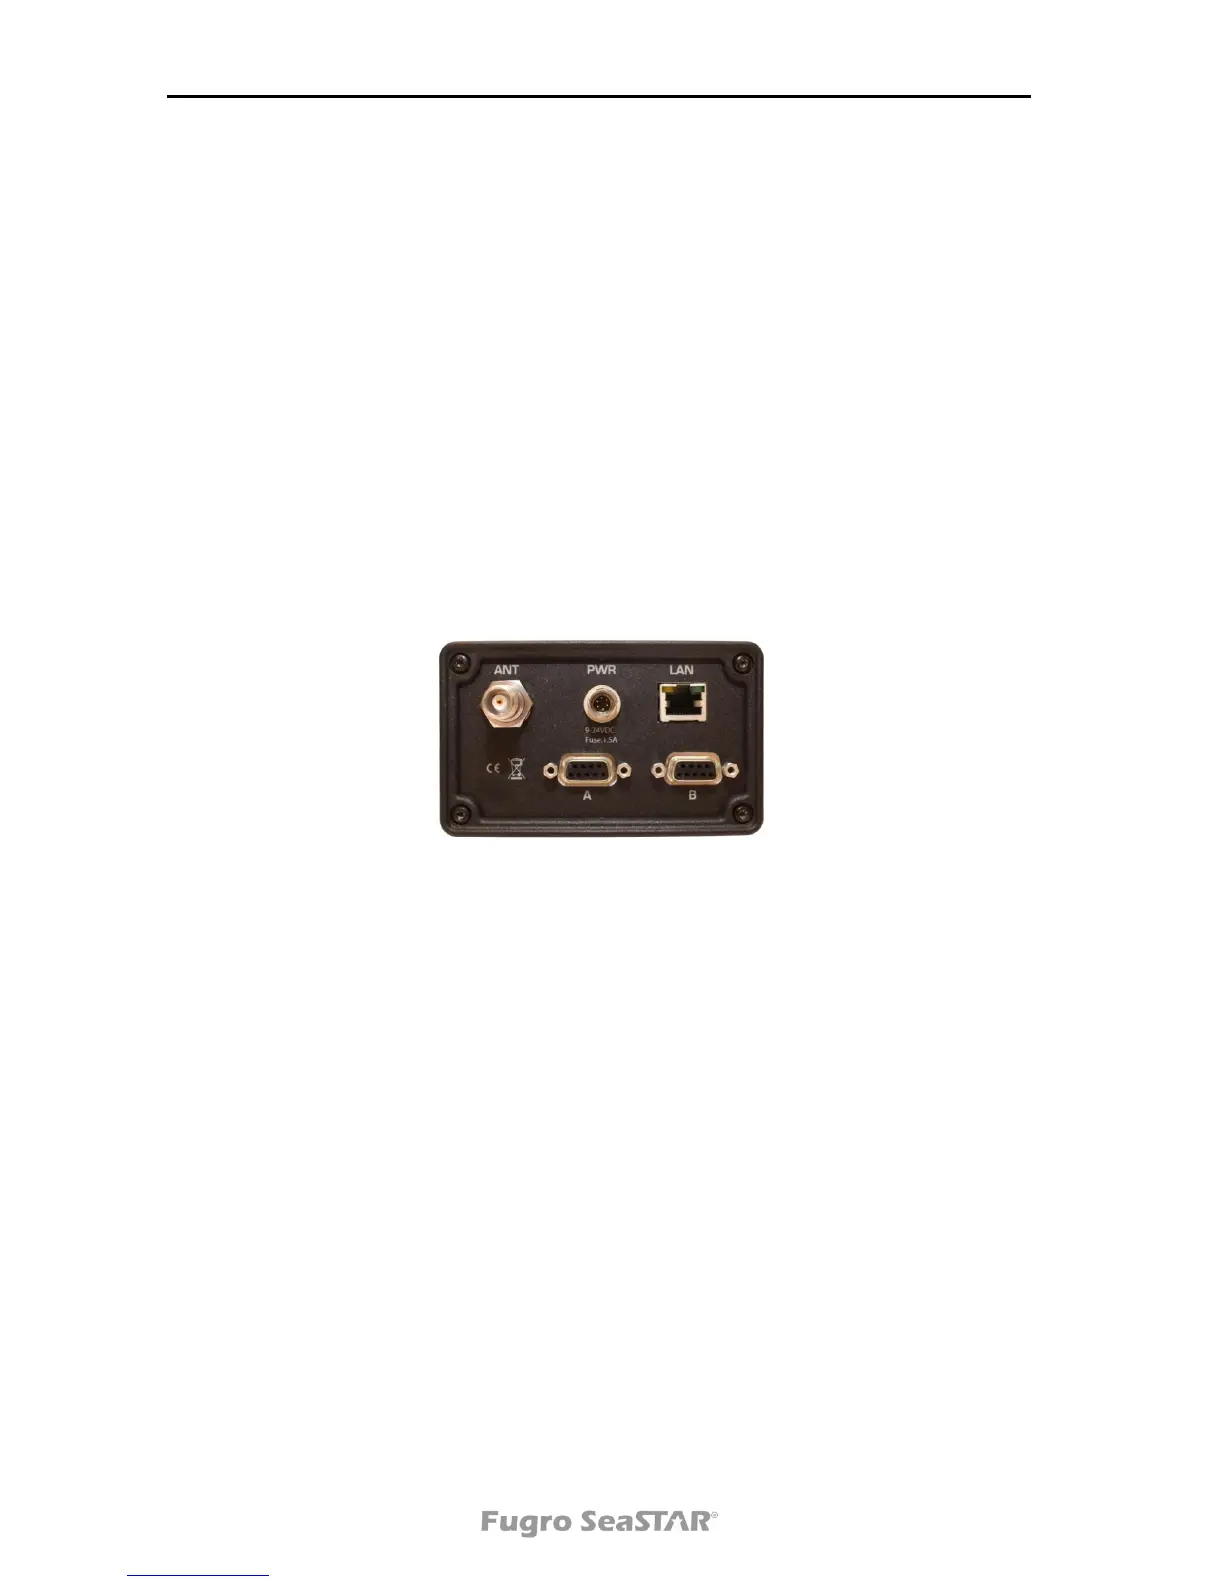
Figure 1. Rear View of 3610 DGNSS receiver
1. Install the DGNSS antenna in such a way that it has a clear view of the sky in the
direction of the satellite (see also page 25). Refer to the NCC in your region for an
azimuth/elevation chart for the satellite service you have subscribed to.
2. Connect the DGNSS antenna cable between the DGNSS antenna and the 3610
DGNSS receiver (ANT connector at rear panel).
3. Connect the power cable to a suitable 9-24 VDC power supply. Check correct
polarity. This will power on the unit. We recommend using the supplied power
supply.
4. Configure the 3610 DGNSS receiver to acquire the DGNSS signal. This can be
done in the following ways:
a). By selecting the service directly in the Set Pos/Ch menu (see page 16) or
b). By entering the frequency and symbol rate directly into the Set Pos/Ch menu
(see page 16).
 Loading...