7-3-5 CONTROLLER ADJUSTMENT
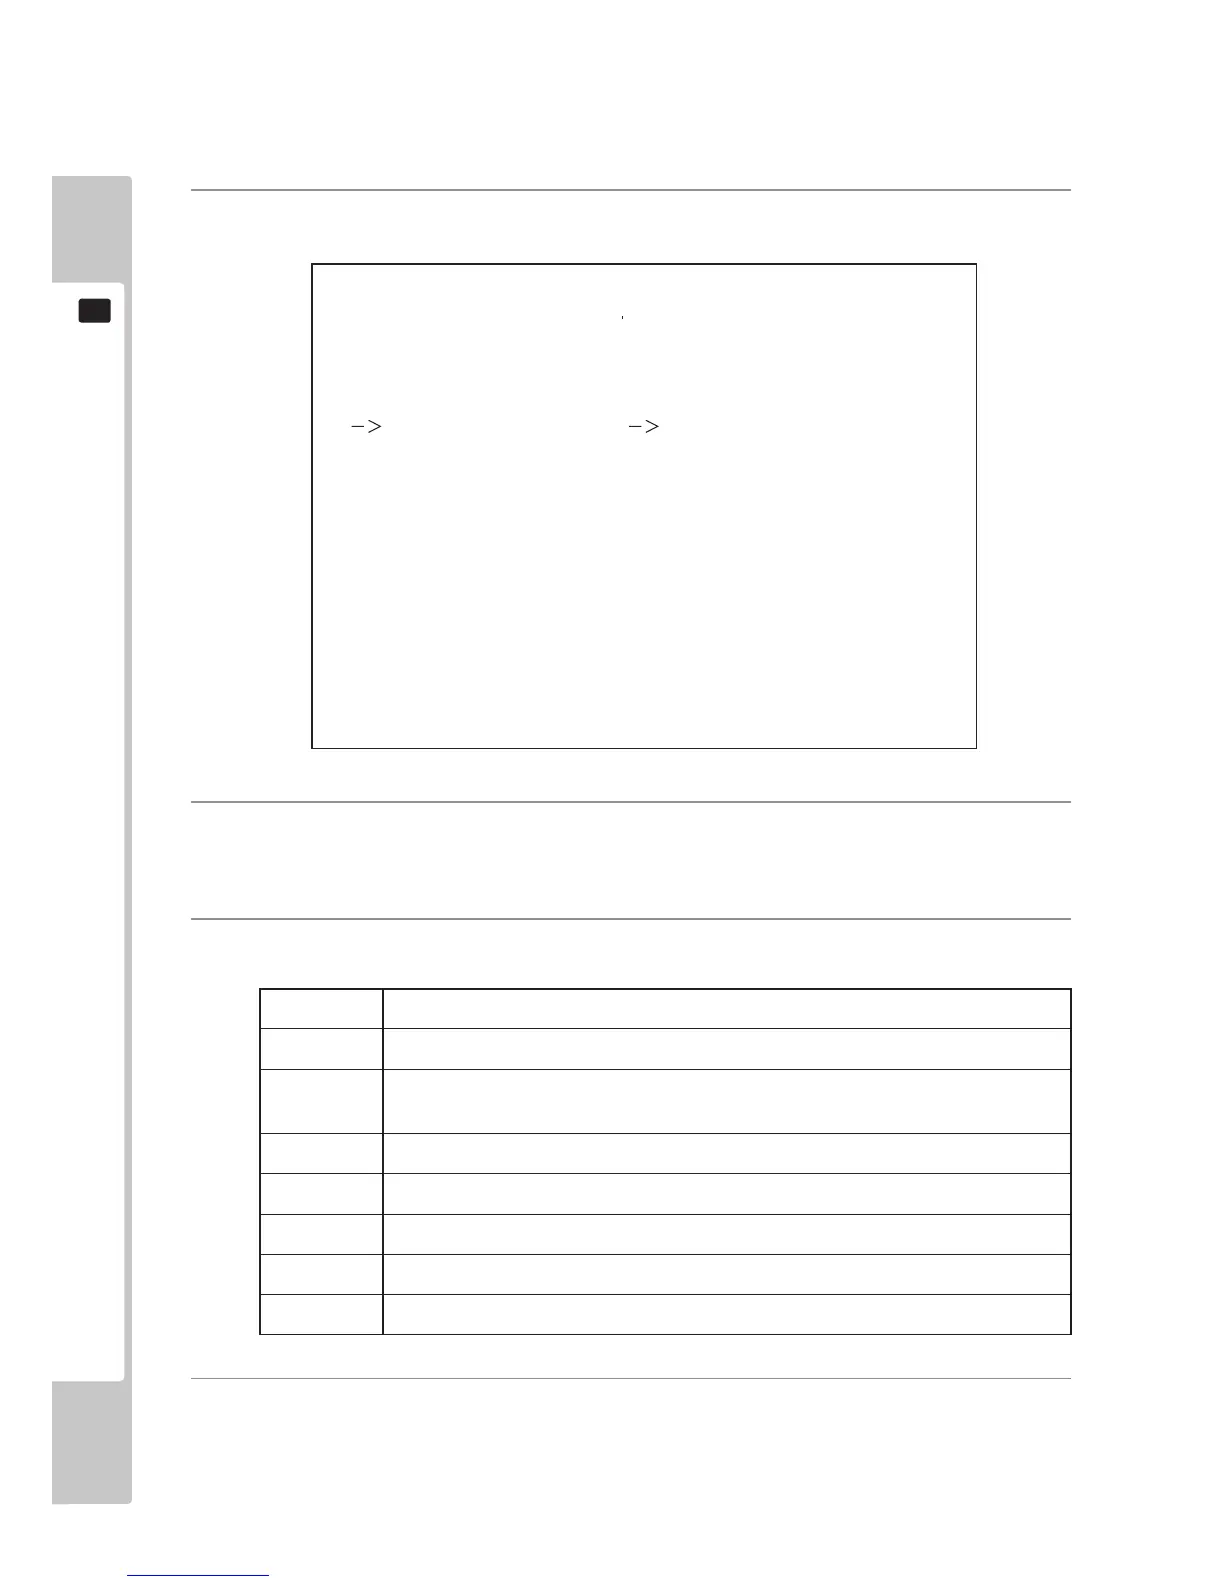
This screen allows for the adjustment of the controller’s crosshair settings which are used during game play.
1
On the GAME TEST MODE screen, select CONTROLLER ADJUSTMENT and press the TEST Button.
The CONTROLLER ADJUSTMENT screen appears.
3
Each item is explained below.
TOP Sets the top correction value for the up and down direction.
LEFT Sets the left side correction value for the left and right direction.
CENTER
Sets the center correction value. CENTER X is for the left and right direction, and
CENTER Y is for the up and down direction.
RIGHT Sets the right side correction value for the left and right direction.
BOTTOM Sets the bottom correction value for the up and down direction.
DEFAULT Sets the value for the player detection position to the default setting.
CANCEL Returns the values to the previous settings.
CHECK Checks the detection position.
4
When all setting adjustments are completed, select EXIT and press the TEST Button. The GAME TEST
MODE screen reappears.
9-3-5 FIG. 01
2
Press each player’s START button and move the cursor to select an item, then press the TEST Button to test
the item.
CONTROLLER ADJUSTMENT
SELECT WITH START BUTTON
AND PULL TRIGGER
PRESS TEST TO EXIT
PLAYER 1
OLD NEW
TOP ** **
LEFT ** **
CENTER X ** **
CENTER Y ** **
RIGHT ** **
BOTTOM ** **
DEFAULT
CANCEL
CHECK
PLAYER 2
OLD NEW
TOP ** **
LEFT ** **
CENTER X ** **
CENTER Y ** **
RIGHT ** **
BOTTOM ** **
DEFAULT
CANCEL
CHECK
+
+
+ +
+



 To Next Page