-79-
5.
Loosen the cartridge case fi xing screw, move the cartridge case according to the
desired printing position, and tighten the screw to secure it.
* The scale on the positioning sticker indicates the printing position from the edge
of the paper. The printing position is determined by aligning the cartridge case
fi xing screw with the scale on the sticker.
Fixing screw
Cartridge case
Positioning sticker
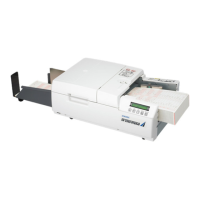
6.
If the printing position is properly aligned, install the printer in the stacker unit.
7.
Tighten the printer fi xing screw and connect the printer connector.
Fixing screw
Connector
Printer
Options Stacker unit
Printing position adjustment
SR-3565(E).indd79SR-3565(E).indd79 2007-8-1610:20:552007-8-1610:20:55
 Loading...