36
37Effects
Sequential Prophet Rev2 User’s Guide
Effects
Effects
The Prophet Rev2 allows you to add an effect to any sound. In stacked or split
sounds, each layer can have its own effect.
Adding a touch of reverb or delay can add a subtle (or not so subtle)
sense of ambience and depth. Other effects such as the chorus and phaser
are useful for adding more obvious tonal enhancement and are also
useful for emulating classic instruments such as string synthesizers.
While the effects themselves are digital, the main signal path of the
Prophet Rev2 is analog. The on/ off switch enables and disables an
effect, ensuring an analog signal path when off.
Effects settings are saved individually with each program. Time-based
effects such as the delays can be synchronized to the arpeggiator, sequencer,
or MIDI clock to produce repeats that occur on the beat.
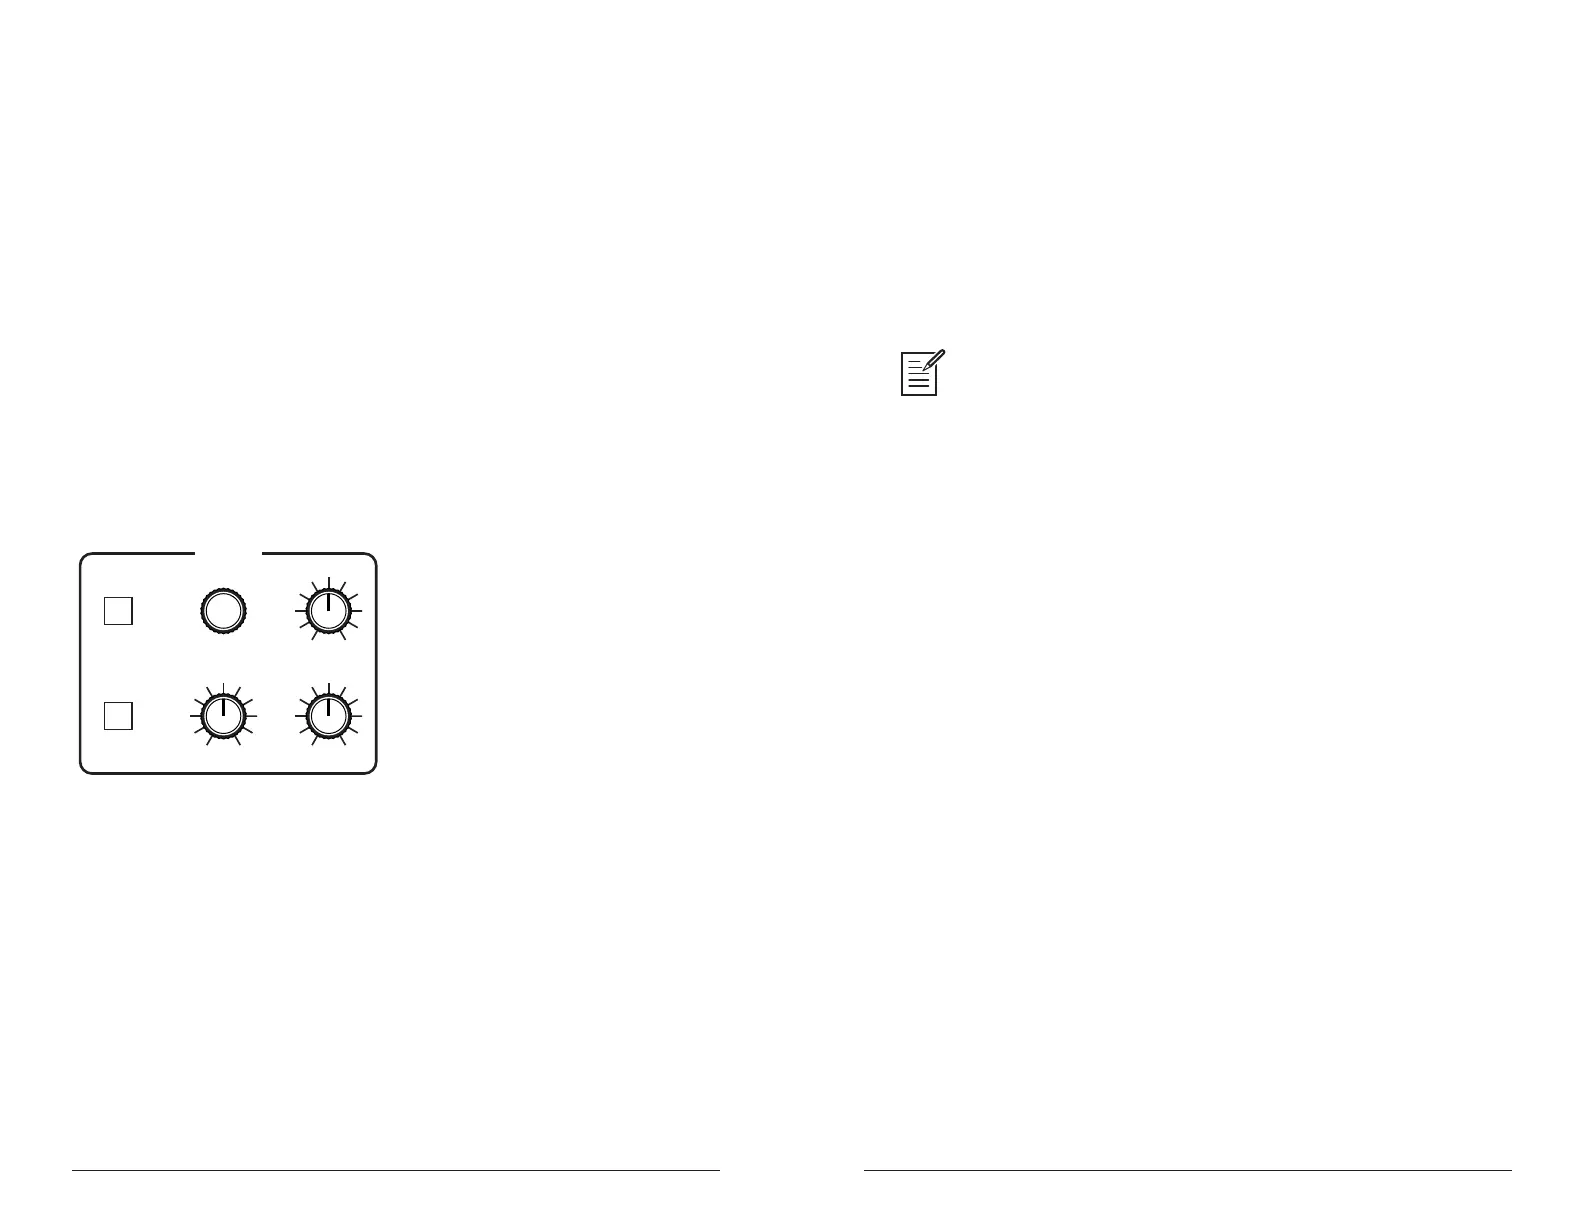
EFFECT
SELECTON/OFF
CLK SYNC
MIX
PARAM 1 PARAM 2
The Effect section
Effects:
• Delay Mono - classic mono delay
• DDL Stereo - classic digital delay
• BBD Delay - vintage bucket-brigade emulation
• Chorus - vintage chorus
• Phaser High - vintage 6-stage phaser, high feedback
• Phase Low - vintage 6-stage phaser, lower feedback
• Phaser Mst - emulation of Tom Oberheim’s original 6-stage phaser
• Flanger 1 - vintage through-zero anger, high feedback
• Flanger 2 - vintage through-zero anger, no feedback
• Reverb - classic digital reverb with adjustable size and color
• Ring Mod - emulation of Tom Oberheim’s classic ring modulator
• Distortion - digital distortion (analog emulation)
• HP Filter - high-pass lter.
For best performance,run the angers and high-pass lter 100% wet. (i.e. set
the mix parameter to 127).
To use Effects:
1. Press the on/off switch to turn on effects.
2. Turn the select knob to choose an effect, depending on which you want
to apply and congure.
3. Turn the mix knob to blend in a good amount of the processed signal.
You’ll want to be able to clearly hear the effect when you tweak its settings.
You can dial it down afterward.
4. Use the param 1 and param 2 knobs to adjust the effect’s parameters
to your taste. See “Effects Parameters” on page 38 for details on the
adjustable parameters on each effect type.
5. Finally, adjust the mix knob again to optimize the amount of the effect.
Full left is completely dry. Full right is completely wet (a 100%
processed signal).