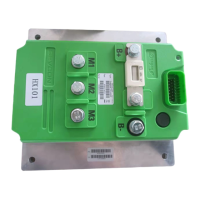
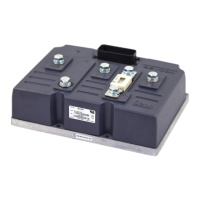
Installation
14
• The controller should then be placed onto the vehicle/panel/heatsink.
• It is important that the two surfaces are then rubbed together in order to help transfer the thermal
compound between the two surfaces.
• The entire assembly is then bolted together at all mounting holes.
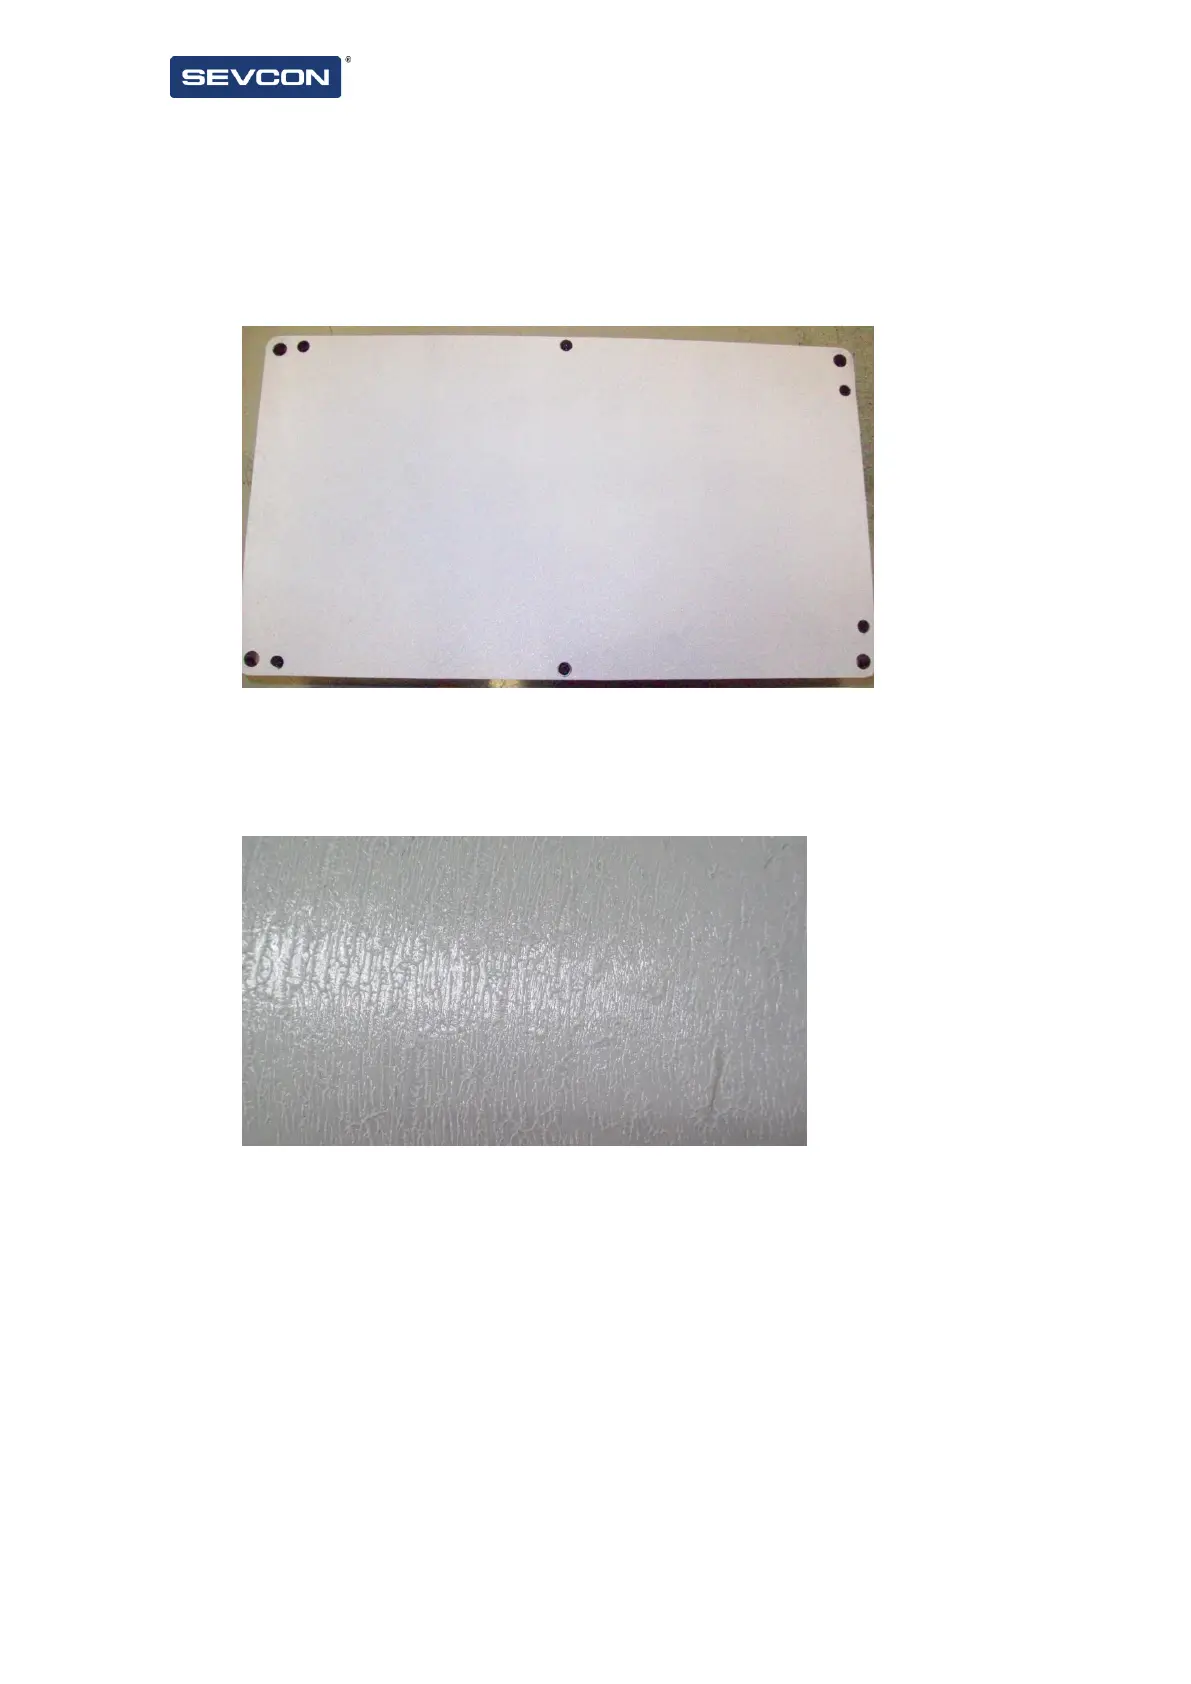
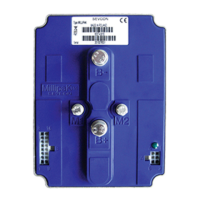
An example of a good thermal compound spreading can be seen in Figure 7:-
Figure 7: Thermal compound spreading.
The effectiveness of the spreading technique can be checked by removing the controller and inspecting
the paste residue left on the mounting faces. On a well applied paste application, the controller will be
difficult to remove and a rippled surface will be left on the paste surface as shown (magnified) below:-
Figure 8 - Example of thermal paste residue on mounting plate
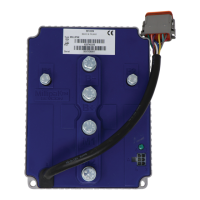
Dragon8 Cooling requirements
To ensure you get the maximum performance from your Dragon8 controller:
• Keep it away from other heat generating devices on the vehicle
• Maintain its ambient operating temperature below the specified maximum, see table 12.
To obtain maximum performance, it is important to keep the Dragon8 base plate within the operating
temperature range. To do this, mount Dragon8 to a surface capable of conducting away the waste heat.
Finned heatsinks are considerably better at doing this than flat plates. For example, a finned heatsink
used at Sevcon has a footprint of 330mm x 200mm and thermal resistance of 0.3°C/W, whereas a plate