Installation
22
When a switch is open the digital input pin sits at 0.5 x Vb ( type A), 0.46 x Vb (type B) and 4.5V (type
C).
Connecting power cables
See also the section on EMC guidelines.
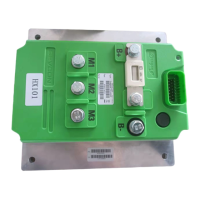
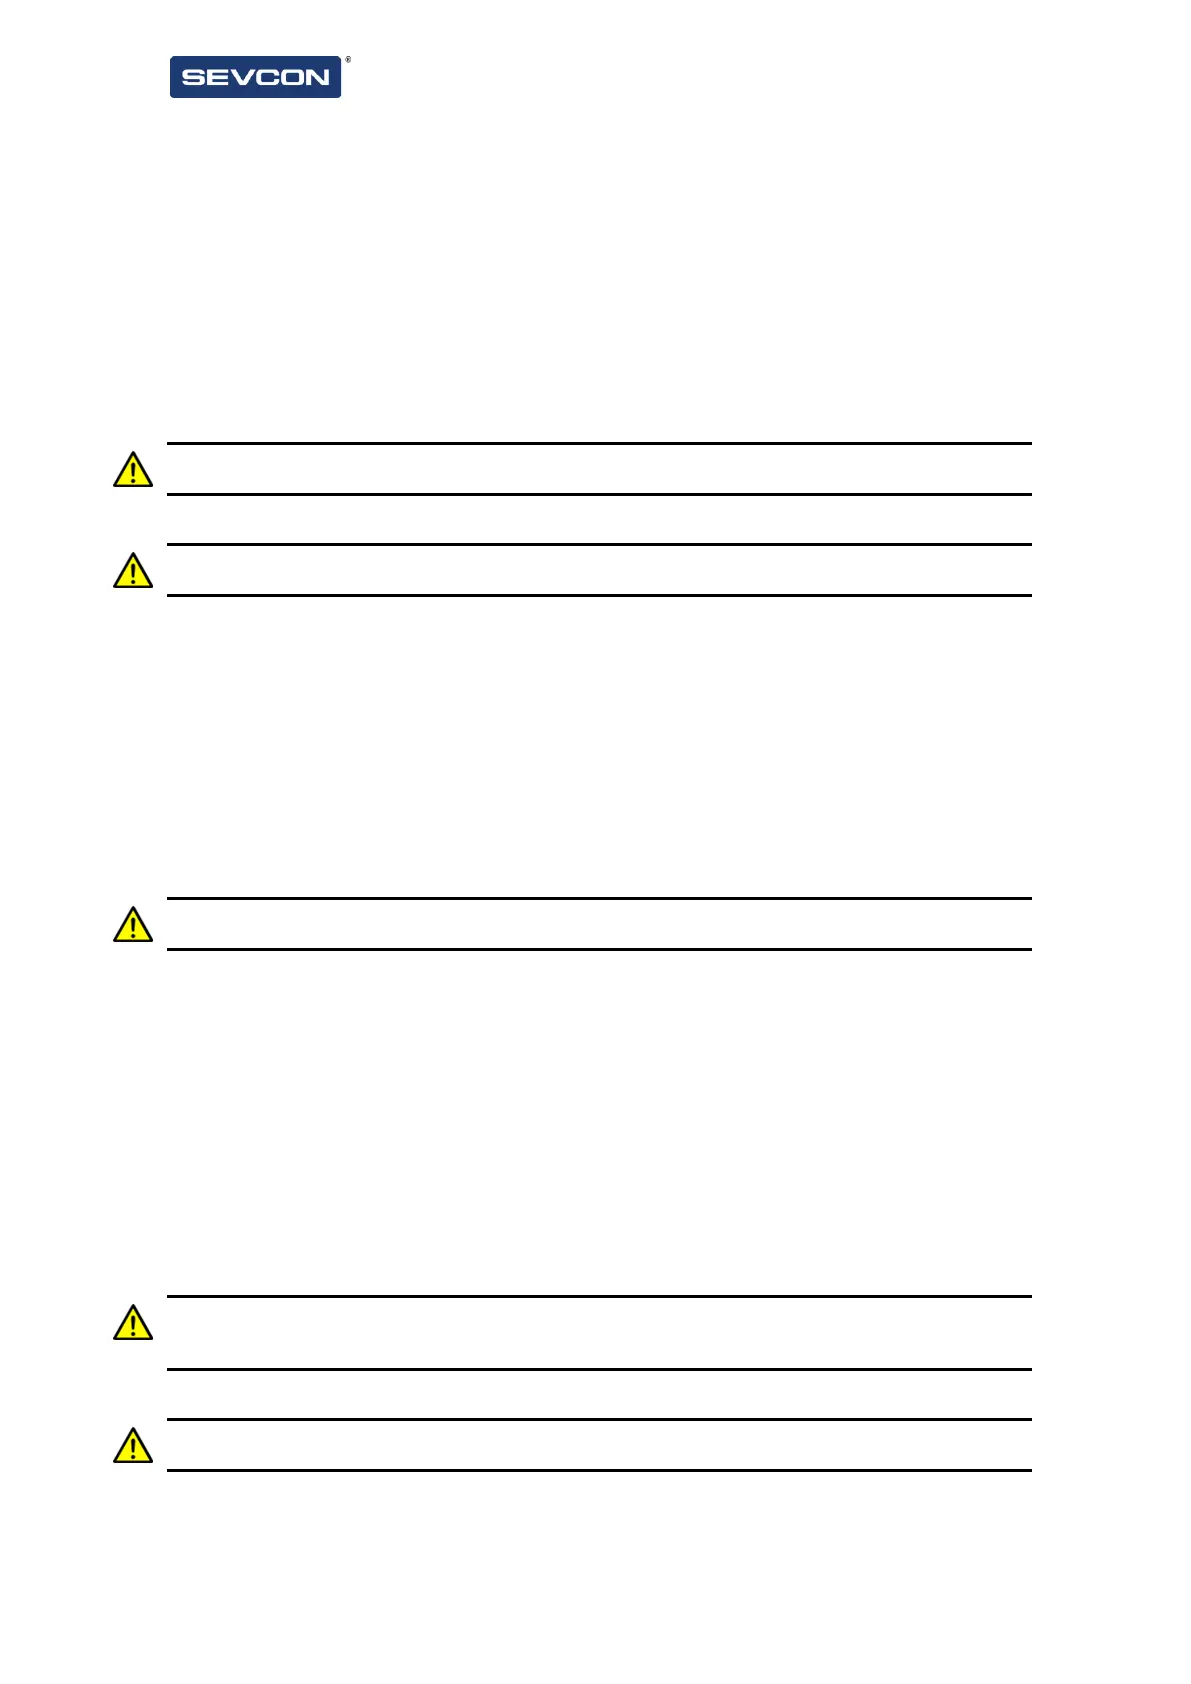
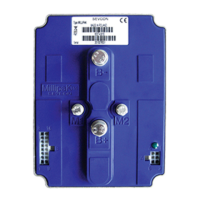
Battery and motor connections
CAUTION: Cables carrying high currents are subject to mechanical forces and may require support in
the cable harness to avoid long-term fatigue.
CAUTION: Terminal connections may degrade with multiple screw insertion/torque cycles leading to
terminal overheating. Controllers are typically rated for 5 installation cycles.
Equipment required:
• Hardware kit P/N 661/24001 or 6-off M8x16mm screws, flat washers and spring washers
• Cables sized to suit the controller and application (see table below)
• M8 crimp ring lugs
• Crimp tool
• Suitable torque wrench and socket
Torque setting: 11 Nm ± 2 Nm
CAUTION: If you use an incorrect torque, poor electrical connection or damage to the terminal may
occur leading to overheating of the terminal.
Consider cable routing before making connections.
• Keep cable runs short. Battery cable run should be less than 3m. Battery cable lengths greater than
3m will risk damage to the integrated battery switch.
• Minimize current loops by keeping positive and negative cables as close together as possible.
• Route cables away from the LED if you intend to make this visible under normal operating
conditions.
Connect your power cables using the correct screws and USE THE CORRECT TORQUE. The
recommended screws are sized to clamp one ring lug thickness. Use a longer screw if you are fastening
more than one ring lug. You need thread engagement of at least 10 mm and the maximum penetration is
15 mm.
CAUTION: If you use a screw which is too long, damage to the terminal and overheating of the
connection may occur. If you use a screw which is too short and there isn’t enough thread engagement
you may damage the threads.
CAUTION: ‘Bottoming out’ a screw in the terminal marked ‘B+’ will damage the cover leading to liquid
ingress