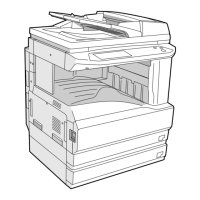
AR-M256/M257/M258/M316/M317/M318/5625/5631 UNPACKING AND INSTALLATION 5 - 4
3) Remove the tape from the shutter, and remove the shutter from the
toner cartridge.
Dispose the removed shutter.
6. Toner density sensor level adjustment
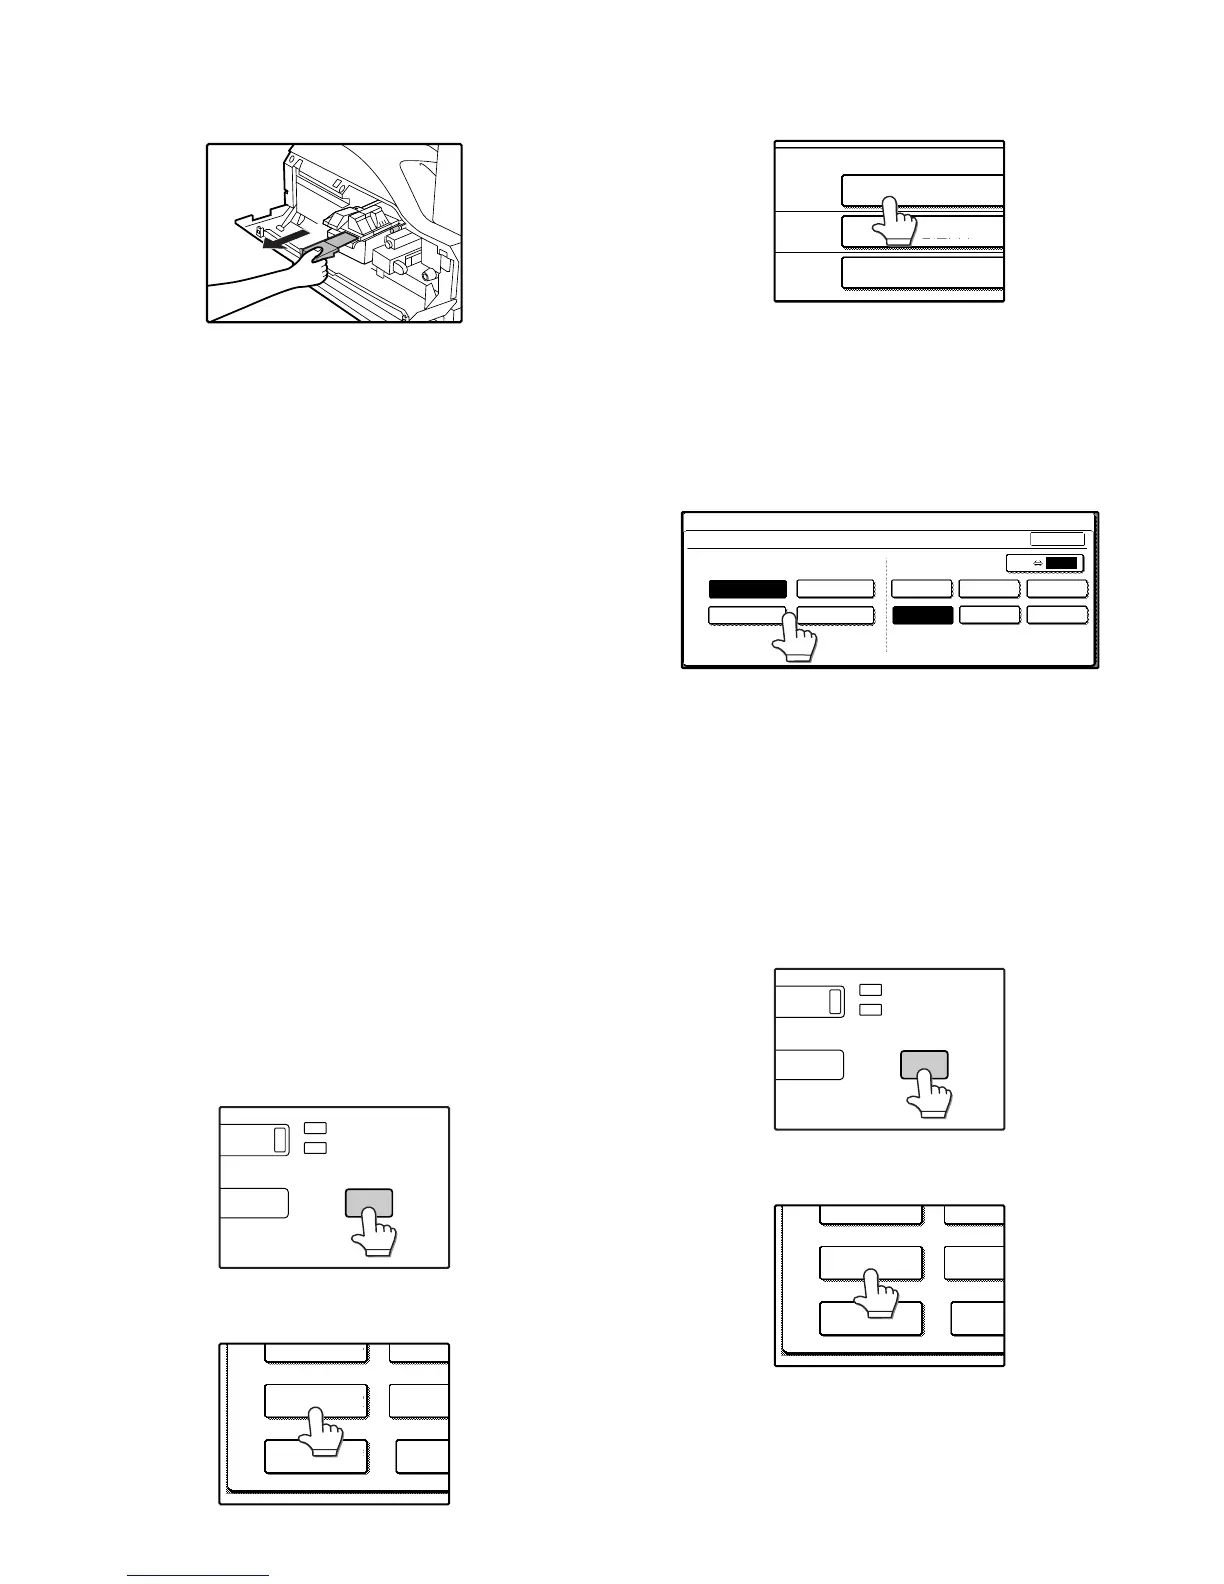
1) Open the cover with the power OFF.
2) Power ON (The mechanism cannot be initialized because the
cover is open.)
3) Install the developing unit with new developer in it.
4) Enter SIM 25-2.
(# →∗→C →∗→25 → START → 2 → START)
5) Close the cover immediately before starting the operation.
6) Press the [START] key to start.
After completion of the adjustment, be sure to cancel the simulation.
Note: When replacing developer with new one, be sure to clear the
developer counter.
7. Tray paper size setting
When you change the paper in a tray, follow the steps below to change
the tray's paper type and paper size settings.
The settings cannot be changed when operation has stopped because
the paper ran out or a misfeed occurred, or when an interrupt copy job
is being performed.
Even in copy mode, the settings cannot be changed while a print job or
received fax is being printed.
Note:
• 5-1/2" x 8-1/2" (A5) size paper can only be set for tray 1.
• B5 size paper cannot be set for tray 2 (However, B5R size paper can
be set.).
• Tray settings for trays other than the bypass tray can be prohibited in
the key operator programs.
A. Trays 1 – 4
1) Set paper on the tray.
2) Press the [CUSTOM SETTINGS] key.
The custom settings menu screen will appear.
3) Touch the [TRAY SETTINGS] key.
The tray settings screen will appear.
4) Select the tray in which you loaded paper.
If the desired tray does not appear in the display, use the [↑] key or
[↓] key to scroll until it appears.
5) Select the size and type of paper that is loaded in the tray.
The currently selected paper type will be highlighted.
• To change the paper type selection, touch the appropriate type
key.
• To change the paper size selection, touch the appropriate size
key.
• To change the displayed size selections to AB sizes, touch [AB
↔ INCH].
6) Touch the [OK] key.
7) A message appears prompting you to check the paper in the tray.
Check the paper and then touch the [OK] key.
You will return to the tray settings screen.
B. Manual feed tray
Use either of the following two methods to set the bypass tray's paper
type setting.
(1) From the [CUSTOM SETTINGS] key
1) Set paper on the tray.
2) Press the [CUSTOM SETTINGS] key.
The custom settings menu screen will appear.
3) Touch the [TRAY SETTINGS] key.
The tray settings screen will appear.