30
• You need to bring up the On-Screen Display to
perform settings for the monitor. The On-Screen
Display for the settings is called “Menu”.
• The Menu enables various settings and
adjustments. (See page 31.)
• The Menu can be operated with the remote
control.
Basic menu operations
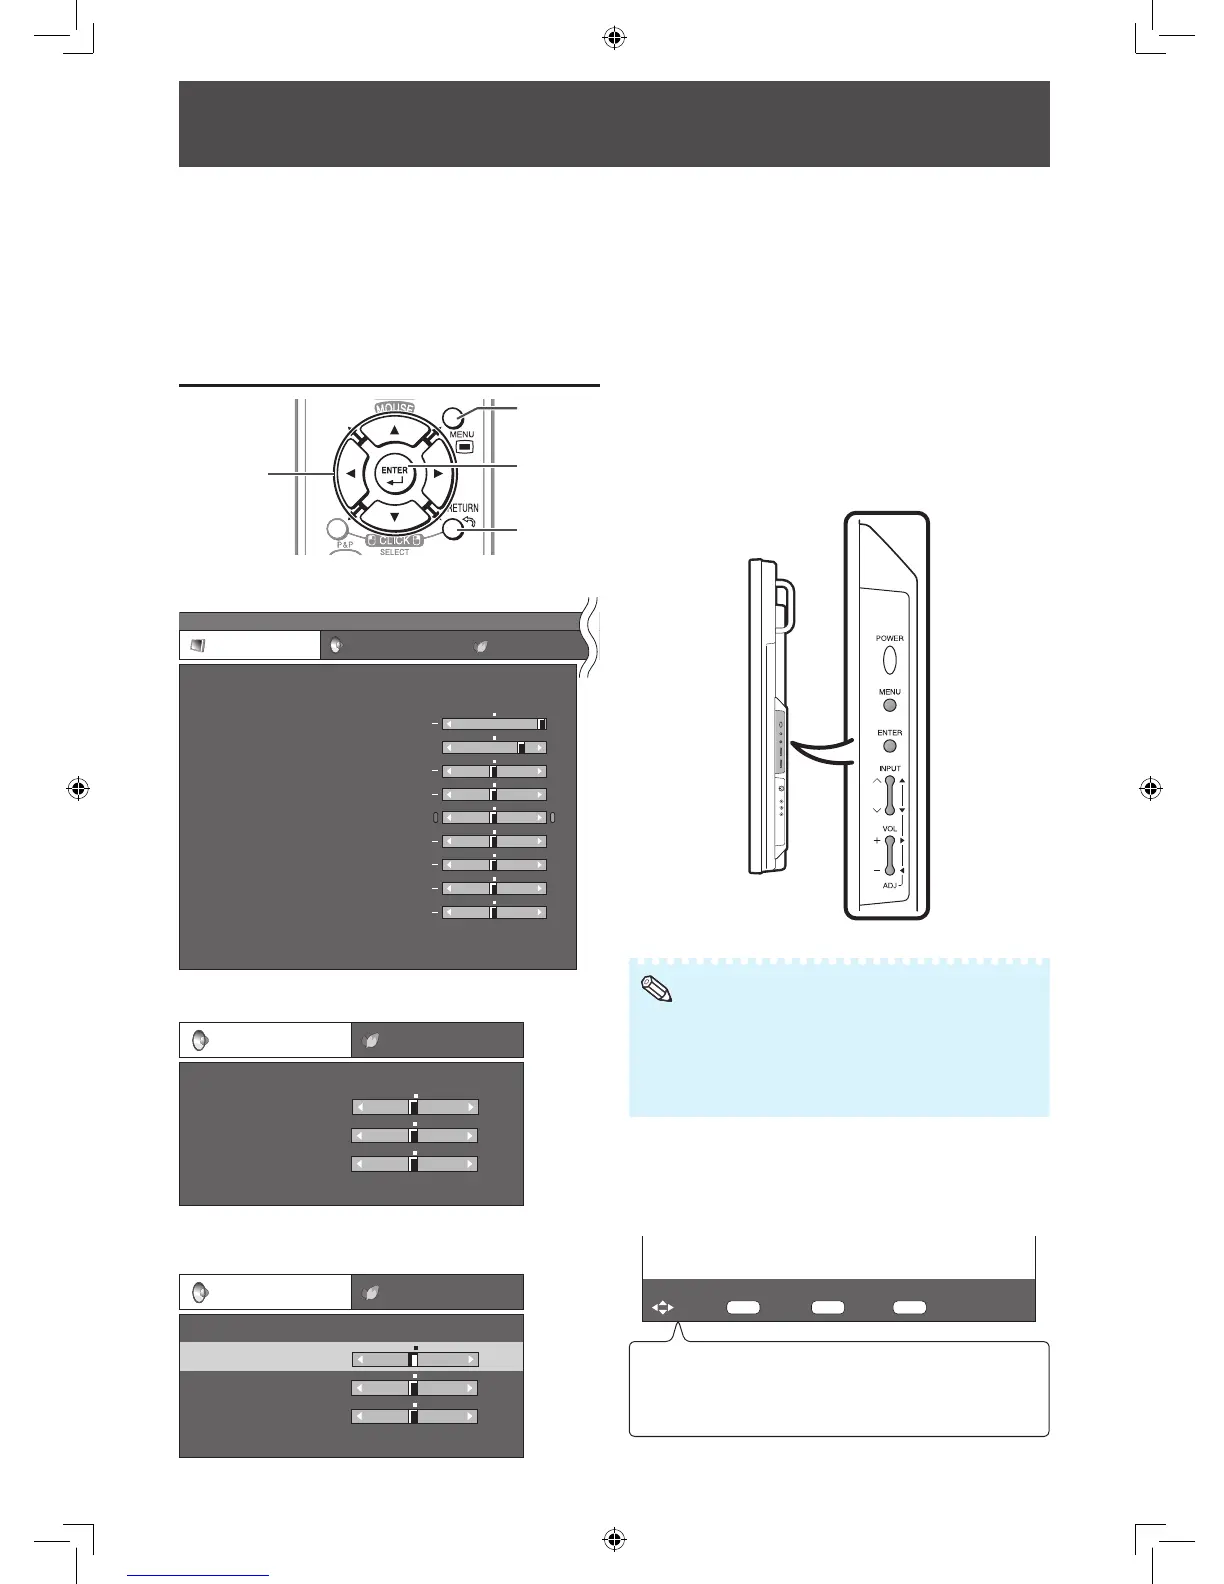
RETURN
button
Adjustment/
MOUSE
buttons
MENU
button
ENTER
button
1
Press MENU and the MENU screen appears.
MENU
[
Picture
]
Picture Audio Power Control
Contrast
OPC [Off]
AV Mode [Standard]
Brightness
Color
Tint
Sharpness
Advanced
Reset
[ 30]
[ 0]
[ 0]
[ 0]
[ 0]
Red [ 0]
Green [ 0]
Blue [ 0]
Backlight [+16]
+
+
+
+
+
+
+
2
Press
◄
/
►
to select the desired menu.
Audio
Treble
Bass
Balance
Reset
[ 0]
[ 0]
-
L
+
[ 0] -
+
R
Standard
Power Control
3
Press
▲
/
▼
to select the desired menu item.
Press ENTER to proceed if necessary.
Audio
Treble
Bass
Balance
Reset
[ 0]
[ 0]
-
L
+
[ 0] -
+
R
Standard
Power Control
4
Press
▲
/
▼
or
◄
/
►
to select the desired item or
adjust the item to the desired level.
Press ENTER if necessary.
5
Press MENU to exit the MENU.
Press RETURN as necessary to return to the
previous MENUs.
Using the control panel of the
monitor
You can also operate the Menu using the control
panel of the monitor.
Button operations on the control panel correspond
to the ones on the remote control.
• Menu options differ in the selected input modes, but the
operating procedures are the same.
• The screens in the operation manual are for explanation
purposes (some are enlarged, others cropped) and may
vary slightly from the actual screens.
About Guide Display
The Guide Display at the bottom of the screen
shows operations with an On-Screen Display.
The bar above is an operational guide for the
remote control. The bar will change in accordance
with each menu setting screen.
: Select : Enter : End: Back
Select desired item
ENTER
RETURN
MENU
Menu Operations
 Loading...