45
Appendix
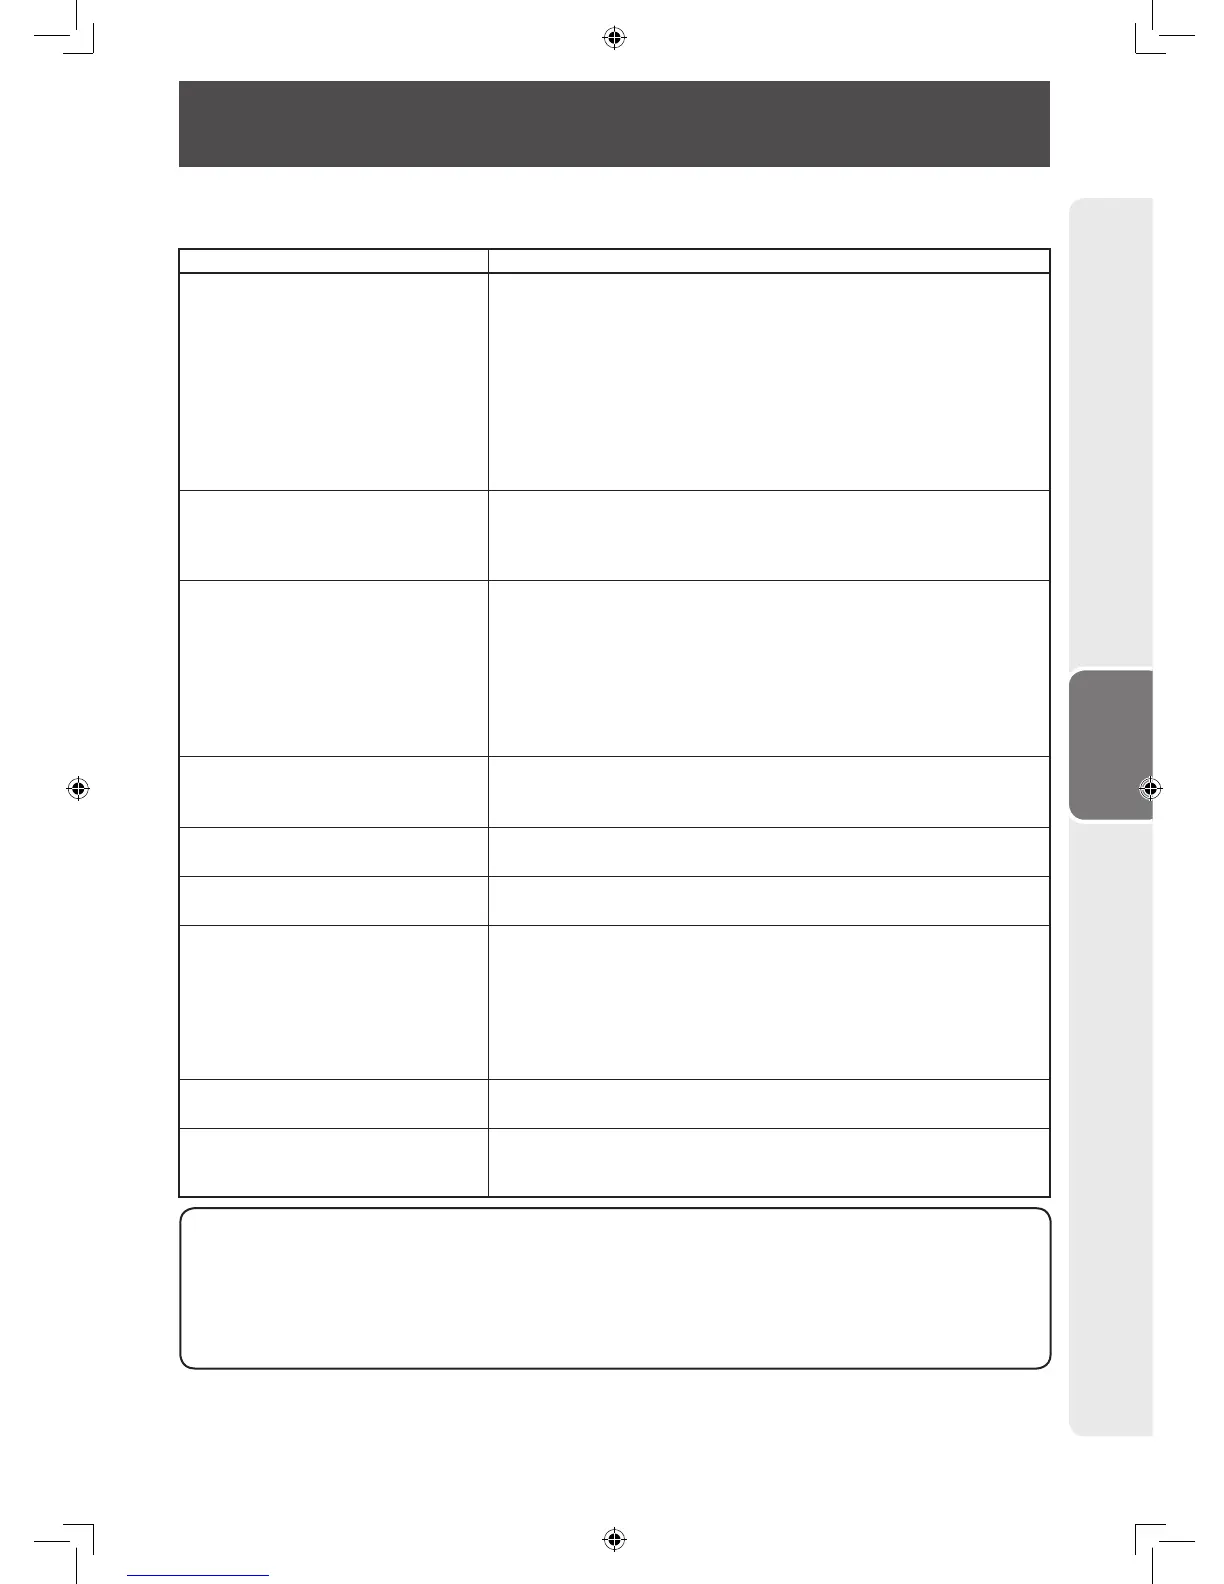
Troubleshooting
The Problems described below are not always caused by malfunctions. Check the monitor again before
having the monitor serviced.
Problems Solution
There is no picture or sound. • Is the power cord disconnected? (See page 21.)
• Has the power been turned on? (See page 23.)
• Check if you pressed ON on the remote control. (See page 23.)
If the POWER indicator on the monitor lights up red, press ON on
the remote control.
• Power to the external connected devices is off.
• Is the connection to external equipment correct? (See page 16.)
• Is the correct input mode selected? (See page 24.)
• Has the input signal setup been performed correctly after
connection? (See page 16.)
Remote control does not operate. • Are batteries inserted with polarity (+,-) aligned? (See page 22.)
• Are batteries worn out? Replace with new batteries. (See page 22.)
• Are you using it under strong or fl uorescent lighting?
• Is a fl uorescent light shining on the remote control sensor?
There is a picture but no sound. • Is the sound muted? (See page 24.)
• Make sure the volume is not set to minimum. (See page 24.)
• Are audio cables and speaker cables connected properly? (See
pages 18 and 19.)
• Is the audio signal input properly to the selected audio input
terminal? (See page 18.)
• Is “FAO” selected for “Audio Output” in the “Option” menu? (See
page 40.)
Picture is cut off.
Black bands appear at the edges
of the screen.
• Is the image position correct? (See page 37.)
• Are screen mode adjustments such as picture size made correctly?
(See page 25.)
Strange color, light color, or color
misalignment.
• Check the color adjustments and tint settings. (See page 32.)
• Check the signal type setting. (See page 41.)
Unstable picture. • Is a non-compatible signal being input? (See page 49.)
• Try the AUTO SYNC button on the remote control. (See page 27.)
TIMER indicator fl ashes red.
Power is suddenly turned off.
• The unit’s internal temperature has increased.
• Check whether the monitor is placed at a location where a quick
rise in temperature is likely. Internal temperature rises quickly if the
vents on the monitor are blocked.
• Internal temperature rises quickly if dust accumulates inside the
monitor or around the vents. Remove dust if possible. Consult a
Sharp Authorized Dealer about removing internal dust.
Power and picture change
automatically.
• Is “Sleep Timer” and/or “Schedule” set? (See page 43.)
• Check the power control setting. (See pages 34 and 35.)
The unit’s plastic parts make a
cracking noise.
• When the ambient temperature changes, the unit’s plastic parts will
slightly expand or shrink. This will cause a cracking noise. This is
not a f
ault, it will not aff
ect the unit’s performance.
Cautions regarding use in high and low temperature environments
• When the unit is used in a low temperature space (e.g. room, offi ce), the picture may leave trails or
appear slightly delayed. This is not a malfunction, and the unit will recover when the temperature
returns to normal.
• Do not leave the unit in a hot or cold location. Also, do not leave the unit in a location exposed to direct
sunlight or near a heater, as this may cause the cabinet to deform and the LCD panel to malfunction.
• Storage temperature: -4°F to +140°F (-20°C to +60°C).
This unit is equipped with a microprocessor. Its performance could be adversely affected by incorrect
operation or interference. If this should happen, unplug the unit and plug it in again after more than 5
minutes.
 Loading...