MX-5001N ADJUSTMENTS 5 – 45
* Item A, B: When the adjustment value is increased, the scan
timing is delayed.
* Item C - H: When the adjustment value is increased, the
image loss is increased.
* Item A - H: 1 step = 0.1mm change
* The SPF rear edge image loss is provided for countermea-
sures against shades.
5) Select an adjustment mode with the scroll key.
(SIM50-12)
(SIM50-6)
6) Enter an adjustment value with 10-key, and press [OK] key.
(Change for change in the adjustment value: 0.1mm/step)
(When the adjustment value is increased, the print image is
shifted to the rear.)
Repeat the procedures of 2) - 6) until a satisfactory result is
obtained.
NOTE: When [CLOSE] key is pressed in this simulation mode, the
machine goes into the normal operation mode. Under this
state, copy check can be normally performed. When the
system key is pressed, the machine returns to the simula-
tion mode.
ADJ 17 Print area (Void area)
adjustment (Print engine
section)
This adjustment is needed in the following situations:
* When the LSU is replaced or removed.
* When a paper tray is replaced.
* When the paper tray section is disassembled.
* When the manual feed tray is replaced.
* When the manual feed tray is disassembled.
* When the duplex section is disassembled.
* When the duplex section is installed or replaced.
* When the large capacity paper feed tray is installed or replaced.
* When the large capacity paper feed tray section is disassembled.
* When the registration roller section is disassembled.
* U2 trouble has occurred.
* The PCU PWB has been replaced.
* The EEPROM of the PCU PWB has been replaced.
NOTE: Before executing this adjustment, be sure to execute ADJ 8
Print image magnification ratio adjustment (BK) (Main
scanning direction) (Print engine section) in advance.
1) Enter SIM50-10 mode.
2) Set A4 (11" x 8.5") paper to all the trays, and select the set
item J with the scroll key. Enter the value corresponding to the
adjustment target paper feed tray.
3) Press [EXECUTE] key.
The adjustment pattern is printed.
F Image
loss
amount
setting
SIDE2
LEAD_EDGE
(SIDE2)
Back surface
lead edge image
loss amount
setting
0 - 99 20
G FRONT_REAR
(SIDE2)
Back surface
side image loss
amount setting
0 - 99 20
H TRAIL_EDGE
(SIDE2)
Back surface
rear edge image
loss amount
setting
0 - 99 30
I OFSET_SPF1 RSPF front
surface
document off-
center
adjustment
1 - 99 50
J OFSET_SPF2 RSPF back
surface
document off-
center
adjustment
1 - 99 50
K SCAN_SPEED_SPF1 RSPF document
front surface
magnification
ratio adjustment
(Sub scan)
1 - 99 50
L SCAN_SPEED_SPF2 RSPF document
back surface
magnification
ratio adjustment
(Sub scan)
1 - 99 50
SPF(SIDE1) Front surface mode
SPF(SIDE2) Back surface mode
OFSET SPF1 Front surface mode
OFSET SPF2 Back surface mode
Item Display Content
Setting
range
Default
value
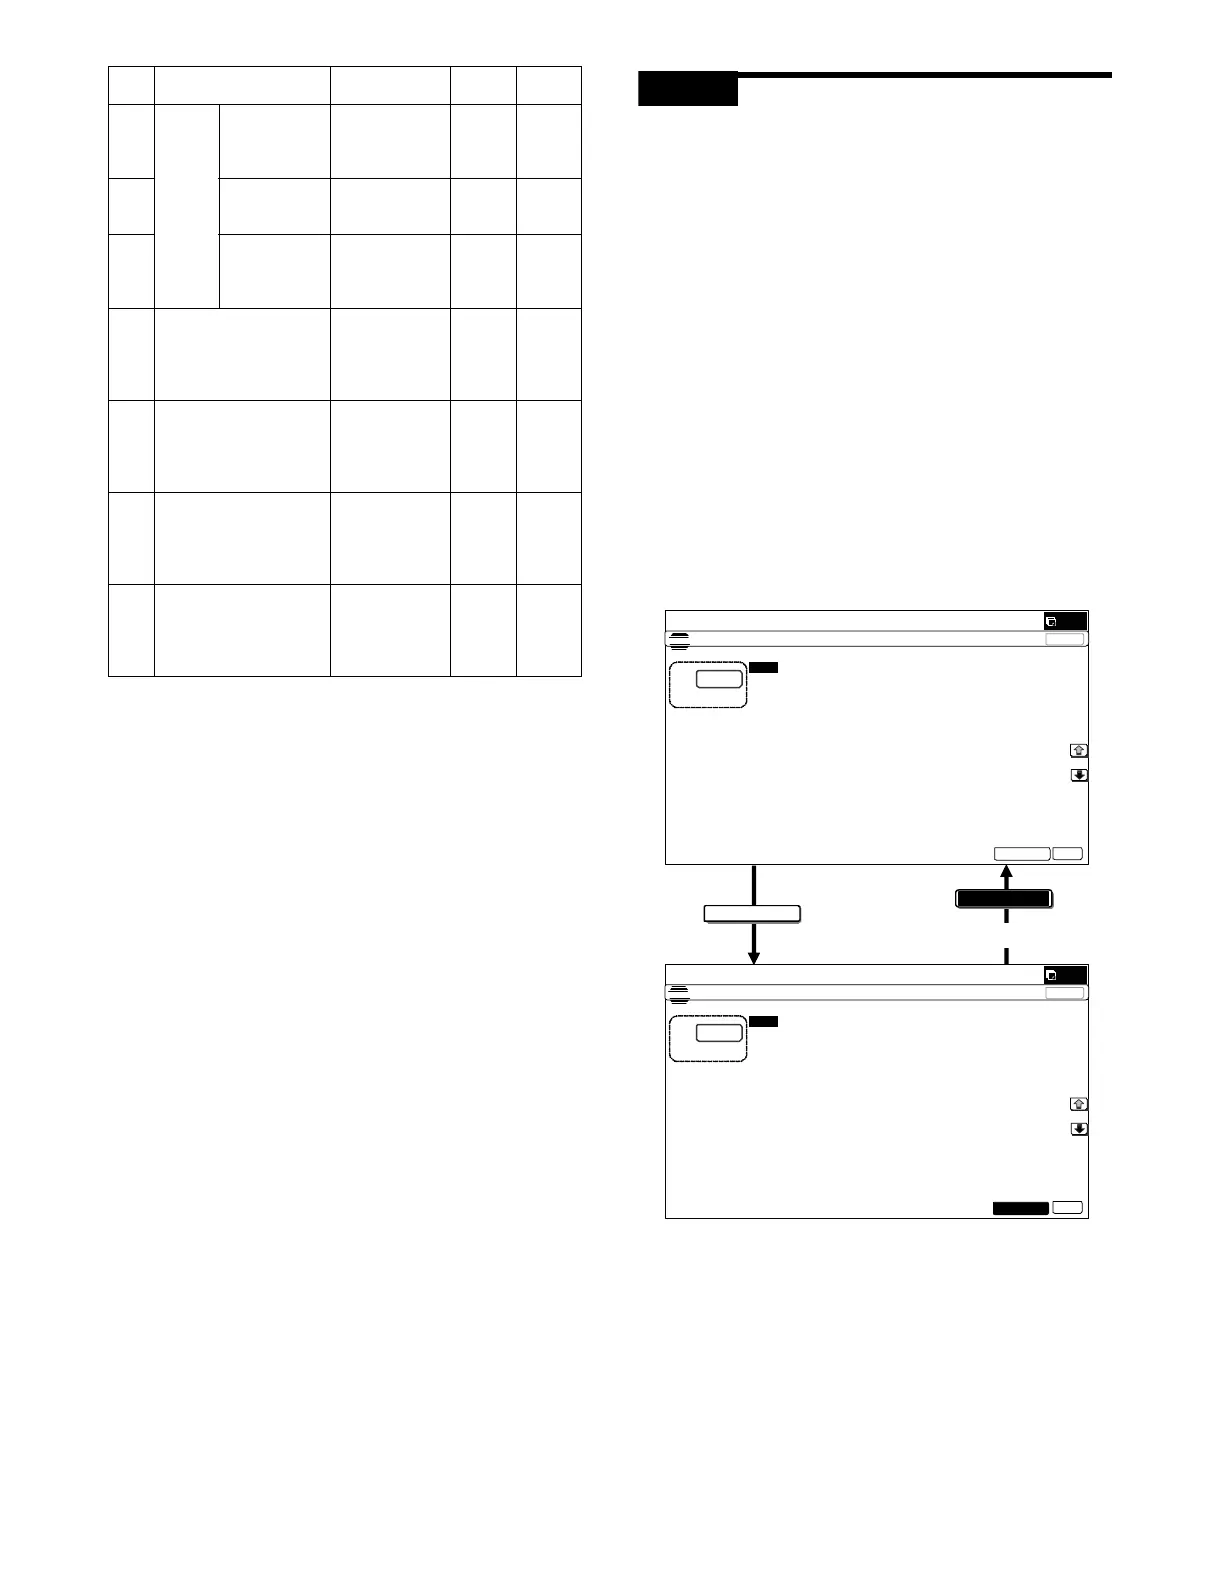
EXECUTE
EXECUTE
ǂǂǂ6,08/$7,21ǂǂ127(67
3$3(5&(17(52))6(76(783
$˖
˷
˖%.0$*
$˖
˖0$,10)7
%˖
˖0$,1&6
&˖
˖0$,1&6
'˖
˖0$,1&6
)˖
˖0$,1&6
(˖
˖0$,1/&&
*˖
˖0$,1$'8
+˖
˖68%0)7
,˖
˖68%&6
-˖
˖68%&6
.˖
˖68%/&&
/˖
2.
&/26(
(;(&87(
ǂǂǂ6,08/$7,21ǂǂ127(67
3$3(5&(17(52))6(76(783
$˖
˷
˖%.0$*
$˖
˖0$,10)7
%˖
˖0$,1&6
&˖
˖0$,1&6
'˖
˖0$,1&6
)˖
˖0$,1&6
(˖
˖0$,1/&&
*˖
˖0$,1$'8
+˖
˖68%0)7
,˖
˖68%&6
-˖
˖68%&6
.˖
˖68%/&&
/˖
2.
&/26(
(;(&87(
End of print
 Loading...