MX-M350/M450 N/U UNPACKING AND INSTALLATION 6 - 7
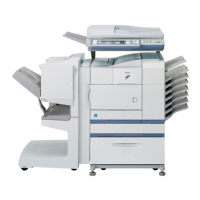
2) Put the main unit of the printer on the multi purpose drawer.
<1> Pull out the paper tray of the main unit until it stops and then
remove it by lifting both ends of the tray.
<2> Hold the main unit of the printer at the positions shown in the
illustration and put the main unit on the multi purpose drawer
so that the front side and the left side of the main unit are
aligned to those of the multi purpose drawer.
Caution: For installation of the main unit, it must be held by two
persons and installed without haste.
3) Connect the main unit of the printer to the multi purpose
drawer.
<1> Attach the rear mounting plates using a supplied screw for
each.
Caution: Insert the mounting plate under the desk frame.
<2> Pull out the paper tray of the multi purpose drawer until it
stops and attach the front mounting plates using a supplied
screw for each.
Then, remove the lock of the paper tray and close the tray.
<3> Reattach the paper tray of the main unit of the printer.
4) Remove the multi rear cabinet.
<1> Remove the two screws that secure the multi rear cabinet.
<2> Remove the two screws that secure the Harness protection
sheet.
Front side
Rear side
Rear mounting plate
Rear mounting plate
Screw
Screw
Tray frame
Mounting
plate
Screw
Screw
Front mounting plate
Front
mounting plate
Multi rear cabinet
Screw
Screw