MX-M503N MX-FNX9 4 – 1
MX-M503N
Service Manual
[4] MX-FNX9
1. Unpacking
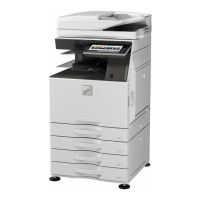
A. Removal of the inner finisher
* When removing the inner finisher, lift it as shown in the table
below.
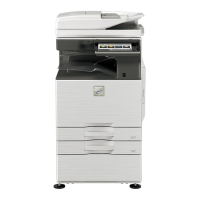
B. Removal of the fixing tape and protection
material
1) Remove the fixing tape and protection material.
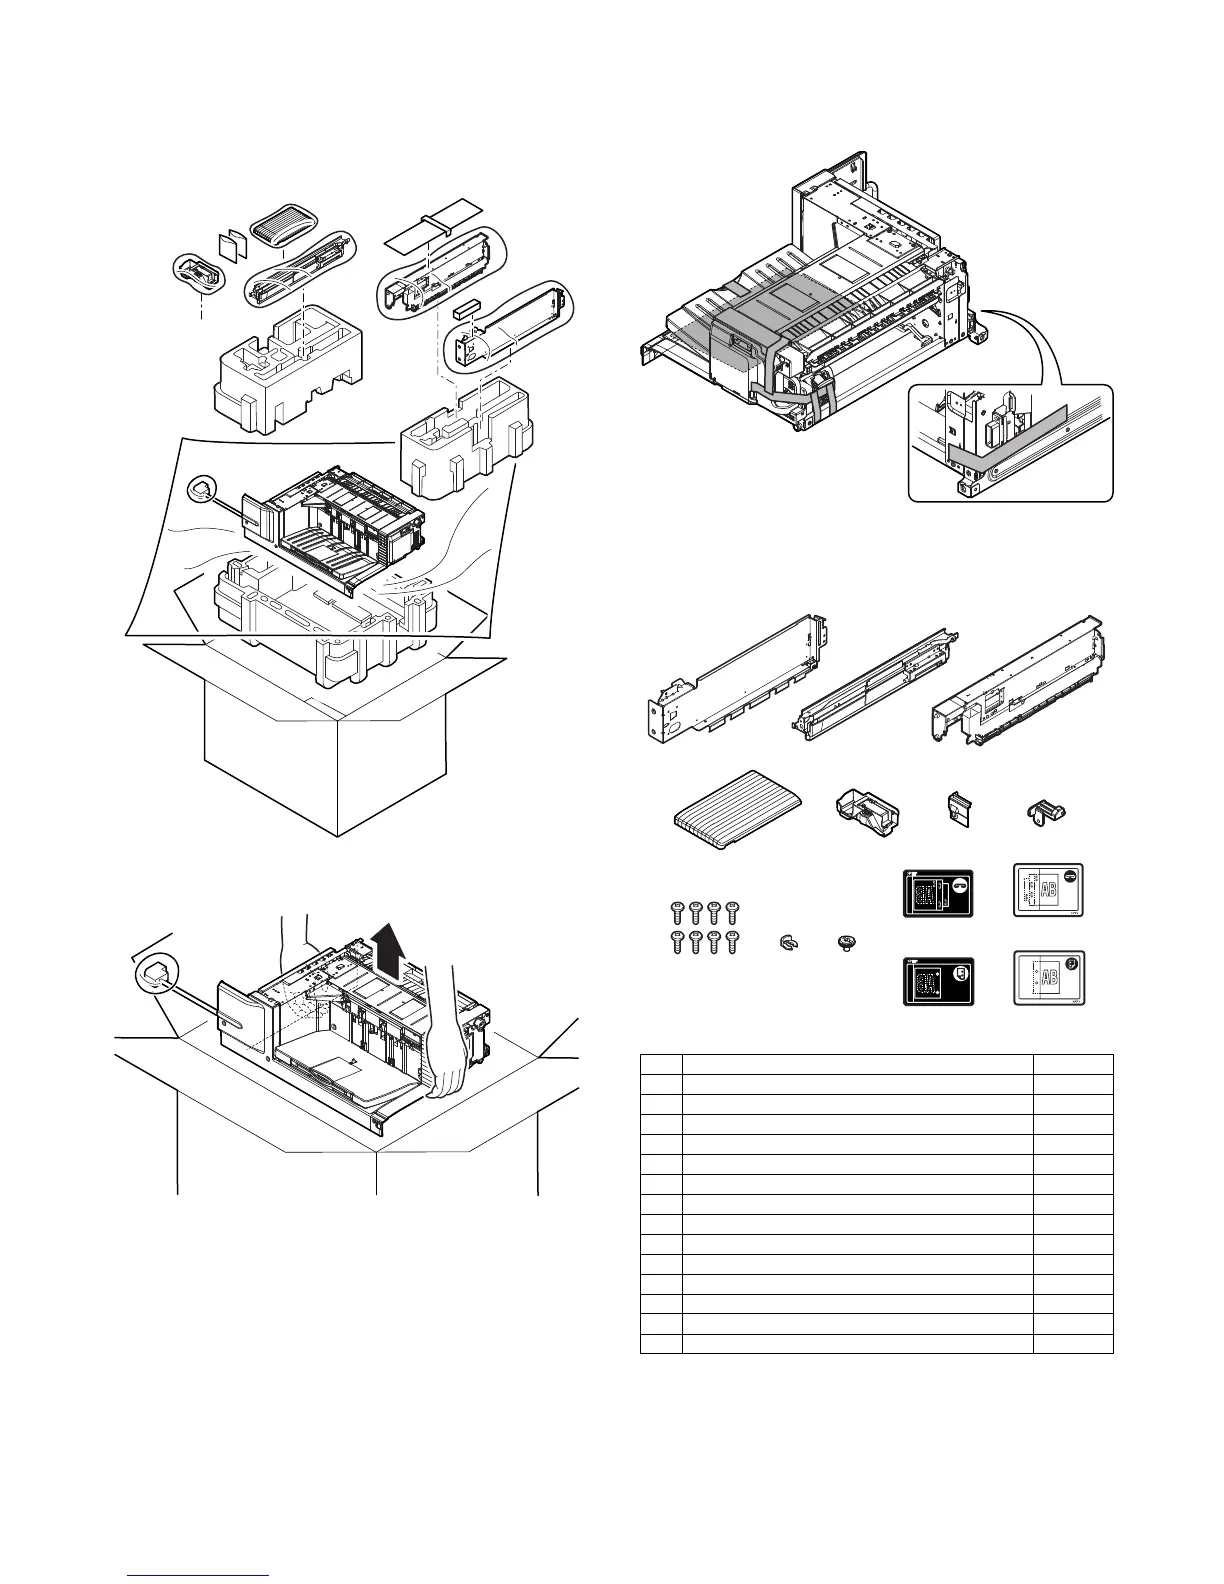
C. Check the packed items
1) Check that all the items are included in the package.
* The punch position labels (No.13 and No.14) should be kept at
hand since they will be necessary when installing the punch unit.
No. Packed part names Quantity
1 Finisher fixing plate 1
2 Front slide rail 1
3 Dummy punch unit 1
4 Front open/close cover 1
5 Punch cover 1
6 Left front cover 1
7 Finisher slide stopper 1
8 Fixing screw 8
9 Resin clip 1
10 Coin screw 1
11 Staple position label (For scanner) 1
12 Staple position label (For RSPF/DSPF) 1
13 Punch position label (For scanner) 1
14 Punch position label (For RSPF/DSPF) 1
 Loading...