-10
18
20
19
40
19
15
23
23
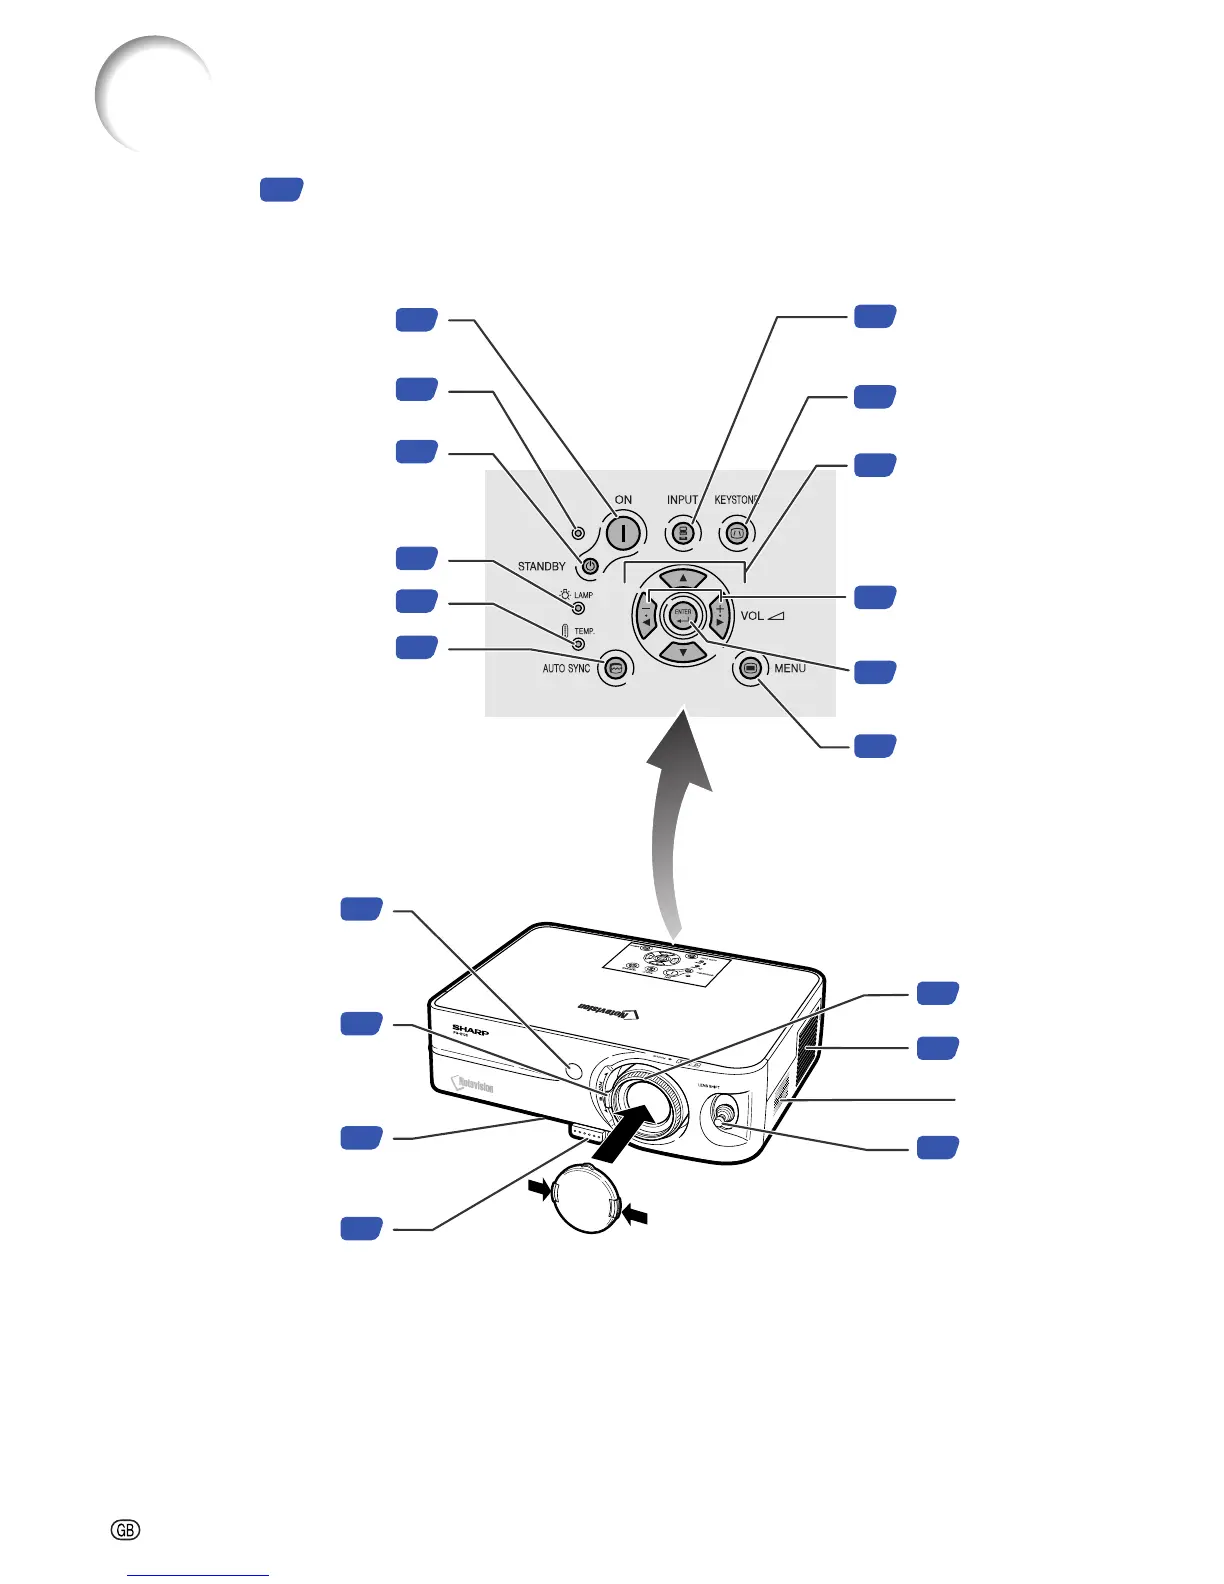
ON button
For turning the power on.
21
STANDBY button
For putting the projector into the
standby mode.
63
Power indicator
63
Lamp indicator
63
Temperature warning
indicator
KEYSTONE button
For entering the Keystone
Correction mode.
Remote control
sensor
22
Zoom knob
INPUT button
For switching input mode
1, 2 or 3.
AUTO SYNC button
For automatically
adjusting images when
connected to a computer.
Volume buttons
For adjusting the speaker
sound level.
32
Adjustment buttons
('"\ |)
• For selecting menu items.
• For adjusting the Keystone
Correction when in the
Keystone Correction mode.
33
ENTER button
For setting items selected
or adjusted on the menu.
32
MENU button
For displaying adjustment
and setting screens.
22
Focus ring
60
Intake vent
Speaker
24
Lens shift lever
HEIGHT ADJUST button
Front adjustment foot
(on the bottom of
the projector)
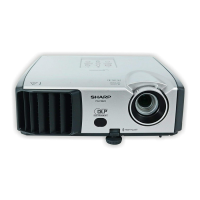
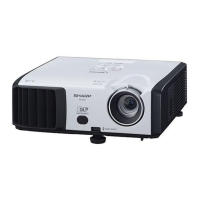
Projector (Front and Top View)
Part Names
Attaching and removing the lens cap
• Press on the two buttons of the lens cap
and attach it to the lens, then release the
buttons to lock it in place.
• Press on the two buttons of the lens cap
and remove it from the lens.
Numbers in refer to the main pages in this operation manual where the topic is explained.