-18
Image Projection
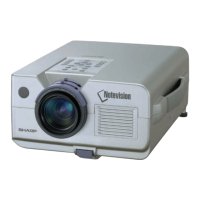
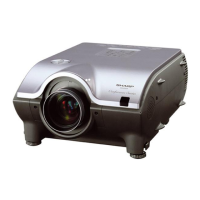
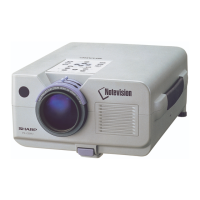
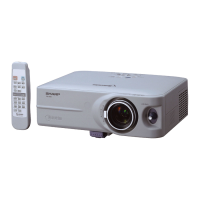
Turning the Projector on
Connect the required external equipment to the
projector before carrying out the following pro-
cedures.
(See page
50
.
)
Info
•
The language preset at the factory is English.
If you want to change the on-screen display to
another language, reset the language accord-
ing to the procedure on page
48
.
1 Plug the power cord into the wall
outlet.
• The power indicator illuminates red, and
the projector enters standby mode.
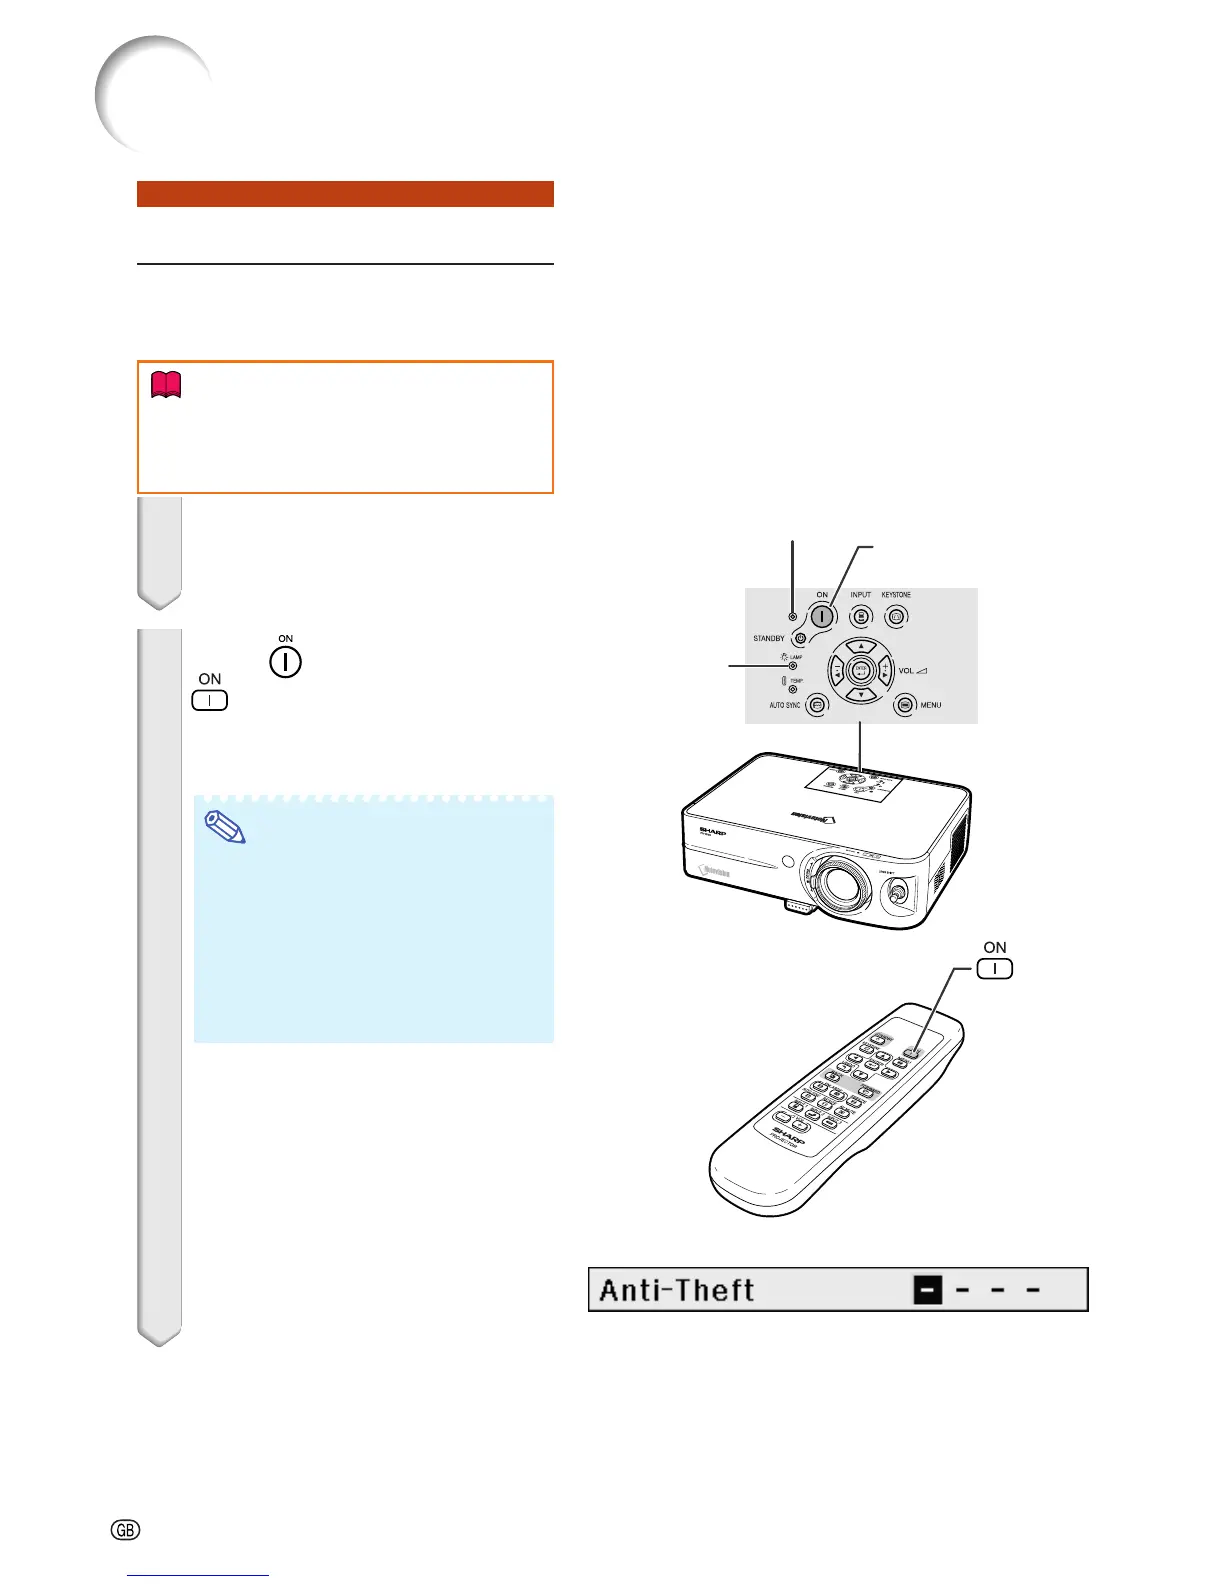
2 Press on the projector or
on the remote control.
• The power indicator illuminates green.
• After the lamp indicator illuminates, the
projector is ready to start operation.
Note
•
The lamp indicator illuminates, indicating
the status of the lamp.
Green: The lamp is ready.
Blinking in green: The lamp is warming up.
Red:
The lamp should be replaced.
• If the projector is put into the standby
mode and immediately turned on
again, the lamp indicator may take
some time to illuminate.
• When “Anti-Theft” is set, the keycode
input box will appear. Enter the keycode.
For details about the Anti-Theft function,
refer to “Anti-Theft (Setting the Anti-
Theft)” on page 46.
• When bringing the image into focus or
adjusting the projection image size, see
page 22.
• When adjusting the projection angle,
see “Using the Adjustment Feet” on
page 23 or “Variable Lens Shift Feature”
on page 24.
▼Keycode input box
Power indicator
ON button
Lamp
indicator
ON button