-16
Setup and Projection
3 ON button
5 INPUT button
4 Zoom knob
4 Focus ring
4 Lens shift lever
4 HEIGHT ADJUST button
4 Adjustment buttons
('"\ |)
4 KEYSTONE button
3 ON button
4 KEYSTONE button
4 Adjustment buttons
('"\ |)
5 INPUT 1 button
Page 56
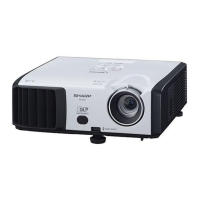
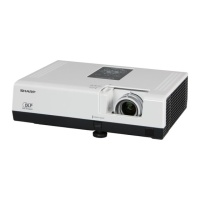
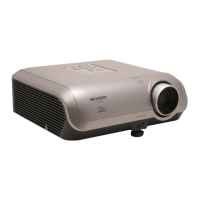
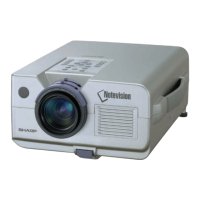
1. Place the projector facing a wall or a screen
Pages 51, 55
Page 18
On the remote controlOn the projector
In this section, connection of the projector and the computer is explained as an example.
2. Connect the projector to the computer and plug the power
cord into the AC socket of the projector
3. Turn the projector on
When connecting equipment other than the computer, see pages 13 and 50.
 Loading...
