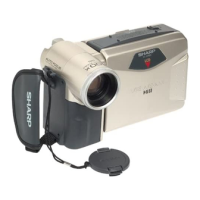
WIDE SCREEN
40
Normal mode
Wide
Screen mode
The top and the bottom of the picture are masked
with black bands to produce an effective screen
aspect ratio of
16:9,
which has the wide-screen
feel of a movie shown in a theater.
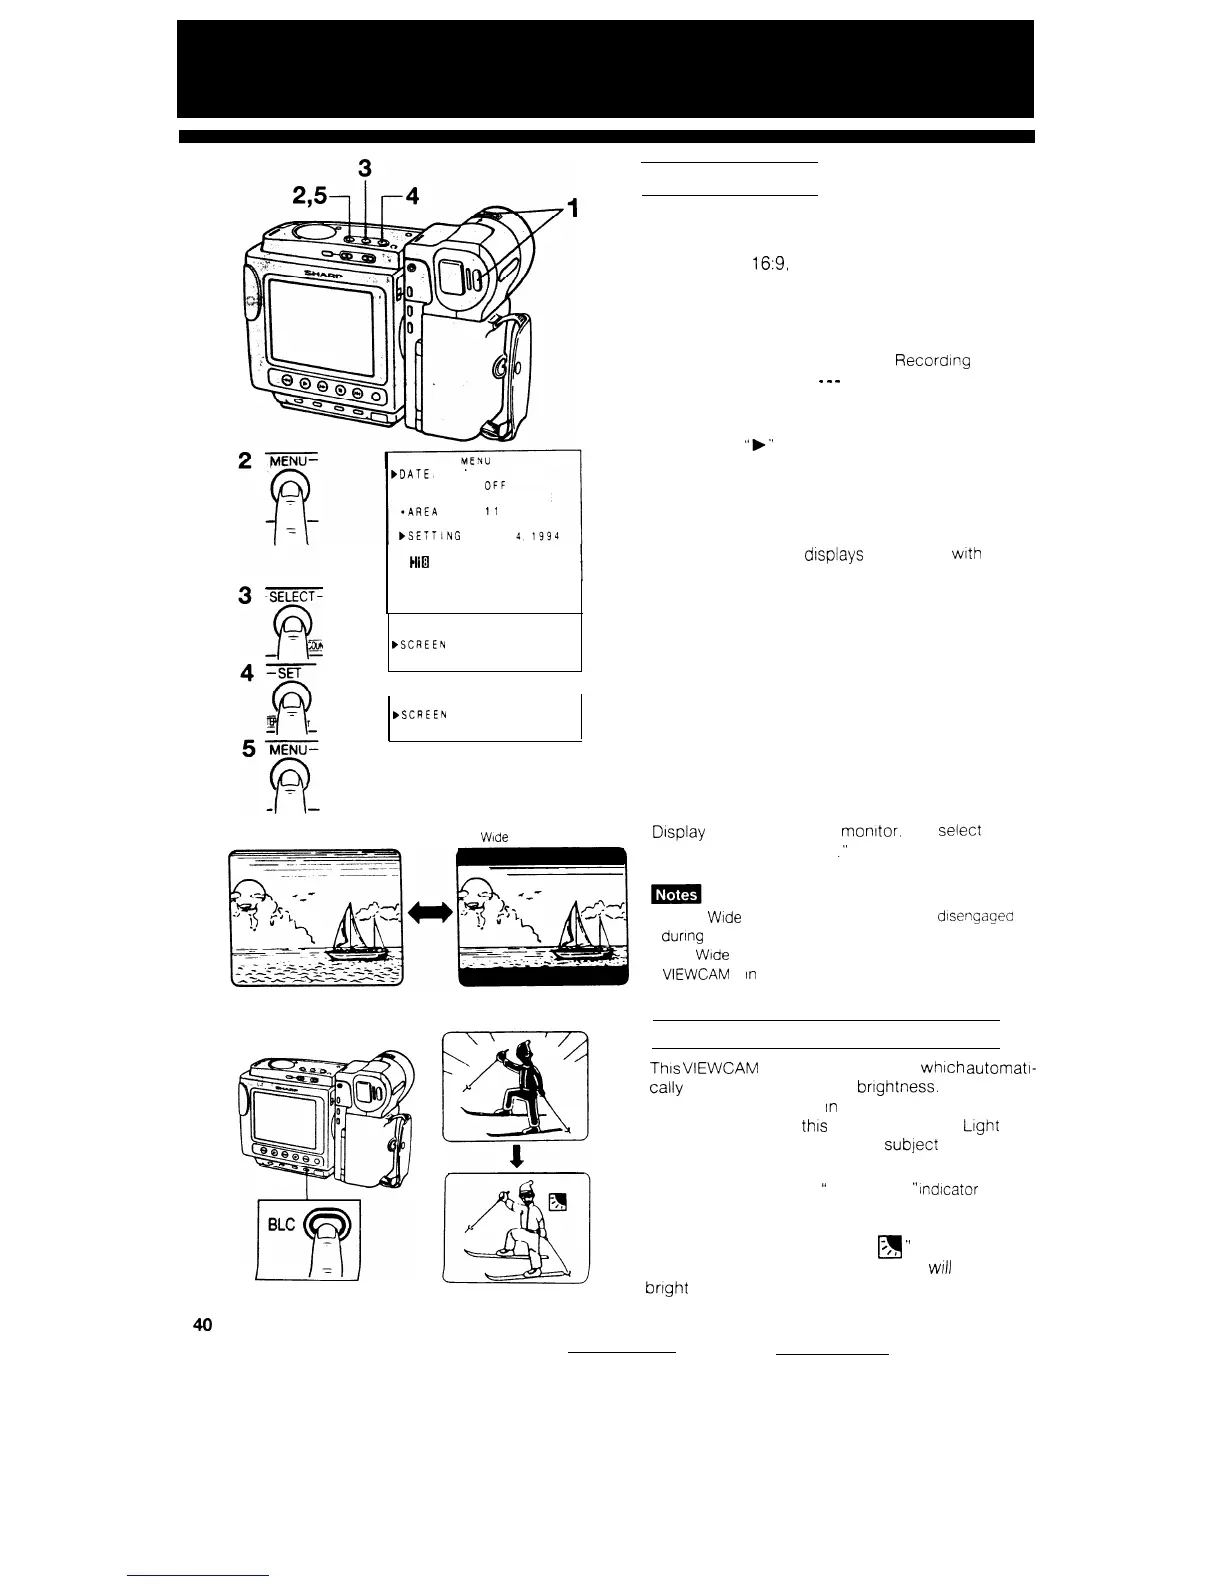
1
2
3
bDATEc
TIME
*DISPLAY
-SELECT
DATE-TIME
*AREA
II
SYDNEY
l SUMR TIME OFF
bSETTlNG
25
10
00 AM
4
5
l
l4ia
AUTO
*SELF REC
AUTO CORREC
T
*SCREEN
NORMA:
*REMOTE
ON
-SELF REC
AUTO CORRECT
WSCREEN
NORMAL
*REMOTE ON
-SELF REC
AUTO CORRECT
BSCREEN
WIDE
*REMOTE
ON
Make sure that the OPERATE switch IS set to
CAMERA and press the REC START/STOP
button, if necessary, to select Recording
Standby mode. (‘II-
-
-
-
is displayed.)
Press the MENU button to display the menu.
Move the
“F’
pointer to “SCREEN” by pressing
the SELECT button.
Press the SET button to select “WIDE.”
Press the MENU button to turn off the menu.
The monitor now displays the picture
with
the
top and bottom portions masked out.
TO RETURN TO NORMAL PICTURE
Display the menu on the monitor. and
Select
“NORMAL” for ‘SCREEN
.”
l The
Wide
Screen mode cannot be set or
dIsengagea
dunng camera recording.
l The
Wide
Screen function does not work when the
VIEWCAM
IS
In
VCR mode
BACK LIGHT COMPENSATION
This VIEWCAM has Auto Exposure, whtch automatl-
tally
adjusts to the scene’s bnghtness. However, if
the subject is backlit or
In
a shadow, the subject
may be too dark. In this case, BLC (Back Light
Compensation) will prevent the subject from appear-
ing dark.
Press the BLC button. The
“
q
”
indtcator
appears on the monitor screen.
Press the BLC button once again to return to
normal Auto Exposure. (The
”
;,,
”
Indicator goes
n
out.) Other-we, the recorded picture
wrll
be too
bright for normal lighting.