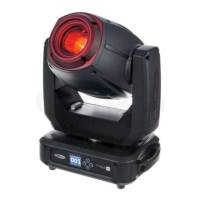
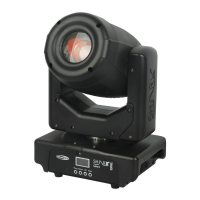
One Phantom (Auto, Manual)
01) Fasten the effect light to a firm trussing. Leave at least 0,5 meter on all sides for air circulation.
02) Plug the end of the electric mains power cord into a proper electric power supply socket.
03) When the Phantom is not connected with a DMX cable, it functions as a stand-alone device.
Please see pages 15-16 for more information about the Auto mode and Manual mode.
One Phantom (Sound-controlled)
01) Fasten the effect light to a firm trussing. Leave at least 0,5 meter on all sides for air circulation.
02) Plug the end of the electric mains power cord into a proper electric power supply socket.
03) Turn on the music. If the device is set to sound-control, then the Phantom will react to the beat of
the music. Please see page 15 for more information about the sound-control options.
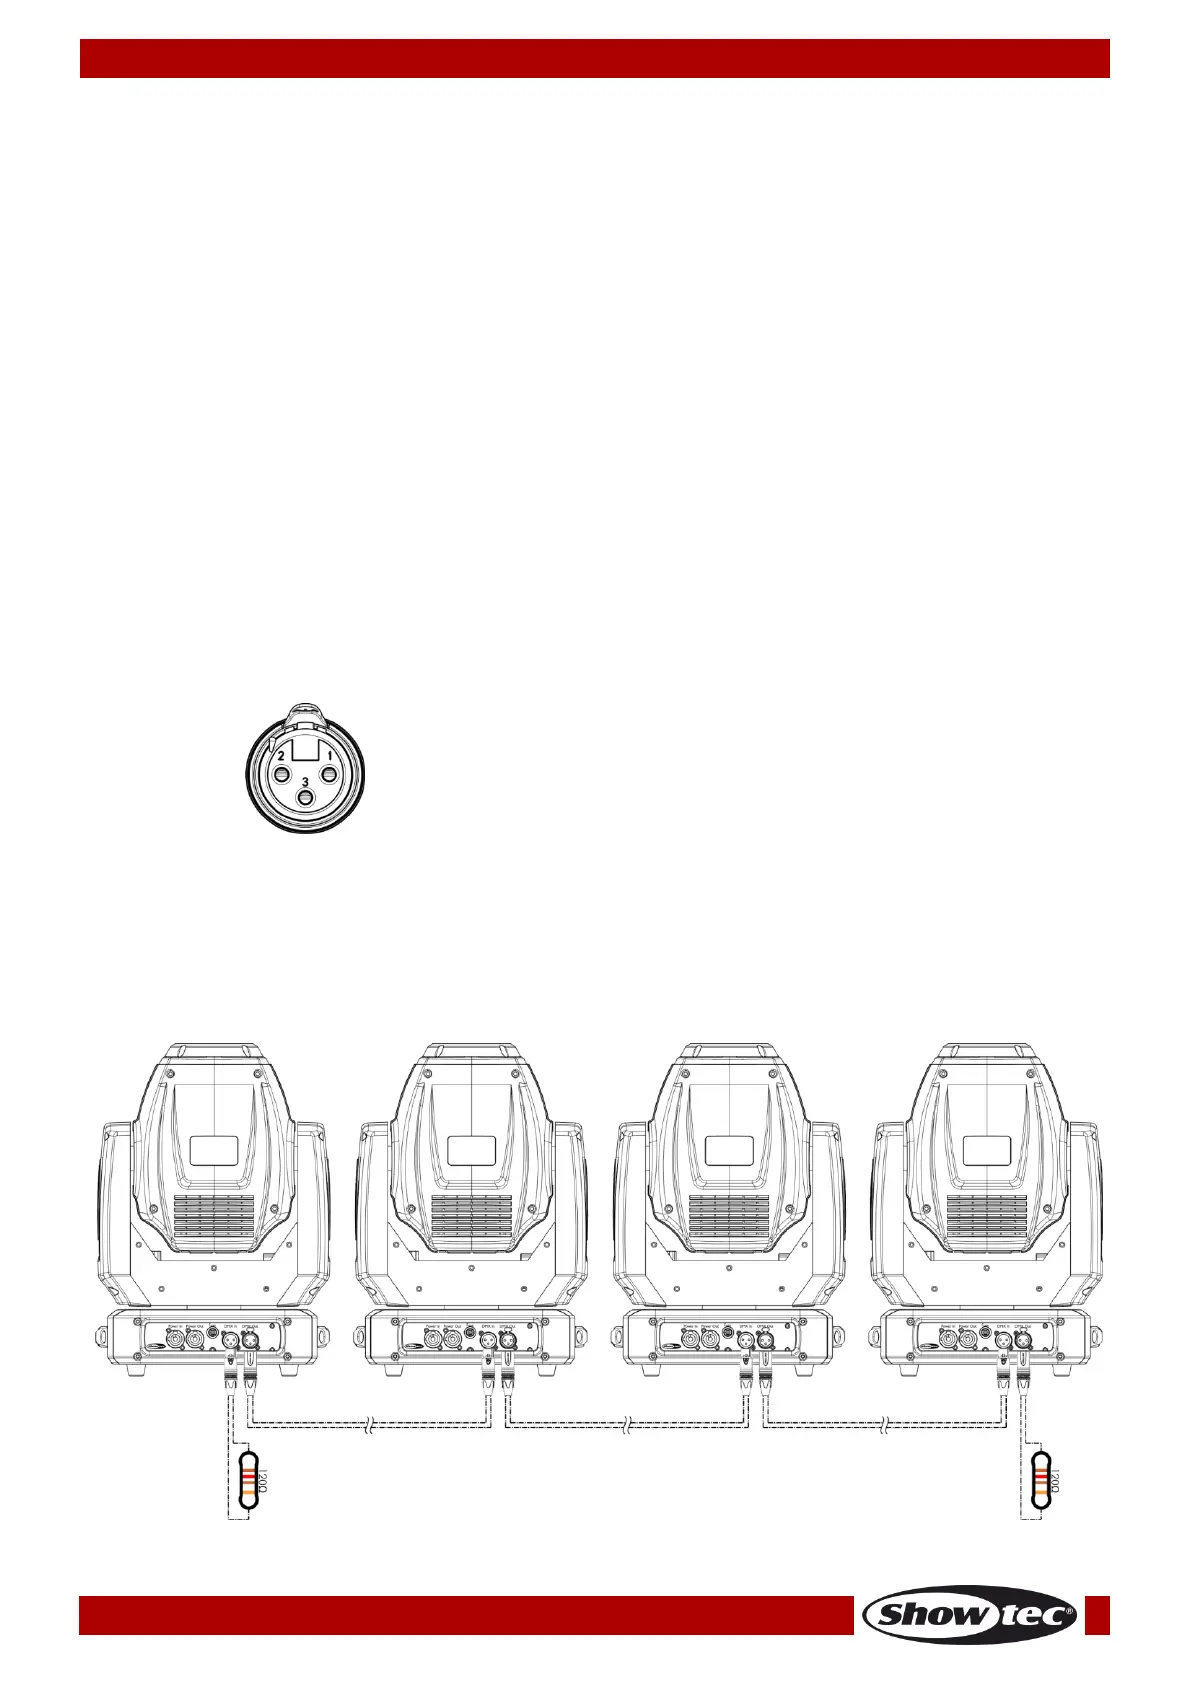
Multiple Phantoms (Master/Slave control)
01) Fasten the effect light onto firm trussing. Leave at least 0,5 meter on all sides for air circulation.
02) Use a 3-pin XLR cable to connect the Phantom.
03) Link the units as shown in fig. 03. Connect the first unit's DMX "out" socket with the second unit's "in"
socket, using a DMX-signal cable. Repeat this process to link the second, third and fourth units.
You can use the same functions on the master device as described on page 15-16 (Auto mode,
Manual mode or Sound-controlled mode). This means that you can set your desired operation
mode on the master device and all slave devices will react the same as the master device.