Shure Incorporated
5/32
1.
2.
3.
4.
5.
1.
◦
◦
◦
2.
3.
Step 1: Install and Connect
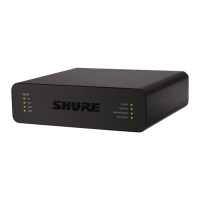
Install the ANIUSBMATRIX and other devices. Connect the MXA902 to a PoE+ port on the network switch using Ether
net cable. If your switch doesn't supply PoE+, the loudspeaker does not play sound and the error LED flashes. The
ANIUSB-MATRIX only requires PoE.
Connect a computer with videoconferencing software (such as Zoom or Microsoft Teams) installed on it to the ANIUSB-
MATRIX's USB port.
Connect the computer running Designer to the same network.
Open Designer. Check that you’re connected to the correct network in File > Designer preferences.
Open a new design and drag both devices into the design.
Step 2: Route Audio and Apply DSP
The easiest way to route audio and apply DSP is with Designer's auto route workflow. This feature routes audio signals, applies
DSP settings, turns on mute synchronization, and enables LED control for connected devices.
Select Auto route. Designer makes the following routes:
MXA902 to ANIUSB-MATRIX
ANIUSB-MATRIX USB output to computer with videoconferencing software
ANIUSB-MATRIX Dante output to MXA902 Dante input (loudspeaker)
You can also route audio manually in Designer or use Dante Controller.
Check the audio routes, matrix mixer routes, and other settings to make sure they fit your needs. To adjust matrix mixer
routes, go to [Your room] > ANIUSB-MATRIX > Matrix mixer.
Select Deploy and connect to send the settings to the installed devices. Designer walks you through associating the de
sign devices with the online devices.
 Loading...