Shure Incorporated
17/100
◦
◦
◦
◦
◦
•
•
◦
◦
◦
◦
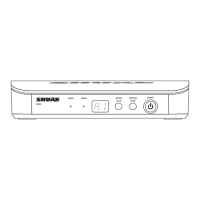
⑨ Ethernet Status LED (Green)
Off = no network link.
On = network link established.
Flashing = network link active.
⑩ Ethernet Link Speed LED (Amber)
Off = 10 Mbps
On = 100 Mbps
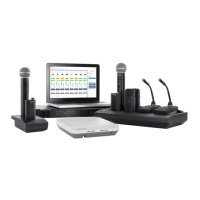
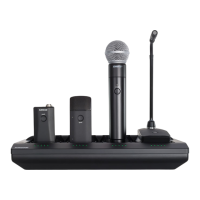
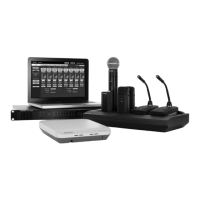
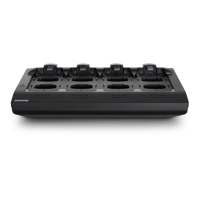
Connecting Microphones
Place a microphone in the charger by connecting it to one of the channel slots. The channels in the top row have two USB
ports to accommodate different types of microphones. Do not attempt to connect to both USB ports at the same time.
Note: 2-channel chargers do not support gooseneck microphones.
Handheld, boundary and bodypack: use the main vertical slots in the recessed bays.
Gooseneck base: uses the top row's horizontal connectors.
Different Connectors for the Same Channel
Microphone Transmitters
Description
① Power Button
MXW6, MXW8: Press and hold the dedicated power button for three seconds to turn the transmitter on or off.
MXW1, MXW2: Press and hold the Mute/Active button for five seconds to turn the transmitter on or off.
② Mute/Active Button
Changes the audio status from Active to Mute, or Mute to Active. The button behavior for each transmitter type can be set
independently from the Preferences tab. The following describes the function of each setting:
Toggle: Press and release the button to change the status to Active or Mute.
Push-to-talk: Hold button to pass audio.
Push-to-mute: Hold button to mute the audio.
Disabled: The button does not affect the audio.
③ Status LED
Indicates the transmitter's status. The color indicators for Mute and Active can be customized from the Preferences tab. See
the Status LED table for the default LED behavior for MXW transmitters except the gooseneck light-ring models (MX405R/
410R/415R).