Shure Incorporated
4/38
•
•
•
•
•
1.
2.
3.
4.
5.
1.
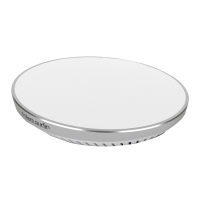
MXA902
Integrated Conferencing Ceiling Array
Getting Started
MXA902 Designer Setup
The MXA902 microphone and loudspeaker intelligently covers all talkers inside the 20 x 20-foot (6.1 x 6.1 m) coverage area.
IntelliMix
®
DSP sends a clear signal for the far end, with AEC, noise reduction, and more on a single output. The loudspeaker
provides high-quality speech reproduction for the entire 20 x 20-foot (6.1 x 6.1 m) coverage area.
After completing this basic setup process, you should be able to:
Discover the MXA902 in Designer
Adjust DSP settings, route audio, and change loudspeaker levels
You will need:
Cat5e or better Ethernet cable (shielded cable recommended)
Network switch that provides Power over Ethernet Plus (PoE+)
Shure Designer software (download at shure.com/designer)
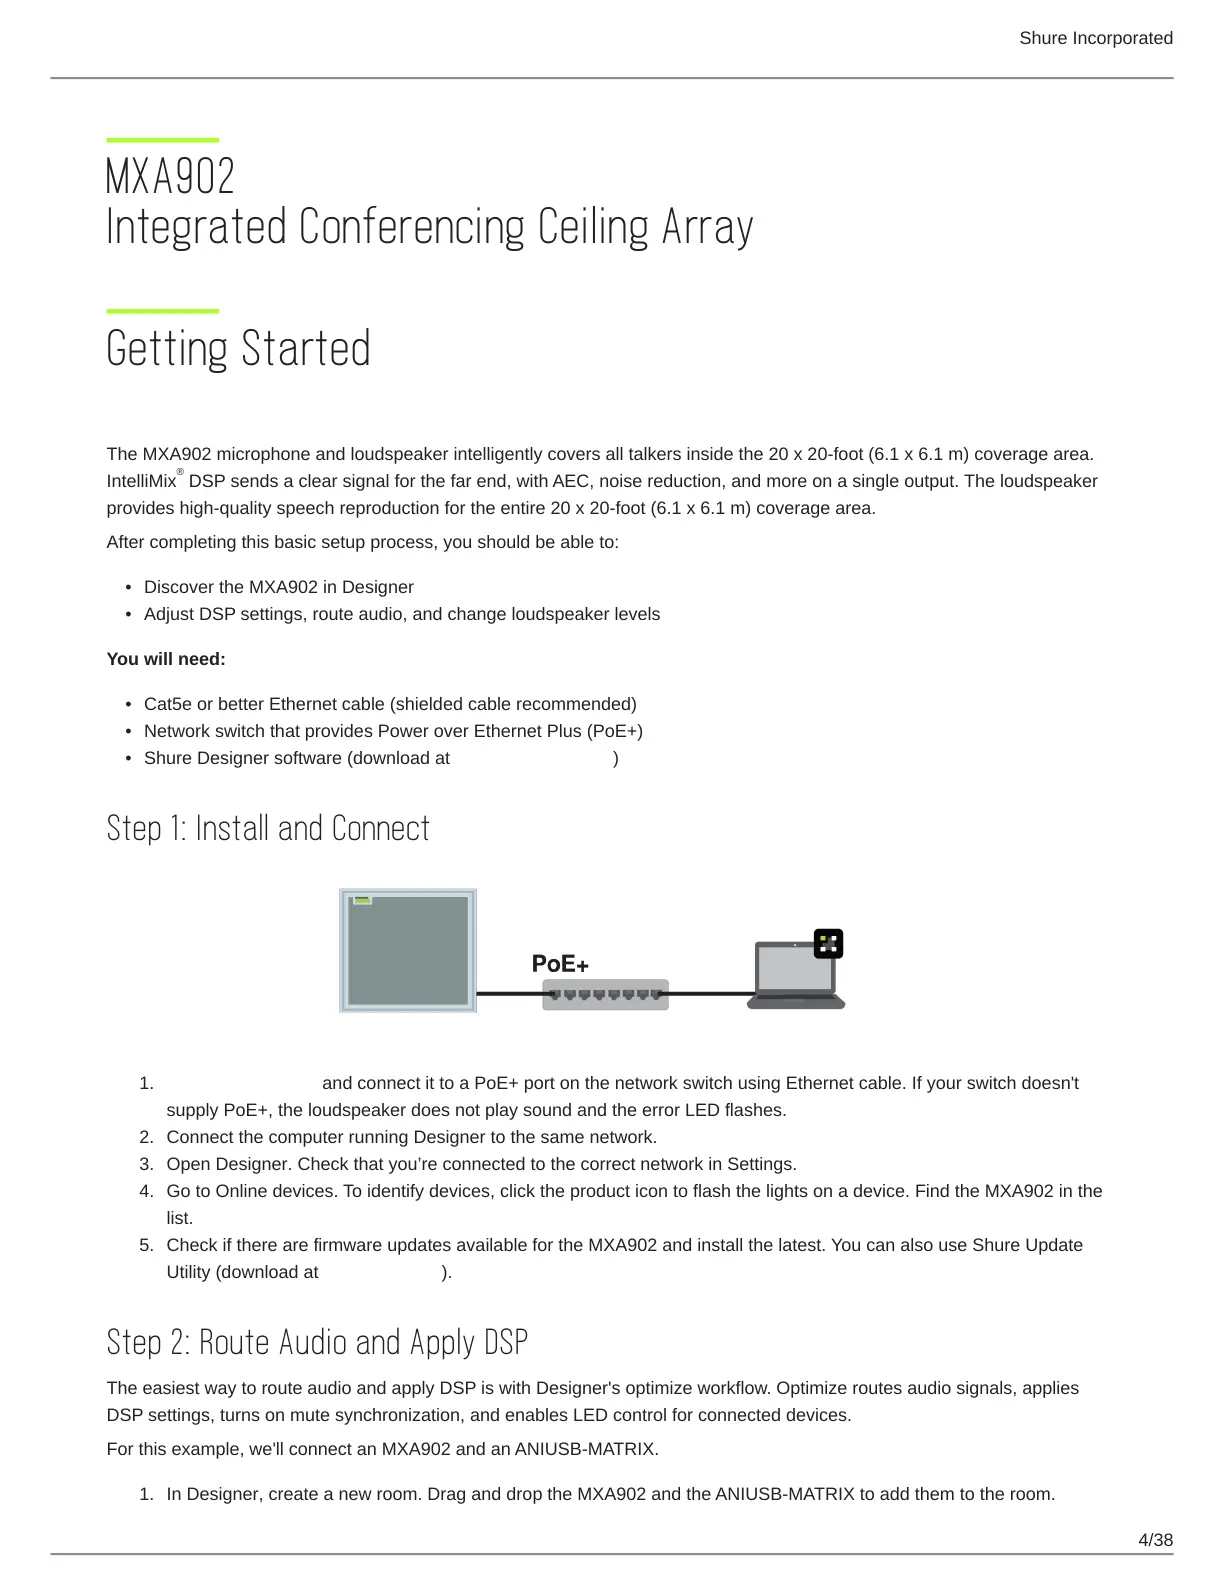
Step 1: Install and Connect
Install the MXA902 and connect it to a PoE+ port on the network switch using Ethernet cable. If your switch doesn't
supply PoE+, the loudspeaker does not play sound and the error LED flashes.
Connect the computer running Designer to the same network.
Open Designer. Check that you’re connected to the correct network in Settings.
Go to Online devices. To identify devices, click the product icon to flash the lights on a device. Find the MXA902 in the
list.
Check if there are firmware updates available for the MXA902 and install the latest. You can also use Shure Update
Utility (download at shure.com/suu).
Step 2: Route Audio and Apply DSP
The easiest way to route audio and apply DSP is with Designer's optimize workflow. Optimize routes audio signals, applies
DSP settings, turns on mute synchronization, and enables LED control for connected devices.
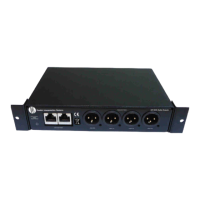
For this example, we'll connect an MXA902 and an ANIUSB-MATRIX.
In Designer, create a new room. Drag and drop the MXA902 and the ANIUSB-MATRIX to add them to the room.