861-9601.9 • INSTALLATION AND OPERATING INSTRUCTIONS • 8DA10 • Revision 11 89/214
Installation
Mounting
the supporting angle
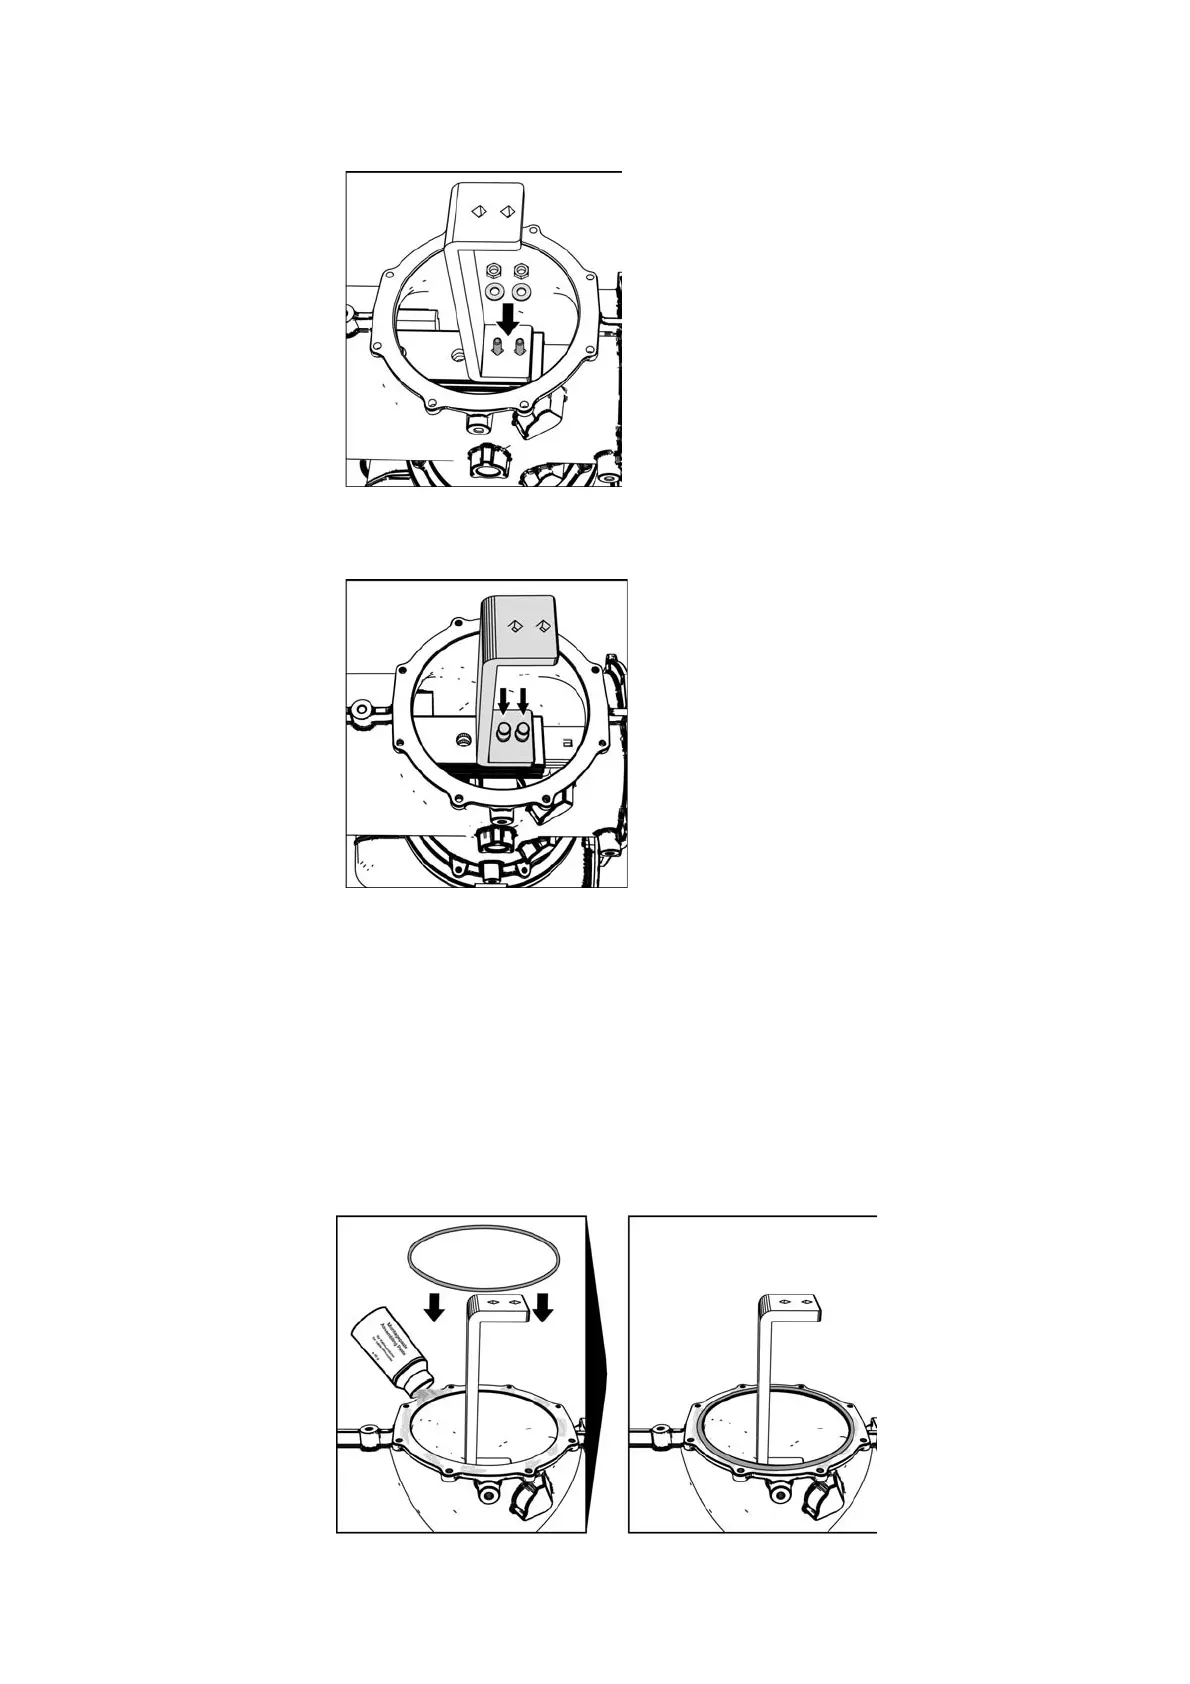
➭ Undo the hexagon nuts at the busbar and mount the supporting angle.
Tightening torque: 40 Nm.
Fig. 94: Fixing the supporting angle
➭ Fit supporting angles for the complete panel, and fit protective caps on the bolted joints.
Fig. 95: Fitting protective caps
Cleaning and greasing
the flanges
➭ Clean all horizontal flanges of the busbar housings and the grooves for the sealing rings
carefully with lint-free paper.
➭ Carefully check the external contact surfaces of the flanges and the grooves for scratches
and other damages or pollution. Damages and pollution will cause leaks.
➭ If any external contact surfaces or grooves are damaged: Inform the regional Siemens
representative and coordinate the elimination of damages.
➭ Apply a uniform film of the supplied mounting paste to the flanges and O-rings (sealing
rings). To do this, apply a grease strip of approx. 3 mm thickness on the external contact
surface of the flanges. Use the supplied Polylub GLY 801 mounting paste only.
➭ Lay the O-rings into the grooves of the flanges.
Fig. 96: Greasing and inserting the sealing ring

 Loading...