After starting Reydisp Manager 2, you are shown a main screen. Right click on the project name in the project
tree which is located on the left side and select New 7SR5 device.
This lets you open a Create Device dialog box enabling you to add a new 7SR5 device.
Make sure to install the device templates before this operation.
[sc_7SR5_NewDevice, 1, --_--]
Figure 5-3 New 7SR5 Device Menu Item
Several options are available for inserting a 7SR5 device into a project:
•
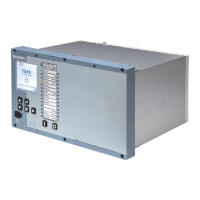
A device can directly be inserted in the project tree with the aid of a valid product MLFB code starting
7SR5XXX-XXX on the label on the fascia. Everything specified by this product code is created afterwards
in Reydisp Manager 2.
•
All installed device templates are in the template list. The device could be selected directly from the
template list.
•
The product code can be entered directly into the Device MLFB user entry box as a partial code or
complete code and the selection will be filtered automatically to assist the selection.
•
If the device is connected to the PC by USB cable the product code can be provided from the device using
the From Connected Device option. This can be used to get the product code from a connected device
and proceed to create a new configuration.
•
You can also select Import the connected device for copying the USB cable connected device configura-
tion and parameters into the project. This method is recommended when working with a device that has
an associated Reydisp Manager 2 project (already configured before). This way the user can obtain a copy
of the preconfigured device in the project.
Choose one adding device option and click the Next button to create the device.
Using Reydisp Manager 2
5.2 Operator Actions in the Offline and Online Area
Reyrolle 7SR5, Operating, Manual 63
C53000-B7040-C013-1, Edition 05.2021
 Loading...


