Installation
3.2 System Installation
Distributed converter for SIMOGEAR geared motors
44 Getting Started, 04/2018, FW V4.7 SP10, A5E36100338B AG
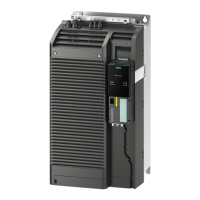
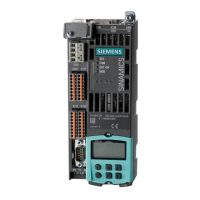
Fit Power Module onto the Terminal Housing
The Power Module is fitted on top of the Terminal Housing and
screwed in place with the four self
-retaining screws.
Screws tightening torque: 2.0 Nm.
Connecting the 24 V external supply (glanded variant - but not
the AS-i variant)
Feed the two 4-core cables through the cable glands.
Connect each 4-core cable to the DC 24 V input and the
DC 24 V output.
Secure the cable cover to the CPI using the two screws.
Tighten the cable glands to secure the cables in place.
The terminals for the 24 V external supply both input and
output are as follows:
– 1 = +24V unswitched
– 2 = 0V unswitched
– 3 = +24V switched
– 4 = 0V switched
Screws tightening torque: 1.5 Nm.
The cable glands have a diameter of 20 mm
Wiring dimensions:
– 0.25 ... 2.5 mm
2
without isolated cable ends (ferrels).
– 0.25 ... 1.5 mm
2
with isolated cable ends (ferrels).
Note
Unswitched and switched power supply
The unswitched 24
V power supply (also known as non-
switched) on X1.2 and X1.4 provides
power to the general electronics of the Control Unit. The switched 24
V power supply on
X1.1 and X1.5 supplies power for the two digital outputs (DI0 and DI1).
For a complete explanation of the unswitched and switched 24 V supplies and their
limitations, please read the FAQ at the following link:
Unswitched and switched 24 V supply
(http://support.automation.siemens.com/WW/view/en/26986267
)
After the system installation has been completed, the external electrical connections can be
performed.
Electrical Installation (Page 49)
 Loading...