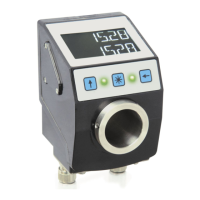
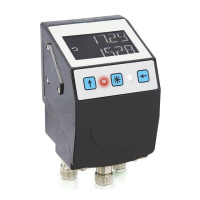
AP10S
Battery change English
AP10S · Date 15.04.2020 · Art. No. 87100 · Mod. status 83/20
37
Preparation:
1. Connect position indicator to supply voltage.
2. Place the replacement battery unit ready (see chapter 6.1).
3. Place a Phillips screwdriver ready (e. g. PH 0x60).
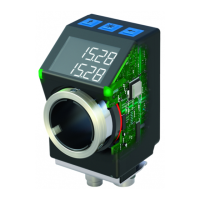
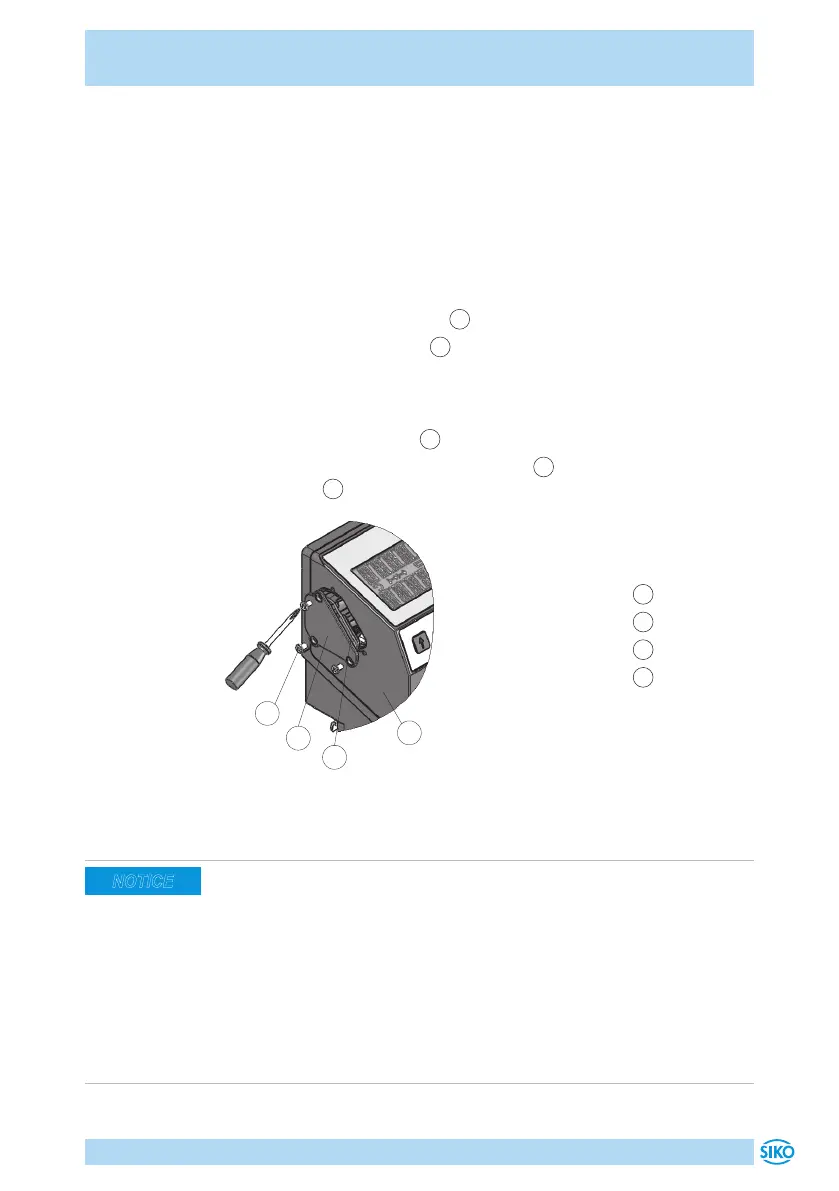
Deinstallation (see Fig. 9):
1. The battery compartment is situated on the left side of the device
(connections below).
2. Unscrew 3 fastening screws
1
.
3. Take out the battery unit
2
(refer to chapter 7 for disposal of the old
battery).
Installation (see Fig. 9):
1. Insert new battery unit
2
. Take care that it can be inserted easily.
2. Check the correct position of the O ring
3
. When mounting the bat-
tery unit,
2
the O-ring must lie all round the battery housing.
1
Screw
2
Battery unit
3
O ring
4
Housing
Fig. 9: Battery change
6.4 Faults after battery change
Data loss
Battery symbol on display is glowing in spite of new battery.
` Await updating. The battery's state-of-charge display is updated at
intervals of <10min.
` Insucient contact, repeat chapter 6.3.
` Disconnect the position indicator from the supply voltage. With repea-
ted applying of supply voltage, the battery display will be initialized
and updated. Perform alignment travel according to chapter 5. Exe-
cute calibration travel according to User manual.
NOTICE
 Loading...