MPPT Charge Controller User Manual - Feb. 2019 14
5. INSTALLATIONS
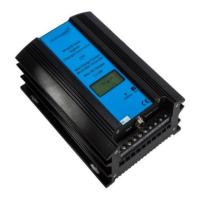
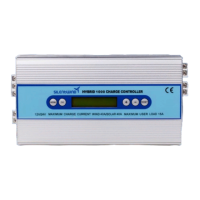
Before installation the Hybrid Boost Charge Controller, find a suitable position indoor to avoid water
entering the controller. The Hybrid Boost Charge Controller must be installed in a place with good
ventilation and heat dissipation.
Plan your installation carefully.
Follow the correct assembly sequence:
1
st
Charge controller to battery connections
2
nd
Solar Panels to the charge controller
3
rd
Wind generator to the charge controller
5.1 PACKAGE
The package includes:
1 unit - Charge controller
1 unit - External Sensor cable
1 unit – External antenna
5.2 RECOMMENDATIONS
Make sure all wires are placed in the correct position or it will damage the charge
controller.
The three AC cables need to have the same cross section and the correct mm²/AWG.
A damaged cable is a severe safety risk. Wires with inadequate cross section can cause fire.
Make sure the electrical connections (crimping) are done 100%.
Any voltage drops can influence the control of brake functions.
Use tinned copper cables for marine installations.
When connecting the Hybrid Boost Charge Controller to the battery, sparks can occur.
A short circuit is to be avoided.
Always ensure enough ventilation in battery location.
5.3 REQUIRED TOOLS AND EQUIPMENT
Cable with the required length and diameter to connect the three AC phases from the
Silentwind generator to the Hybrid Boost Charge Controller.
Connectors for the three-phase cables to connect to the wind generator.
Red and black cable to connect the Hybrid Boost Charge Controller to the battery.
Joint connector for battery cable.
Fuse.
The proper cable sections are listed in the following chapter.