MPPT Charge Controller User Manual - Feb. 2019 17
5.6 ELECTRICAL INSTALLATION
Making an extension of the 3 cables AC, using a crimp
connector insulated will be necessary since the
Silentwind generator will be fixed in the mast and the
Hybrid Boost Charge Controller will not be fixed in the
same place.
If there is enough wind speed when
connecting Silentwind generator, this will
immediately generate electric power at
the end of the 3 AC-wires without being
connected to the Hybrid Boost Charge
Controller. Therefore, we recommend blocking the
Silentwind generator blades with a rope before
connecting the wires to the Hybrid Boost Charge
Controller
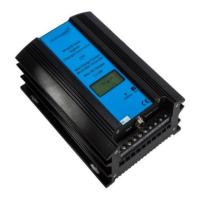
Install a fuse between the Hybrid Boost Charge Controller and the battery positive pole as
close as possible to the battery.
It is most important that you first connect the Hybrid Boost Charge Controller to the
battery with the right polarity. The confusion of plus (red) and minus (black) will
definitely destroy your Hybrid Boost Charge Controller.
After the connection of the battery you can connect the solar panel, the Silentwind generator and if
required, a Load Output with 10A maximum on Output 1 and 10A on Output2 with 10A maximum.