36948-EN 7 Printed in USA 10/13 © 2013
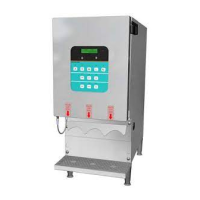
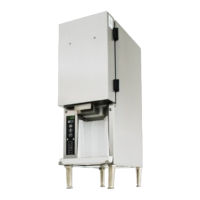
3-Product Dairy Dispenser
Model SKBD3LS
P
R
I
NC
E
C
A
STL
E
LLC
WORLDWIDE
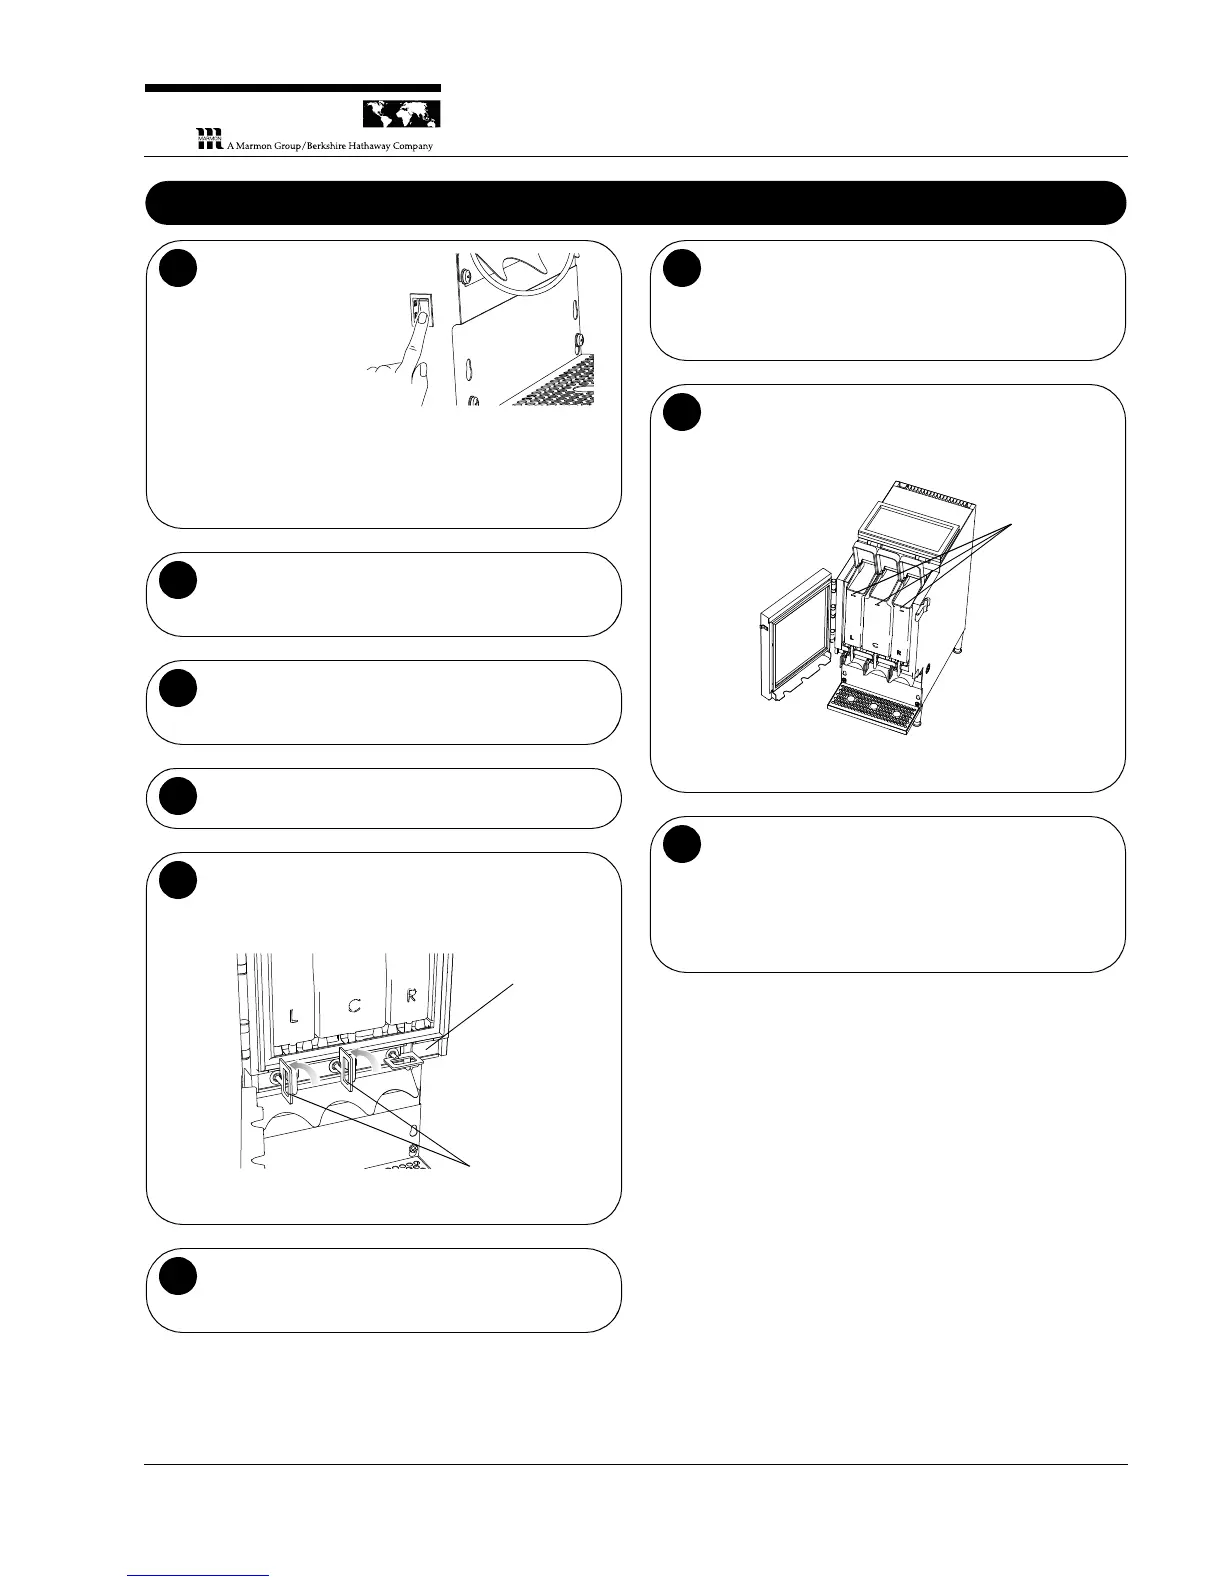
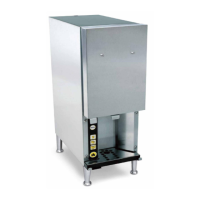
Turn on the power
switch (left side of
unit near the front).
The display panel
should light up and
the fan should turn
on in the back of
the unit.
NOTE: When the
unit is first powered
up, the LEDs
above the Milk, Cream and Skim buttons will flash to
indicate that the containers are empty.
1
Allow the unit to run for approximately one hour
before loading it with product. The internal
temperature should be between 35°F and 40°F.
2
Attach new dispensing tubes. Using clean gloves,
attach new dispensing tubes to the bottom of the
product tanks if not already attached.
3
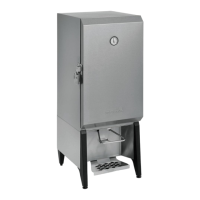
Open the front and top access doors of the unit.
4
Open the product valves. Open the three product
valves by pulling them out slightly and turning
counterclockwise a quarter of a turn, parallel to the
dispensing tube slot.
Valve Shown in
Closed Position
Valves Shown in
Open Position
Place the three product tanks into the unit in the
proper order. Make sure the dispensing tubes are
properly seated in their slots.
6
Move the valves into the closed position. Move the
product valves into position by pulling them out slightly
and turning them counterclockwise a quarter of a turn
so that they pinch the dispensing tubes.
7
Fill with fresh product. Open the cover on the top of
each tank and fill with fresh product.
NOTE: Do not fill containers above the fill line.
Close the tank covers, the top access door, and
then the front door of the unit.
NOTE: Closing front door before top access can
create a gap which may lead to increased ice buildup
and/or warm dairy product.
9