____________________________________________________________________________________________________________________________
Operating Instructions Sinarback eMotion 75 LV / 75 / 54 LV 13
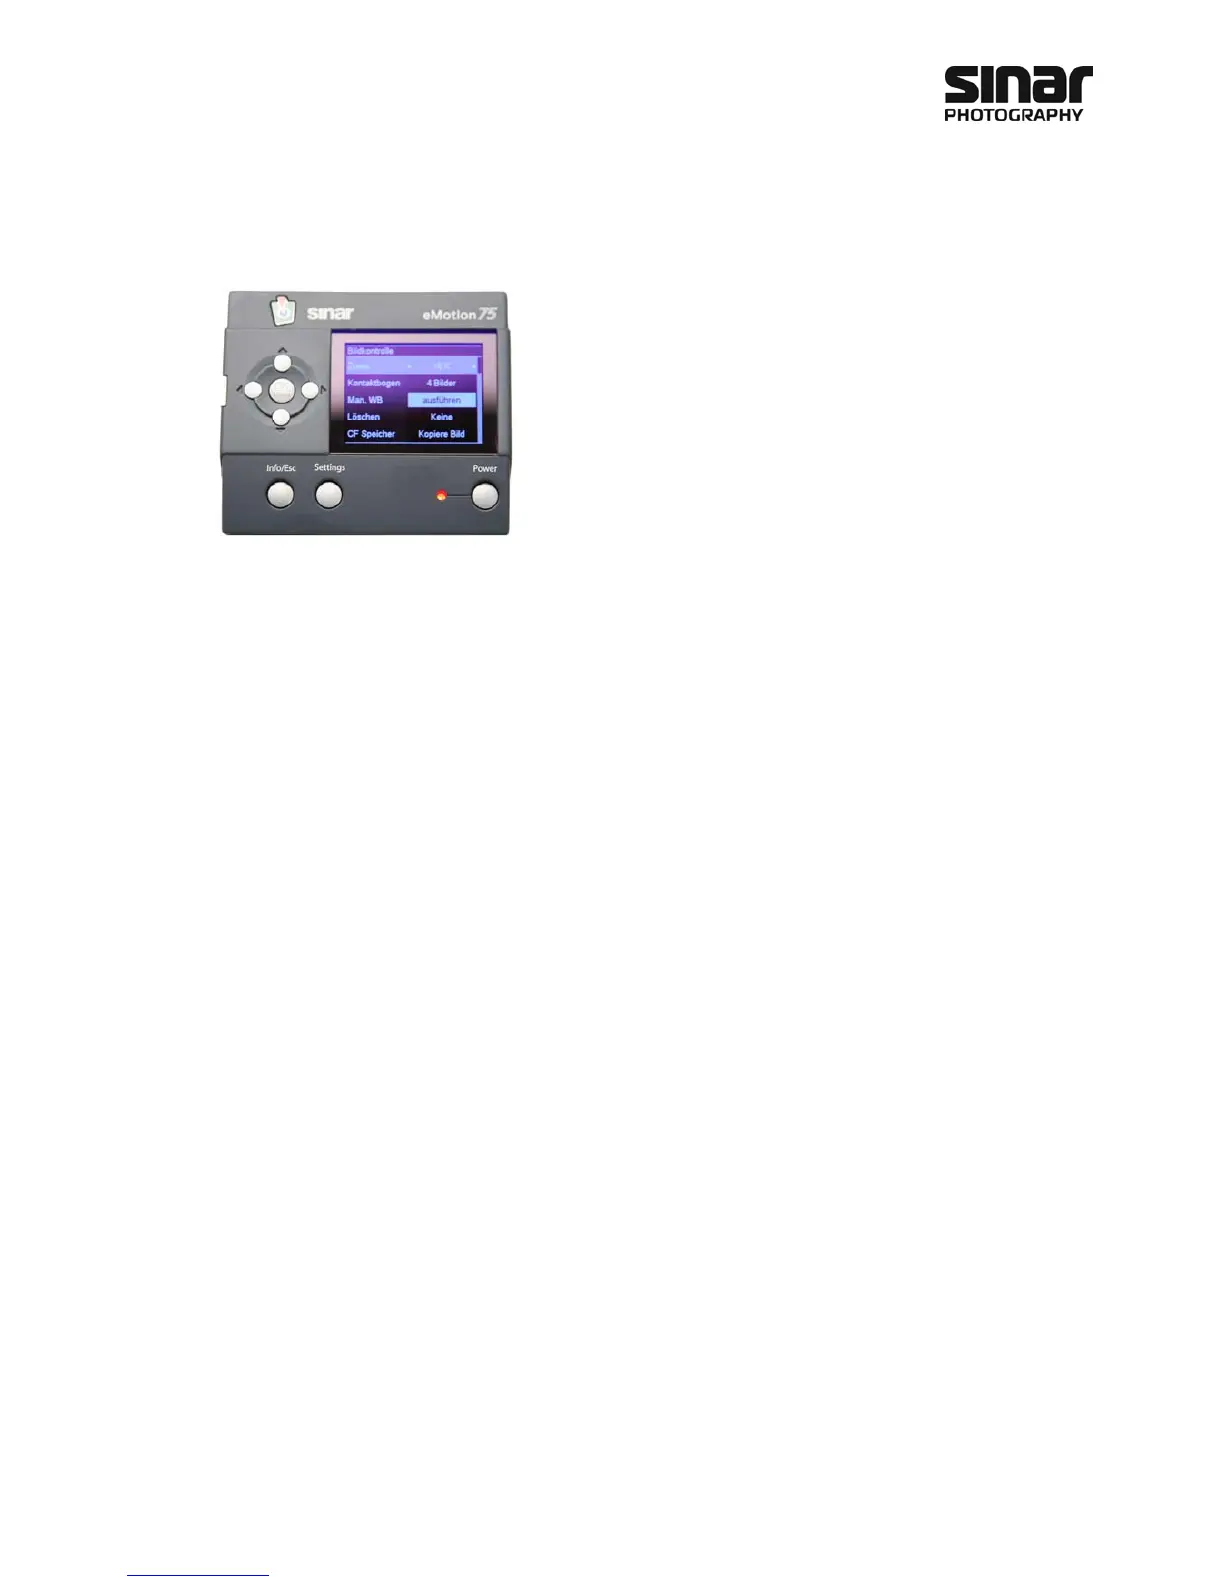
6 Image Control
The menu for the operation of the Sinarback eMotion comes up when
the OK/Menu key is pressed. Select a function and then press the OK
key for this function to be implemented. To leave this menu without
selecting a function, press the Info/Esc key.
6.1 Zoom Function
The Sinarback eMotion features a zoom function for controlling the images. To use the zoom function, first
select the zoom factor and then press the OK key. Cross hairs will appear in the display, which can be moved
around by using the arrow keys. Pressing the OK key repeatedly will enlarge the image to the zoom factor
that was pre-selected. By further repeated pressing of the OK key, you can check the effects of various zoom
factors. To exit the zoom function, press the Info/Esc key.
6.2 Contact Sheet
The Contact Sheet function permits an overview of a number of images. You can select between 4 and 9 of
the images that are shown.
6.3 Manual White Balance
The Sinarback eMotion enables you to execute a white balance manually. It allows you to perform a white
balance on the image that has been selected. Press the OK key and the Sinarback will automatically address
the picture that was selected. Move the arrow to the area for which a white balance is to be created and
then click on the OK key again. The section that you have chosen will then be zoomed to a 1:1 view. If neces-
sary, move to the exact area that is to be rendered neutral and once again press the OK key. The white bal-
ance will be performed immediately and applied to the picture that has been selected. If you want to make
the next exposures with the same white balance, make sure that you have selected the manual white balance
in the Settings menu.
6.4 Deleting Data
Using the Delete function, you can delete individual pictures or all the images on the internal memory. When
you are deleting individual pictures, only the image that is being shown will be deleted. If there are black ref-
erences in the files for which the images have been deleted, these references will be erased automatically.