____________________________________________________________________________________________________________________________
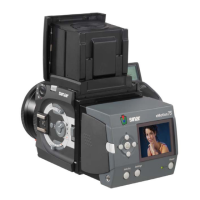
Operating Instructions Sinarback eMotion 75 LV / 75 / 54 LV 2
1.5 Power Supply
Power is supplied to the Sinarbacks eMotion by the battery that is supplied with the digital back. No battery is
needed when the Sinarback eMotion is connected directly to the computer via Firewire cable, because in this
arrangement the power supply takes place via the Firewire.
The camera has to be connected correctly when it is used with the battery that is supplied with it, or when it
is being used with the Firewire cable that is also included.
All warranties become void when other than the authorized batteries Sinar V290 or Varta V290 are used.
1.6 Caring for and Charging the Battery
The operating life of a fully charged battery lasts approximately 4 hours. This depends, however, on the
stand-by time that has been set, on the temperature, and on the climatic conditions.
Because the battery is of the lithium-ion type, it is not subject to the memory effect. Nevertheless it is recom-
mended that it be completely discharged periodically before it is re-inserted in the battery charger.
The lifetime of a lithium-ion battery is increased significantly if it is discharged completely before being re-
charged.
The battery charger that is supplied with the Sinarback is not equipped with a discharging function. It takes
approximately 3 hours to recharge the battery.
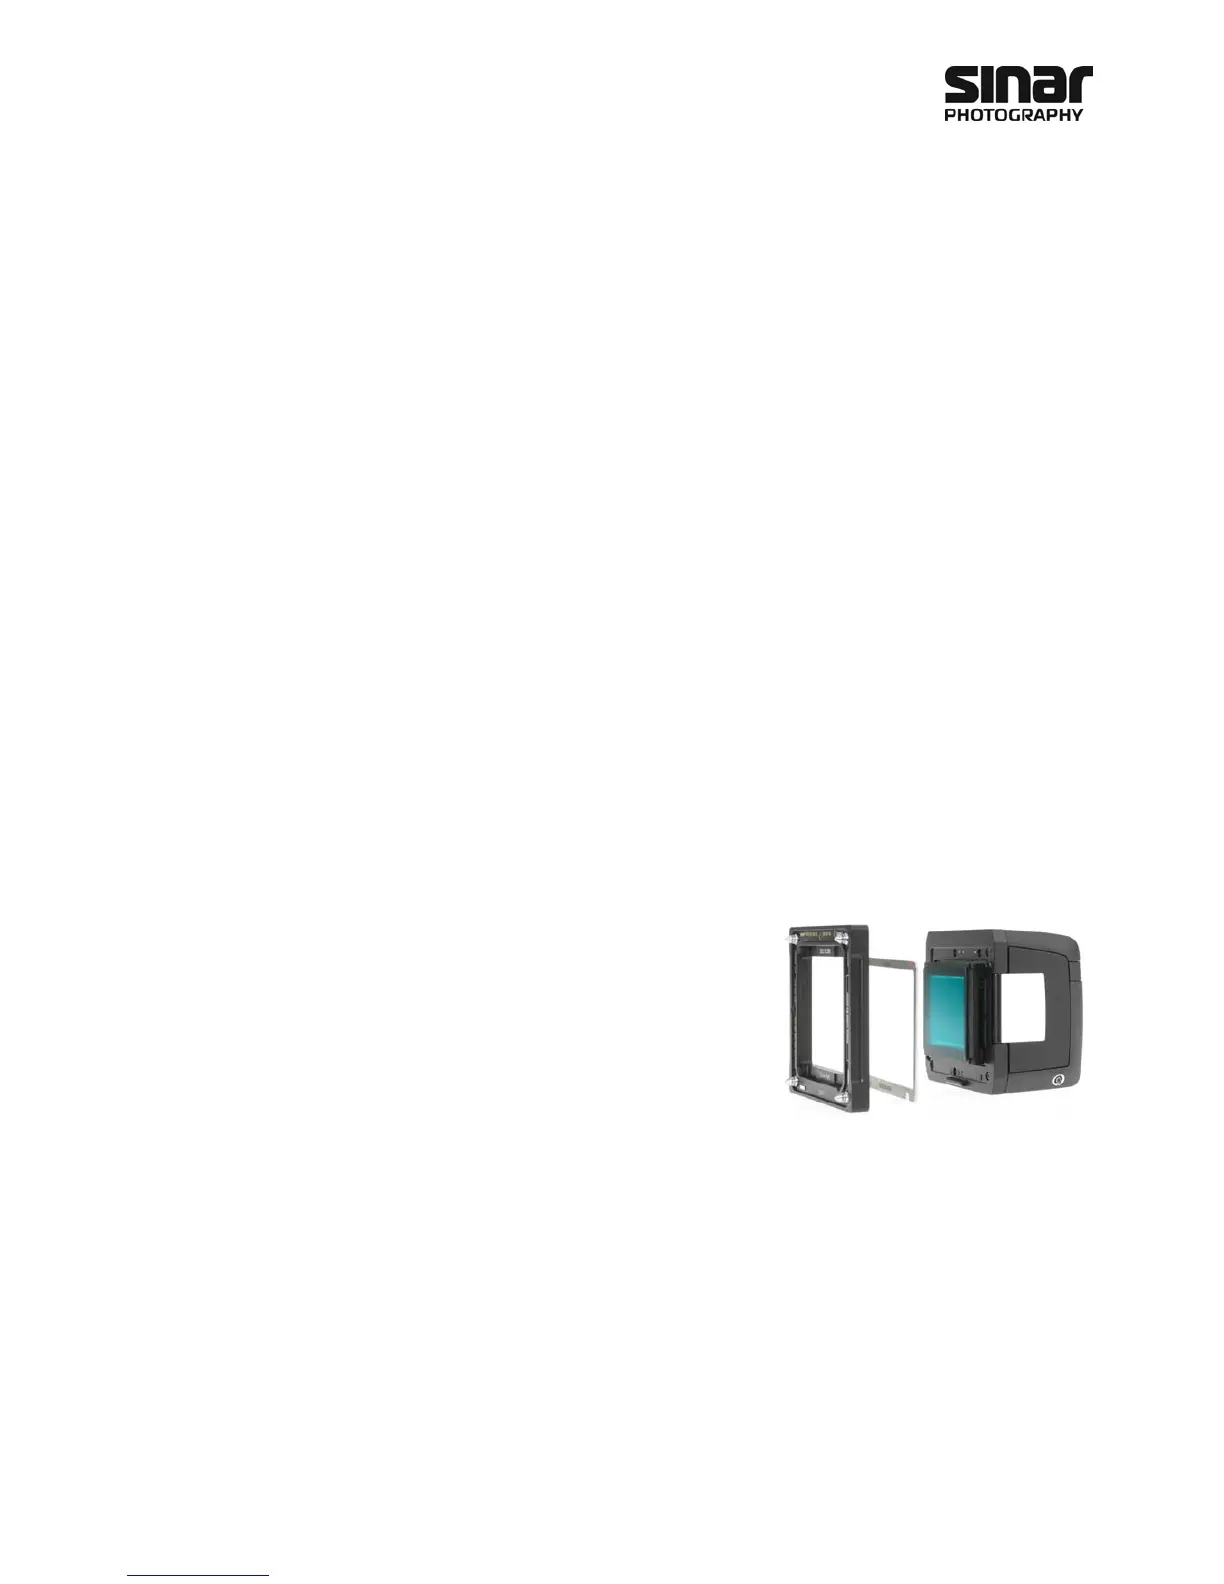
1.7 Attaching the Medium-format Camera Adapter
The adapter plate is fastened to the Sinarback by means of the
three screws supplied with the camera adapter. The adapter plate
has three holes, spacer frame has one hole. The adapter plate and
the spacer frame are to be attached to the front plate of the Sinar-
back by means of the aforementioned three screws.
Care must be taken not to tighten each screw all the way in one
step, but to tighten each one a little at a time, going around several
times, so as to avoid skewing the adapter plate.
1. Remove the protective CCD cover from the Sinar Digital back.
2. Attach the Sinar Adapter Plate to the Sinarback by first placing the Spacer frame on the front plate
on the Sinarback and on top of the spacer frame place the adapter plate. Then inserting all three
screws lightly and then gradually tightening them a little at a time, alternating working on each
screw diagonally from each other until all of them are fastened securely.
3. When the Sinarback is to be stored after being used, please use the protective CCD cover that is sup-
plied with the Sinarback.
4. Attach the Sinarback to the camera.
Important Information
The Spacer frame must be mounted between the digital back and the adapter plate. This Spacer frame serves
for the precise alignment of the sensor surface. Not attaching this shim will result in unsharp images.