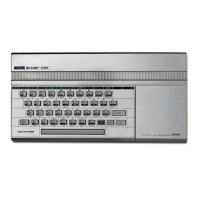
SECTION 2
DISASSEMBLY/ASSEMBLY
1. Disassembly
Access to Internal Components
Microdrive
Circuit Board
Loudspeaker
Microdrive: Disassembly for Repair
Keyboard: Disassembly for Repair
2. Assembly
Loudspeaker
Circuit Board
Microdrives
Keyboard
Case Assembly
1. DISASSEMBLY
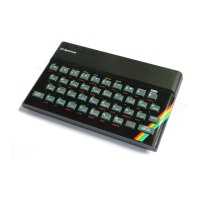
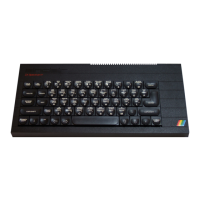
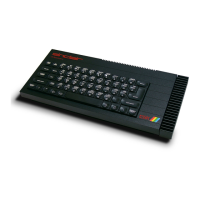
1.1 Access to Internal Components
1.1.1 Unplug all input/output leads and turn the QL upside down to reveal eight self-tapping screws, 4 x 5/16-in along the front edge, below the over-
hang, and 4 x 1.1/4-in along the rear edge. Remove the screws (CAUTION: do not remove the two screws visible on the base immediately below
the microdrives). Hold the two halves of the case together and return the QL right-side up. The top half of the case, including the keyboard, can now
be separated from the bottom half, although it remains connected to it by two flexible ribbon cables and the leads from three LEDs.
1.1.2 To separate the upper and lower case halves completely, free the membrane tails from the edge connector sockets on the board by pinching
them between forefinger and thumb (adjacent to the socket) and then exerting upward pressure. Release six leads from the 'snapaction' wire post
socket, adjacent to the TV modulator can, by pinching the black plastic moulding between forefinger and thumb and raising it up off the board until
resistance is felt; the leads can then be pulled free.
1.2 Microdrive
1.2.1 Remove the heatsink adjacent to the microdrives by releasing the attachment screw for the +5V regulator IC35; retain the M3 x 10mm screw
with brass plain and crinkle washers for assembly.
1.2.2 Remove three pan-head, self-tapping screws securing the microdrive to the lower case - two visible at opposite corners of the microdrive
chassis (5/16-in and 1/2-in). CAUTION: not to be confused with the countersunk motor screws and a third (3/4-in) accessible from the underside of
the lower case.
1.2.3 Lift the microdrive from its mounting position and free the two ribbon cables from sockets on the board by pinching them between forefinger
and thumb (adjacent to socket) and then exerting upward pressure.
1.3 Circuit Board
1.3.1 Remove both microdrives as detailed in para 1.2. Remove the reset button.
1.3.2 Release the loudspeaker leads from the 'snap-action' wire post socket, adjacent to the TV modulator can, together with two pan-head screws
securing the circuit board to the lower case. The screws are located in the vicinity of the external bus connector and the loudspeaker; retain the 1/4-
in screws and fibre washers for assembly.
1.3.3 Remove the push-fit microdrive extension bung from the lower case, and carefully work the circuit board free from the locating dowels by lifting
it at the bus extension connector end.
1.4 Loudspeaker
1.4.1 Remove the microdrives and circuit board as detailed in paras 1.2 and 1.3.
1.4.2 Using a scalpel or similar tool, break the adhesive seal between the loudspeaker housing and the lower cover and lift the speaker from the
locating dowels.
1.5 Microdrive: Disassembly for Repair
1.5.1 Stripping for repair is limited to the p.c. board, motor assembly and the microswitch. Each is secured by screws, readily identified once the
microdrive is removed from the lower case.
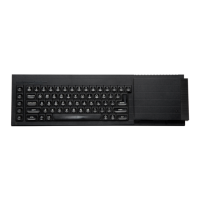
1.6 Keyboard: Disassembly for Repair
1.6.1 Separate the upper and lower case halves as described in para 1.1.