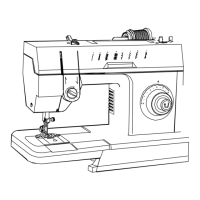
LUBRICATION
Before
starting
machine,
the
oil
reservoir
must be
filled to
HIGH
MARK
shown in Fig. 2
Use
SINGER
OIL
"TYPE
A"
or
"TYPE
C".
Use
"TYPE
C"
OIL when an oil is
desired
which will
produce a minimum
of
stain
on
fabrics
even
after
a
long period of storage.
Do not use
additives
in sewing machine oil,
as
they
may
cause
a
reduction
in normal oil flow
that
can
result
in damage to machine.
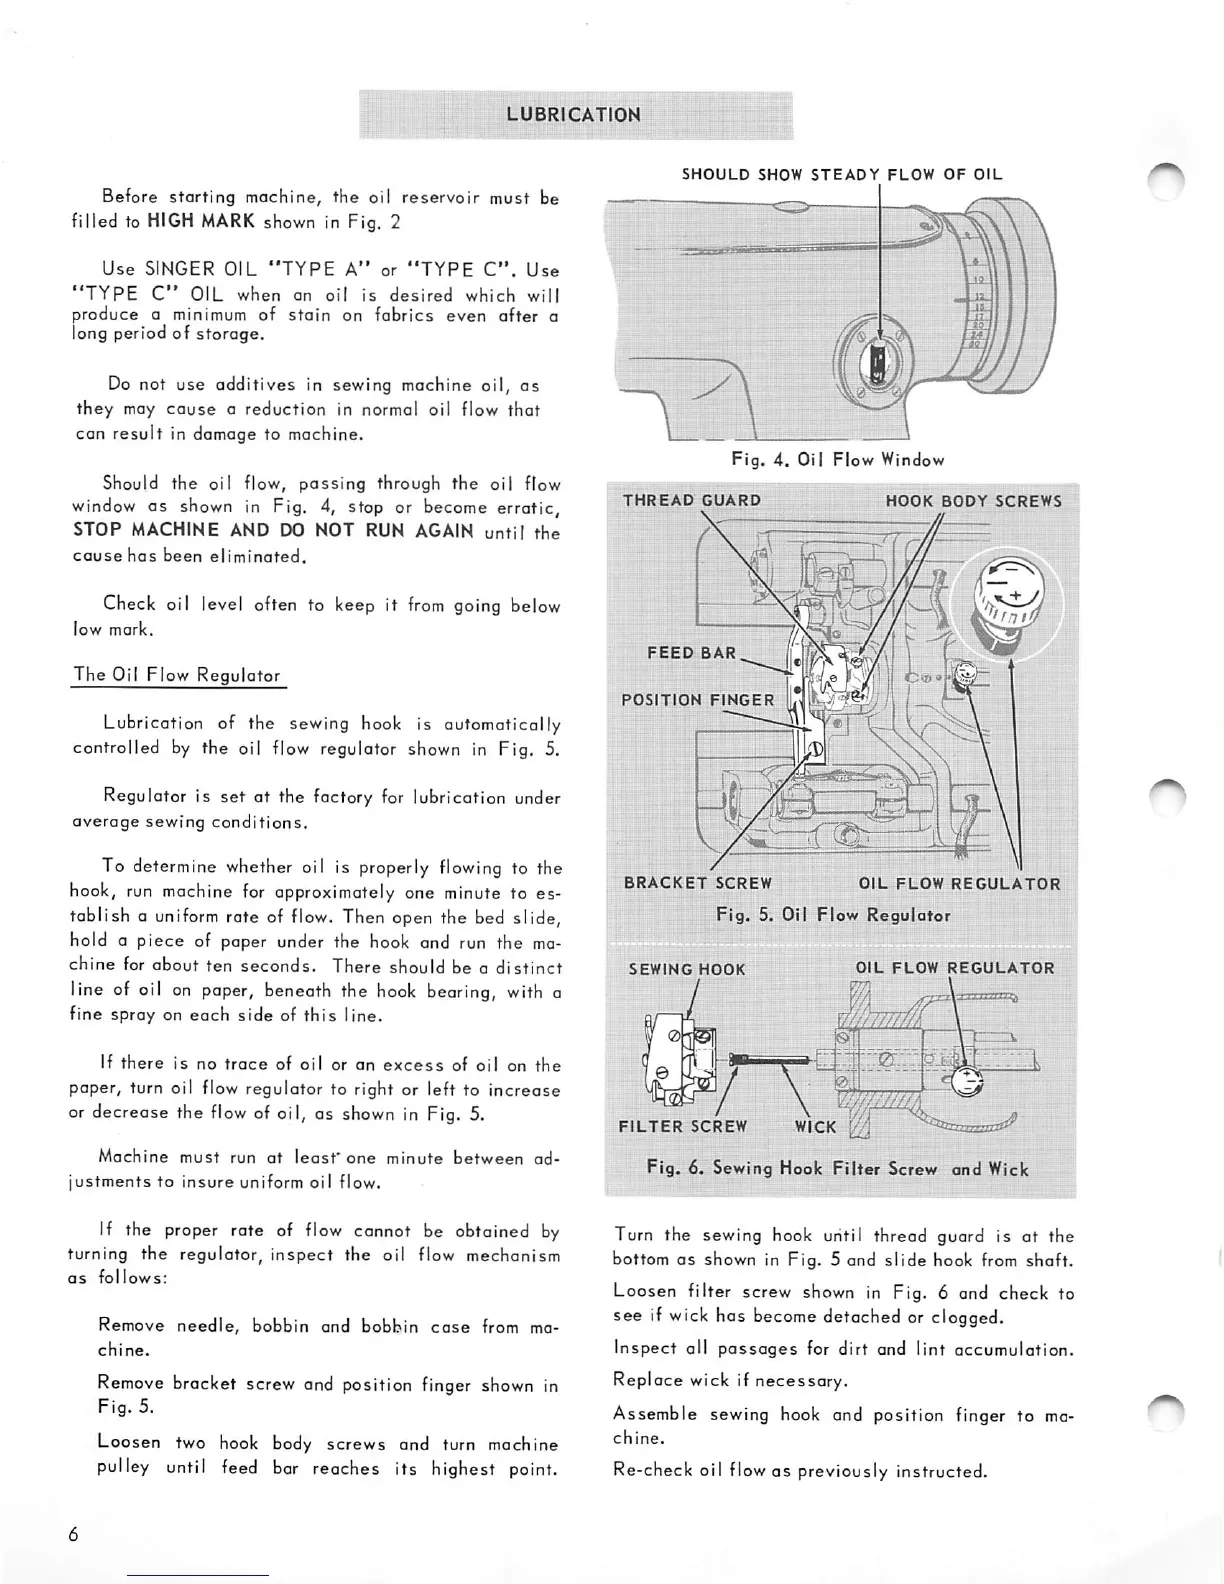
Should
the
oil flow,
passing
through
the
oil flow
window
as
shown
in Fig. 4, stop or
become
erratic,
STOP MACHINE AND DO NOT RUN AGAIN
until
the
cause
has
been
eliminated.
Check oil level often to keep it
from
going below
low
mark.
The Oil Flow Regulator
Lubrication of the sewing hook is automatically
controlled by the oil flow regulator shown in Fig. 5.
Regulator is set at the factory for lubrication under
average
sewing
conditions.
To determine whether oil is properly
flowing
to the
hook,
run
machine for approximately one minute to es
tablish a
uniform
rate of
flow.
Then open the bed slide,
hold 0
piece
of paper under the hook and run the ma
chine for about ten
seconds.
There should be a
distinct
Iine of oil on paper, beneath the
hook
bearing, with a
fine spray on
each
side
of
this
line.
If
there
is no
trace
of oil or an
excess
of oil on
the
paper, turn oil
flow
regulator to right or left to increase
or decrease the
flow
of oil, as shown in Fig. 5.
Machine
must
run
at
least'
one
minute
between
ad
justments
to
insure
uniform oil flow.
If the proper rote of flow cannot be obtained by
turning the regulator, inspect the oil flow mechanism
as
follows:
Remove
needle,
bobbin and bobbin
case
from ma
chine.
Remove
bracket screw and position finger
shown
in
Fig.
5.
Loosen two
hook
body screws and turn machine
pulley until feed bar reaches its highest point.
SHOULD
SHOW
STEADY
FLOW
OF
OIL
Fig.
4. Oil Flow Window
THREAD
GUARD
HOOK
BODY
SCREWS
FEED
BAR
POSIT,OH
BRACKET
SCREW
OIL
FLOW
REGULATOR
Fig.
5. Oil Flow
Regulator
SEWING
HOOK
OIL
FLOW
REGULATOR
a
U-
FILTER
SCREW
WICK
Fig. 6. Sewing Hook
Filter
Screw and Wick
Turn the sewing hook until thread guard is at the
bottom as shown in Fig. 5 and slide hook
from
shaft.
Loosen filter screw shown in Fig. 6 and check to
see if wick has become detached or clogged.
Inspect all
passages
for dirt and lint accumulation.
Reploce wick if necessary.
Assemble sewing
hook
and position finger to
ma
chine.
Re-check oil flow
as
previously instructed.