SET-UP
Model(s): All Models except TUV
Remove air silencer.
Unhook the battery strap or undo steel strips
nut and screw holding battery.
Remove the battery.
Battery Installation
Properly position the battery on its rack.
WARNING
Always connect the battery cables exactly in
the specified order. Connect RED ( + ) cable
first, then BLACK ( – ) ground cable.
Connect RED ( + ) cable to battery positive post.
Apply silicone dielectric grease (P/N 293 550 004)
on battery positive connection.
Cover the RED ( + ) connection with rubber boot.
Connect BLACK ( – ) cable to battery negative post.
Apply silicone dielectric grease (P/N 293 550 004)
on battery negative connection.
N
NN
NO
OO
OT
TT
TE
EE
E:
::
: Place the BLACK ( – ) cable under
the battery strap.
Close battery cover (if applicable)
Secure battery with steel strips or rubber strap.
Reinstall previously removed parts if applicable.
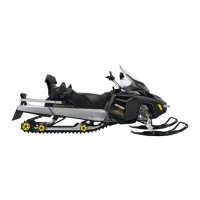
Rear Suspension Rear Shock
1
2
A29F126
Model(s): TUV and SUV Only
Lift up rear side of snowmobile.
Install shock absorber bearing bushings
in place [
[[
[1]
]]
].
Install shock absorber in place (with
protector upward and adjustments handle
towards the rear) [
[[
[2]
]]
].
Secure shock to upper arm using:
– one hexagonal bolt M10 x 50
– one nut M10.
Secure shock to rear arm using:
– two hexagonal bolts M10 x 40
– two lock washers
– two shims
– two circlips
– one rear shock shaft.
Torque to 45 N•m(33 lbf•ft).
1
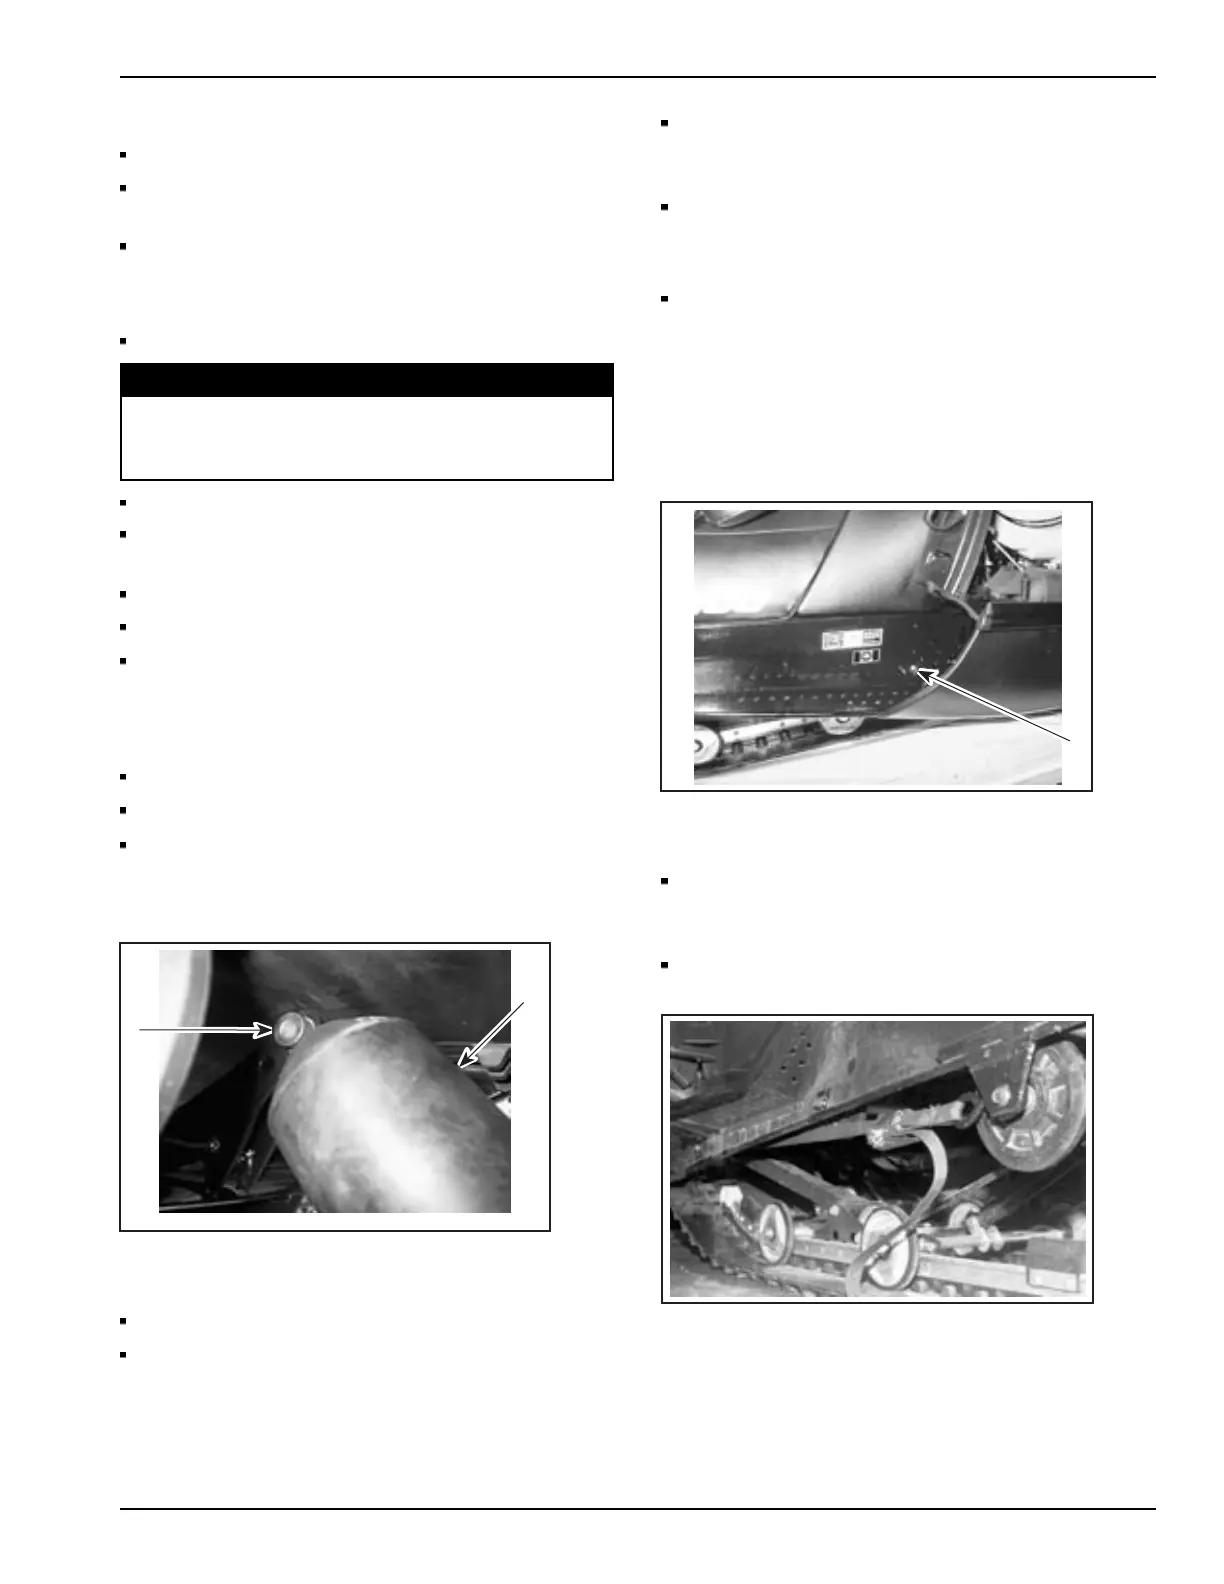
Model(s): SWT/WT Only
Secure front arm upper axle of rear suspension
usingtwoM10x30screws[
[[
[1]
]]
] in plastic
bag under the seat.
Apply Loctite 243 (blue) (P/N 293 800 060)
on threads.
N
NN
NO
OO
OT
TT
TE
EE
E:
::
: Use a tie-down between the front
arm and spring axle to ease the installation
of the front arm screws.
Torque screws to 58 N•m(43 lbf•ft).
Predelivery 2006-1 5 / 24