SET-UP
Secure rear arm using previously removed screws.
Apply Loctite 243 (blue) (P/N 293 800 060)
on threads.
Torque screws to 58 N•m(43 lbf•ft).
Model(s): WT Only
N
NN
NO
OO
OT
TT
TE
EE
E:
::
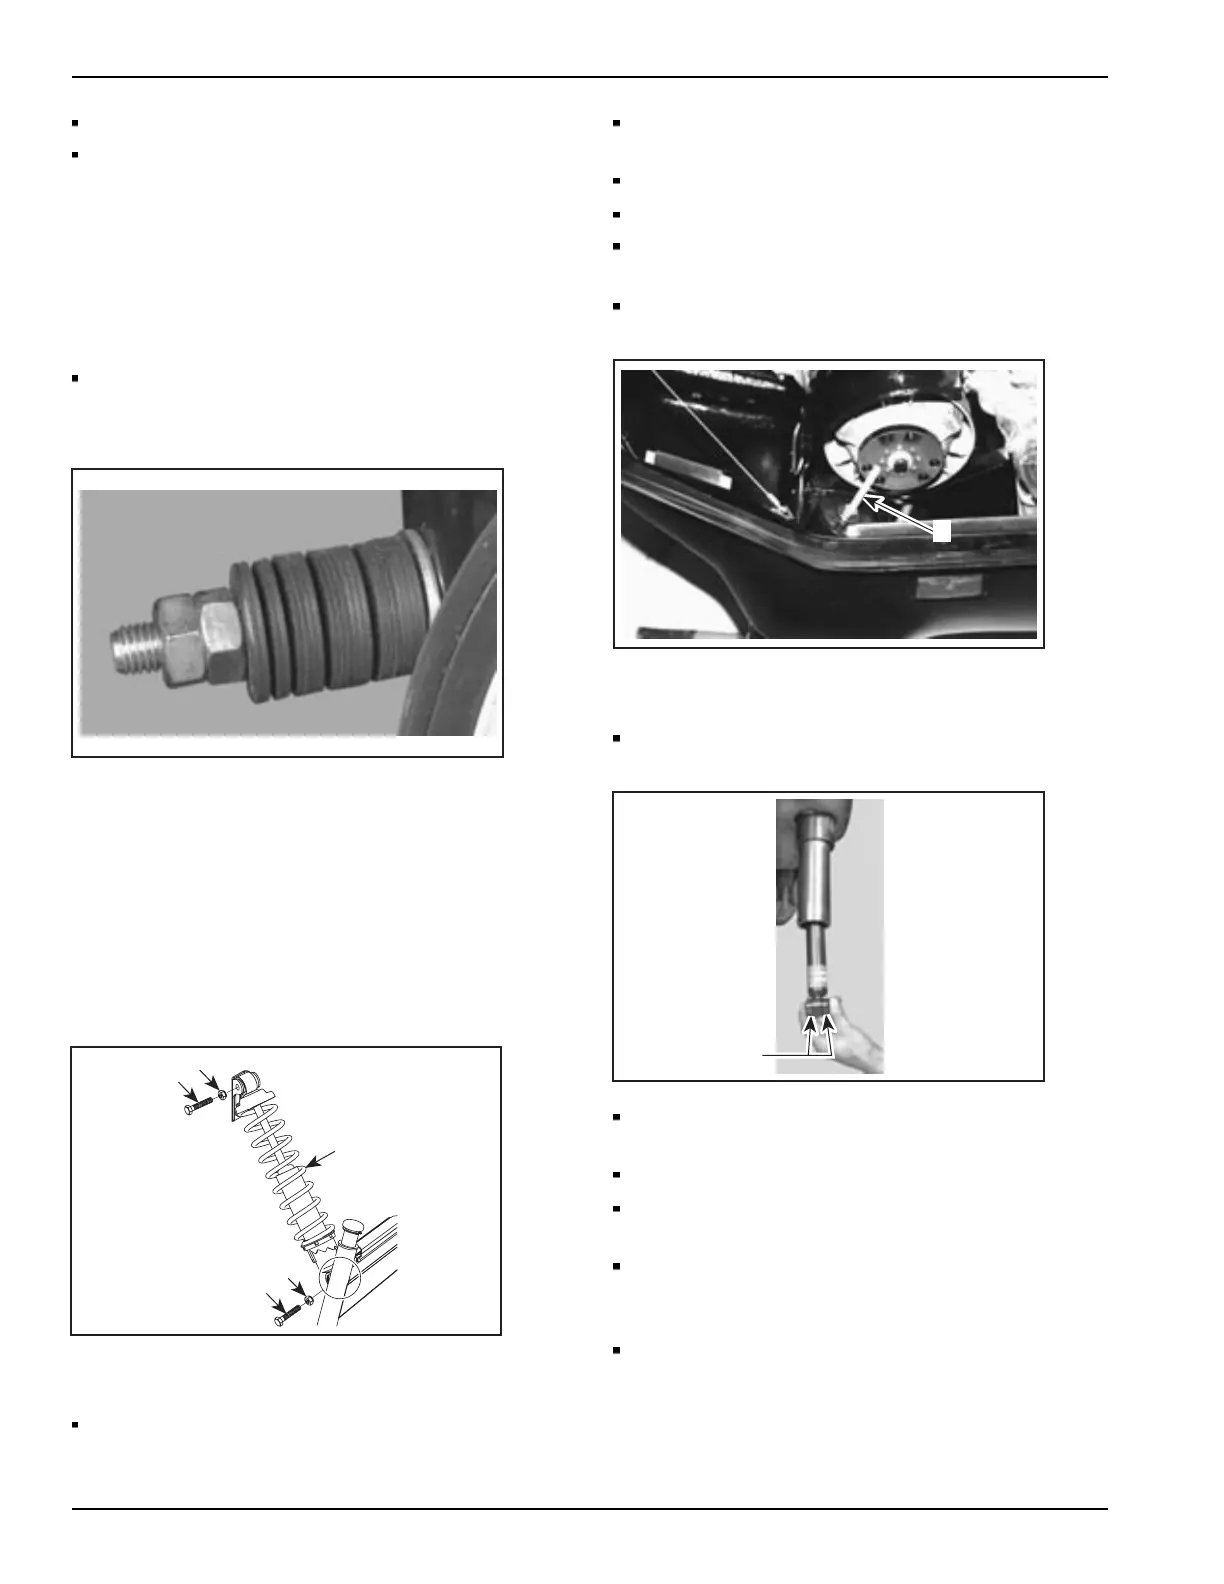
: For single driving condition use upper
hole and for two person driving condition or
load in rack, use lower hole.
Apply Loctite 243 (blue) (P/N 293 800 060)
on threads.
Torque screws to 58 N•m(43 lbf•ft).
Model(s): All except TUV and SUV
N
NN
NO
OO
OT
TT
TE
EE
E:
::
: Also in shrink pack are 4 horse shoe type
washers that are used to adjust rear suspension
for trail riding according to load (refer to the
appropriate SHOP MANUAL for proper procedure);
they are to be put in the tool box for further use.
Front Suspension Shocks
A29F176
1
2
3
2
3
Model(s): TUV and SUV Only
Lift front of vehicle and block safely.
Remove and discard shipping brackets
from suspension.
Discard spring clips, keep screws.
Remove air intake silencer.
Install shock absorbers to suspension with
their adjusting ring at bottom.
Secure with hexagonal bolts and nuts
provided in predelivery kit.
1
Model(s): WT/SWT Only
Remove long bolts [
[[
[1]
]]
] that compress front
suspension on both sides.
1
Install 2 plastic bushings [
[[
[1]
]]
]intoshock
absorber eyelets.
Stretch shock to its maximum.
Slide shock absorber into bottom of ski leg
until shock rod goes through cap hole.
Loosely install conical spring washer, concave
surface inside, and M10 nut on shock rods,
keeping at least 1/4 in (5 mm) of free play.
Install stop bounding on ski with its highest
portion toward front.
6 / 24 2006-1 Predelivery