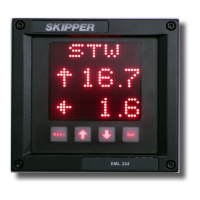
SPEED CALIBRATION MODES
The EML224/DL1 Compact has two modes of speed
calibration:
1. Manual
2. Semi-automatic
Manual mode
The calibration – (MANUL) menu will allow the user to
adjust the heading offset (*see note below), and the speed
calibrations individually. Up (↑) and down (↓) adjust the
highlighted parameter. SET moves to the next parameter.
The data showing the result of the change will be displayed
dimmed on the same screen (offset or speed). On the 3rd
press, the lower value will change from Measured or Raw
resultant value (Mrs) to Calibrated resultant (Crs) to allow the
user to check the result of the change.
Procedure
When entering the manual mode, you will be presented with
the offset value. This is the mounting angle of the sensor. The
bottom line shows the measured offset at this moment. Adjust
the midlle value until the bottom value is near zero. Note the
bottom value has a long average, and you may have to wait
for up to a minute for the value to stabilise.
*Note: This function is only available in dual axis systems.
Hint: Pressing down (↓) and SET together will change the current selected
value to the resultant value, or to zero, saving time when adjusting.
Pressing SET moves you to the next speed calibration. Enter the real (R) speed
and measured (M) speed, (the measured speed can be seen on the bottom
line). The calibrated value can be checked by pressing SET one more time.
Repeat this process at as many different speeds as necessary.
Semi-automatic mode
The calibration – AUTO menu will take the user step by step through the
calibration menu. The user may follow the steps presented on screen. First
drawing a line on the chart system, as shown in gure 3.1 and 3.2.
*Note