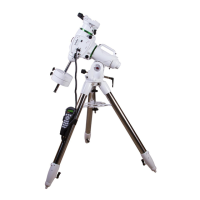
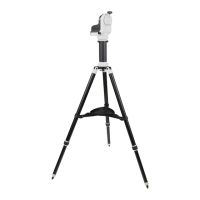
If you are using the oponal Equatorial Wedge aached to your tripod,
follow this procedure:
1. Set up your tripod and ensure it is stable.
2. If you have a lt/pan head or ball mount it is best to remove it from
your tripod. Aach the Equatorial Wedge directly to your tripod via
the 3/8-inch threaded mounng hole.
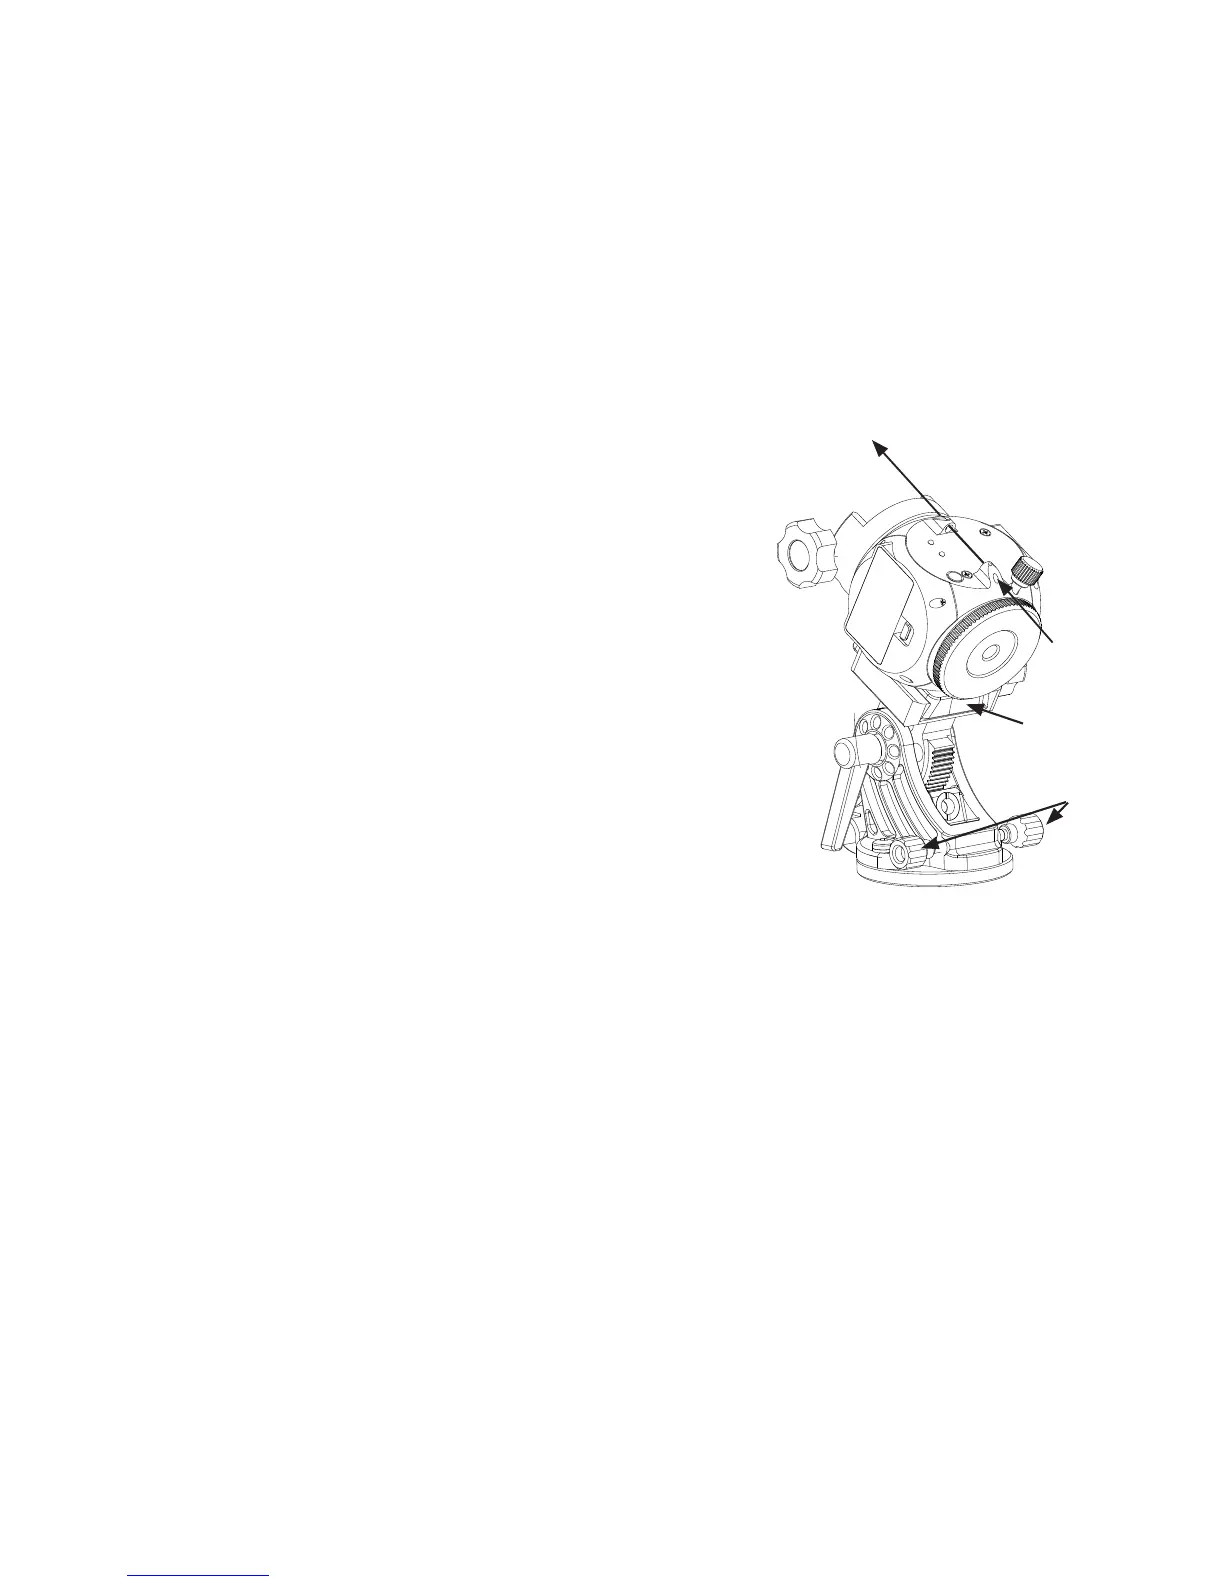
3. Once the wedge is securely aached align the tripod so that the
Altude Adjustment Knob is facing north.
4. Now, level your tripod using the built-in Bubble Level. A level
equatorial wedge is not a requirement for astrophotography, but it
makes subsequent adjustments easier to make.
5. Once level, rotate the Altude Adjustment Knob unl the Altude
Indicator points at your latude on the Altude Scale. (The altude
of Polaris above the horizon at your locaon matches your latude).
If you don’t know your latude you can look it up in the Star
Adventurer mini Console under Sengs: Locaon.
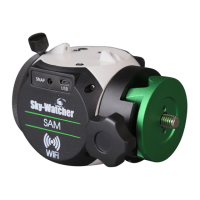
6. Next, aach SAM to the Accessory Mounng Plate using the 3/8-
inch dovetail adapter included with the wedge. The saddle on SAM
should be facing north with the Polar View Finder on top aimed
toward Polaris. You can illuminate the Polar View Finder by pressing
the power switch on SAM, or by seng it to ON inside the Star
Adventurer mini Console. While looking through the Polar View
Finder port, use the Altude and Azimuth Adjustment Knobs to
make ner adjustments unl you can see Polaris in the eld of view
of the Polar View Finder.
7. Now aach your camera gear being careful not to move the tripod
out of its polar aligned posion. Connect the SNAP camera control
cable between SAM and your camera. Point your camera at your
subject, then proceed to set up SAM via the Star Adventurer mini
Console.
Looking through the Polar View
Finder align SAM unl you can see
the star Polaris in the eld of view.
This simple polar alignment will be
adequate for most purposes.
Polaris .
Look through
the Polar View
Finder and align
on Polaris.
Azimuth
adjusters
Accessory mount-
ing plate inserted
into saddle.
20
 Loading...