the WiFi as described above.
Refer to the sidebar for a detailed descripon of all status indicators.
Seng Up SAM
Before SAM can be used for a parcular applicaon (e.g., astrophotography)
it needs to be mounted on a tripod, have the camera gear aached, and then
be congured using the Star Adventurer mini Console. The following secons
explain how to do these things for regular-exposure me-lapse photography,
long-exposure me-lapse photography and astrophotography.
Seng Up SAM for Regular-Exposure Time-Lapse Photography
Aaching SAM To Your Tripod
Set up your tripod according to the direcons it came with. Ensure it is stable
and set at the height you wish to use it.
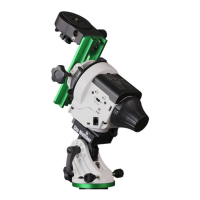
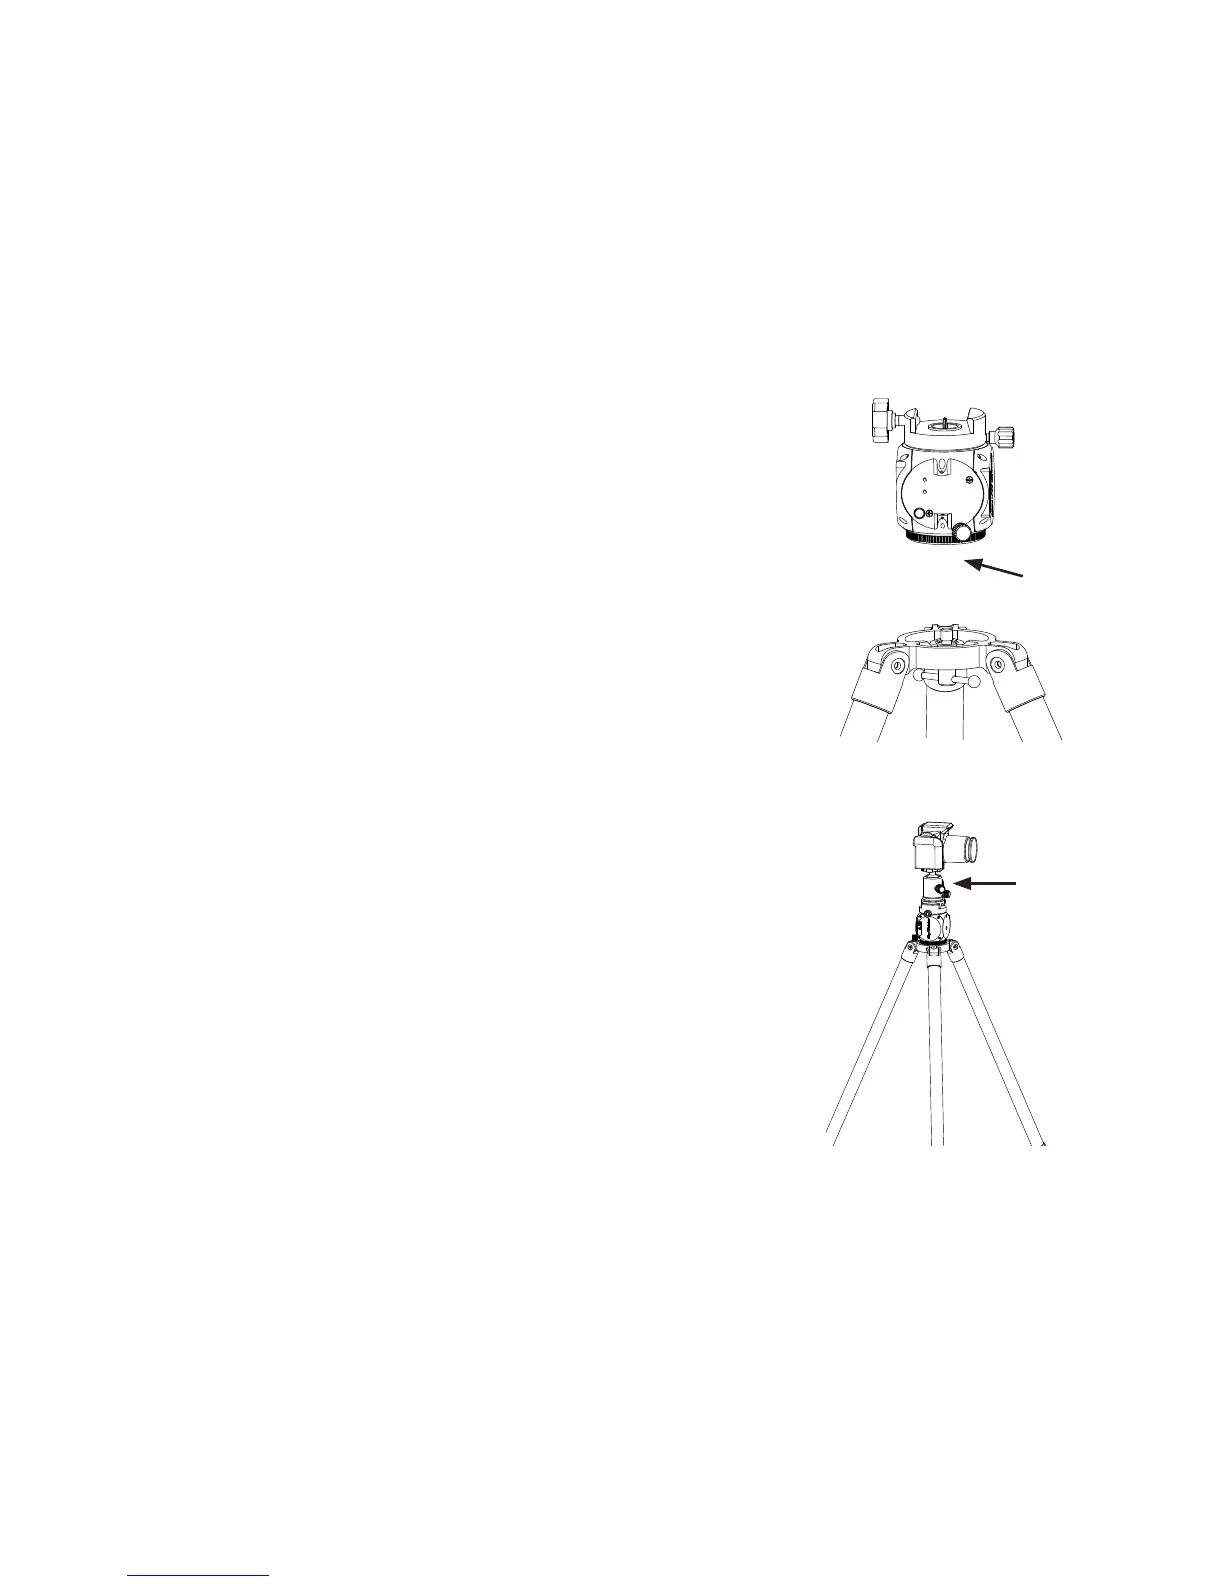
For regular-exposure me-lapse photography SAM is mounted directly to a
level tripod via the 3/8 inch tripod mounng bolt. Your tripod may have a ball
head or pan-lt head aached. We recommend you remove this and aach
SAM directly to the tripod using the 3/8 inch threaded base socket that is on
the side opposite the saddle (see top photo on this page).
Mounng Your Camera Gear
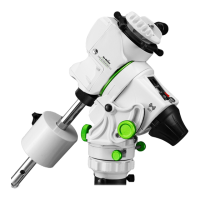
Now you can aach your camera gear (see boom photo). Note that an
oponal ball mount is shown. This is a highly recommended opon to give you
far more creave control when composing your shots.
Once SAM is aached to your tripod, and your camera gear is aached to SAM,
you are ready to start making videos with the Star Adventurer mini Console.
The last step is to aach SAM to your camera using the SNAP cable. One end
plugs into the port for a wired shuer remote on your camera and the other
into the SNAP port on SAM.
Aach to
tripod via
3/8 inch base
socket.
Gear mounted
using oponal
ball mount.
10

 Loading...