Page 10
BASIC LIGHTHEAD OPERATION
Visual Checks
Prior to start-up, a visual inspection of the following
points must be undertaken:
• Light emission from each lighthead
• Check for cracks, damaged or broken lens.
Avoid use if such damage is evident.
• Check the operation of the wall intensity
control.
• Check mechanical movements by rotating
and articulating each joint. Ensure proper op
eration and emittance of light.
• When LED change indicator is illuminated the
LEDs must be evaluated for replacement.
Refer to Maintenance Manual.
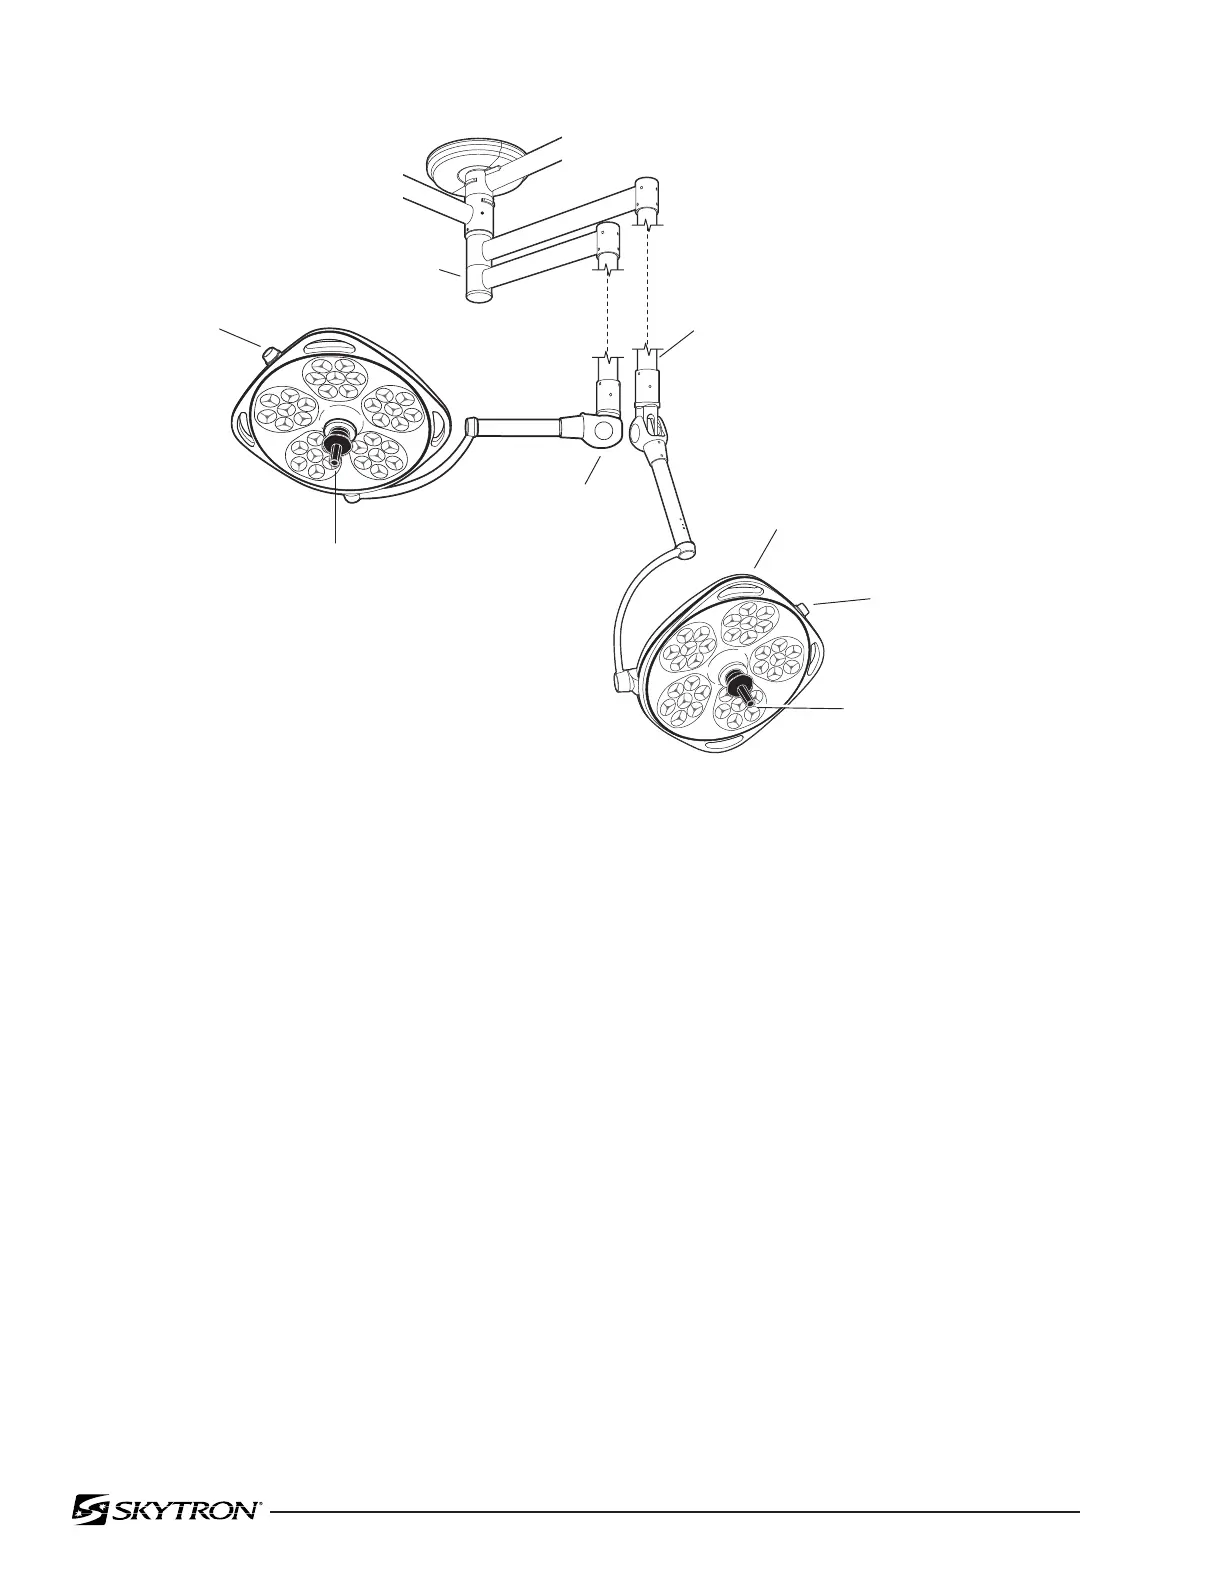
Figure 3. Dual Lighthead Fixture
Use the following instructions to operate the light
fixture:
1. Position the lightheads as required by grasp-
ing the lighthead positioning handles and moving
the lighthead to the desired position. See figure 3.
2. Turn the light fixture main power switch "ON"
at the wall mounted control box and select the
desired intensity for each lighthead as required.
See figure 4. The mid-range position will provide
adequate illumination for most procedures. Full
intensity will usually only be required for extreme
deep cavity cases.
3. The Aurora lighting fixture has selectable
color temperatures, 4,000k (soft white) or 4,500k
(bright white) to accommedate surgeon prefer-
ence. Press the color temperature change button to
select the desired color temperature. The button is
illuminated when 4,500k is selected.
VERTICAL
SUPPORT
TUBE
BALANCE
MECHANISM
FOCUS
KNOB
STERILIZABLE
FOCUS / POSITIONING
HANDLE
STERILIZABLE
FOCUS / POSITIONING
HANDLE
FOCUS
KNOB
RADIAL ARM
ASSEMBLY
POSITIONING
HANDLE

 Loading...


