Page 19
WARMING CABINET OWNER’S
• REV2
Chart
S
W
I
P
E
3
MM/DD/YYYY
HH:MM AMPM
2
1
4
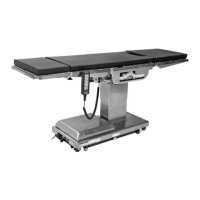
Figure 29. Chart Icon Screen
2. At Chart screen, touch (1)Labels to verify color
and values (2)Scroll arrows cycle through each
chart. Touch and draw a box around an area and
pull back to zoom in. Touch (3)X or Y axis to return
to previous setting. Zoom normal for full display.
Touch (4)Set to open setup (Figure 30).
MM/DD/YYYY
HH:MM AMPM
LabelsChart 1 Set
100.0
80.0
60.0
40.0
20.0
0.0
100.0
60.0
20.0
-20.0
-60.0
-100.0
L7:57AM 8:17AM 8:37AM 8:57AM
Single 1 PV - 95 F
1
3
4
MM/DD/YYYY
HH:MM AMPM
2
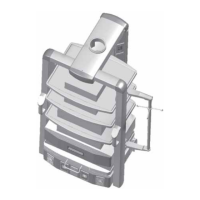
Figure 30. Chart Screen
3. At Chart screen, touch (1)On/O for data points
required. Select (2)data point, then (3)On/O
for Left or Right axis. Touch (4)Save (5)Axis to
adjust time and range. Right axis will not show
if nothing is assigned to it (Figure 31).
Select a button on the screen.
Left Right
Chart 1
SaveCancel
Single PV
(process variable)
Single SP
(setpoint)
Single %Out
(percent of output)
Axis
ON
OFF
ON
ON
Axis
1
4
5
2
3
Figure 31. Chart Set Up Screen
4. Touch box to open keypad. Key: (1)Time Period
(minutes) key 4 to 1440 minutes (2)Maximum
(3)Minimum − range of vertical axis. Slide: (4)
On/O Automatic Scale to automatically adjust
vertical axis as needed. Input Right values if
required (5)Return (Figure 32).
Select a button on the screen.
Automatic ScaleAutomatic Scale
Left Right
Axis 1
Return
Time Period (minutes)
Maximum
Minimum
Maximum
Minimum
100
0
100
-100
60
1
5
4
2
3
Figure 32. Vertical Axis Range
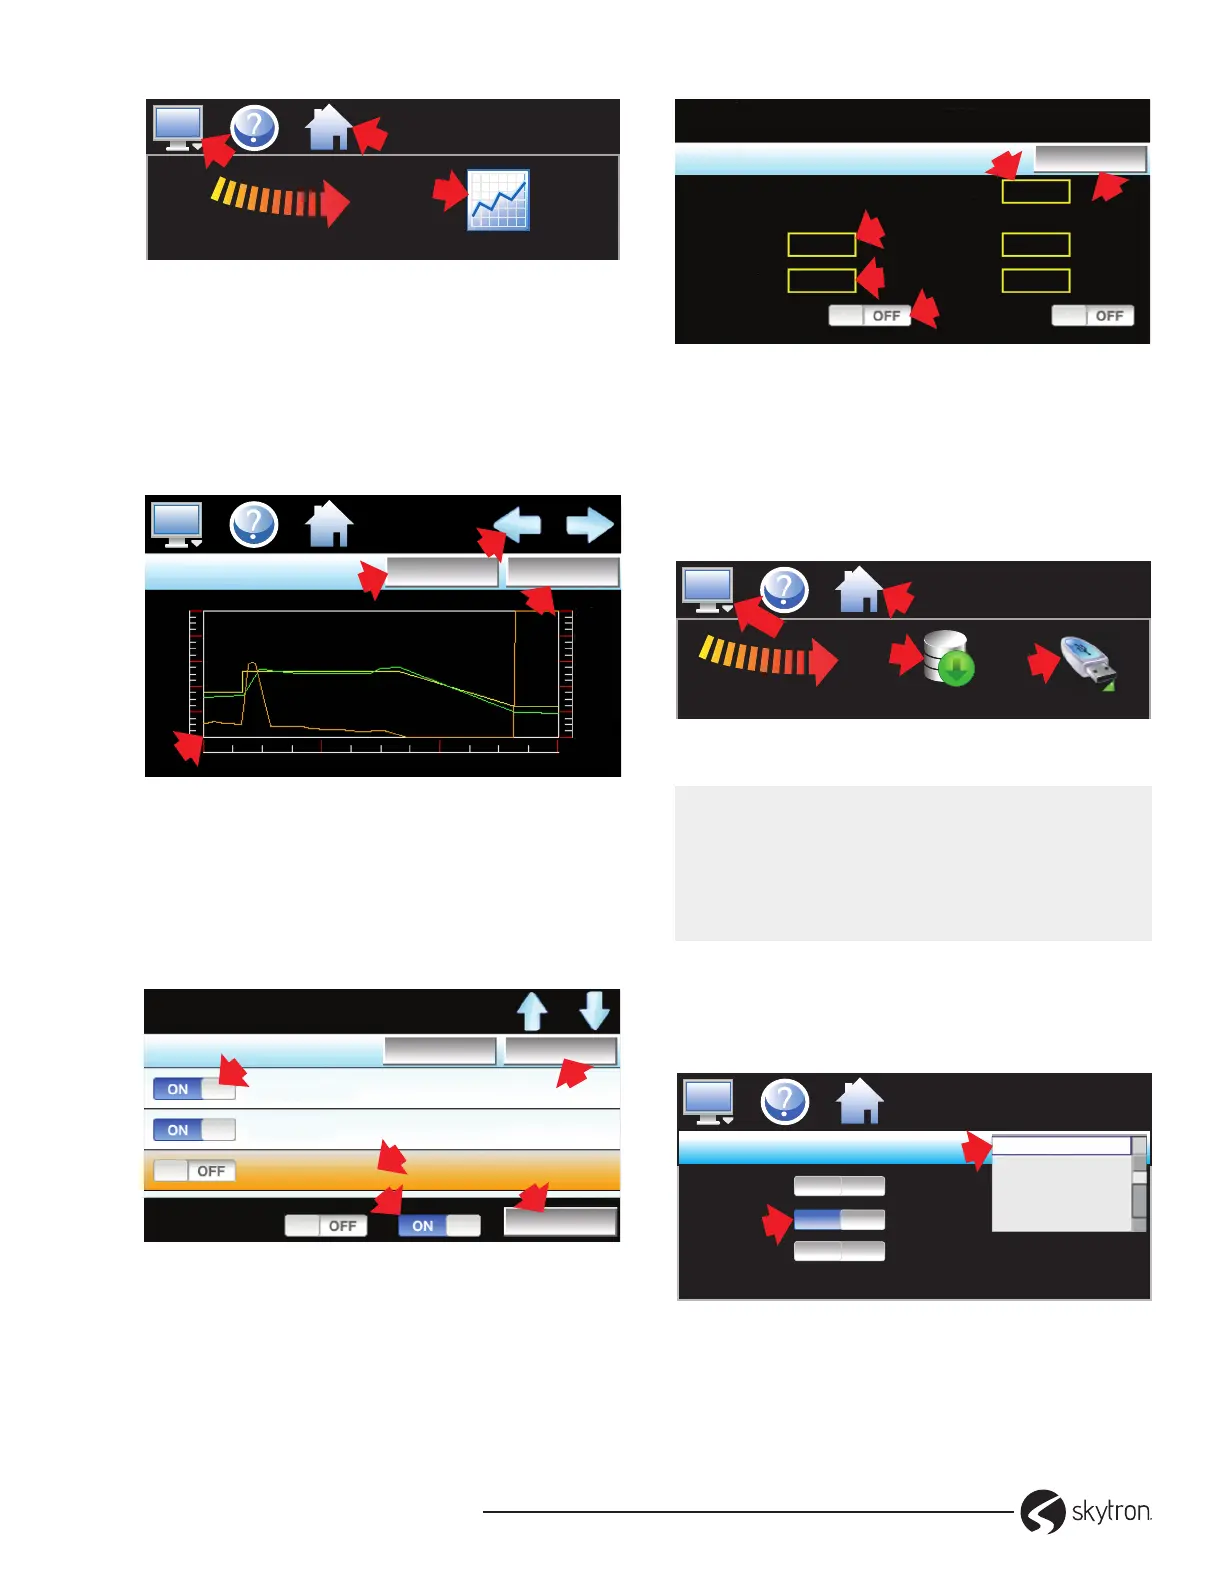
−USB File Transfer
1. Copy from and import les to internal memory.
Insert USB into cabinet front. Touch: (1)Home
(2)Monitor (3)swipe left-to-right, touch: (4) Data
(5) Monitor (6) USB icon (Figure 33).
S
W
I
P
E
3
MM/DD/YYYY
HH:MM AMPM
2
5
&
1
6
USB
Data
4
Figure 33. Data Menu - USB Icon
CAUTION:
All les are saved to internal memory (not
USB). To avoid loss of data, do not unplug
internal memory card when the interface is
powered up.
2. Touch: (1)Export Type drop-down arrow. Select:
Program, Alarm, Audit, or Data. (2)slide ON:
Copy, or Copy/Delete, or Import. Files copy to/
from USB with progress bar (Figure 34).
Save
USB
Copy
Copy/Delete
Import
Note: Memory Stick must be inserted for the file transfer
OFF
OFF
ON
Data
2
MM/DD/YYYY
HH:MM AMPM
1
Export Type
Program
Alarm
Audit
Data
▼
▼
▲
Figure 34. USB Screen
 Loading...