13 | INSTALLING YOUR SMART BOARD 685IX PREMIUM INTERACTIVE
WHITEBOARD SYSTEM
Completing your installation
Refer to the following procedures to finish installing your interactive whiteboard
system.
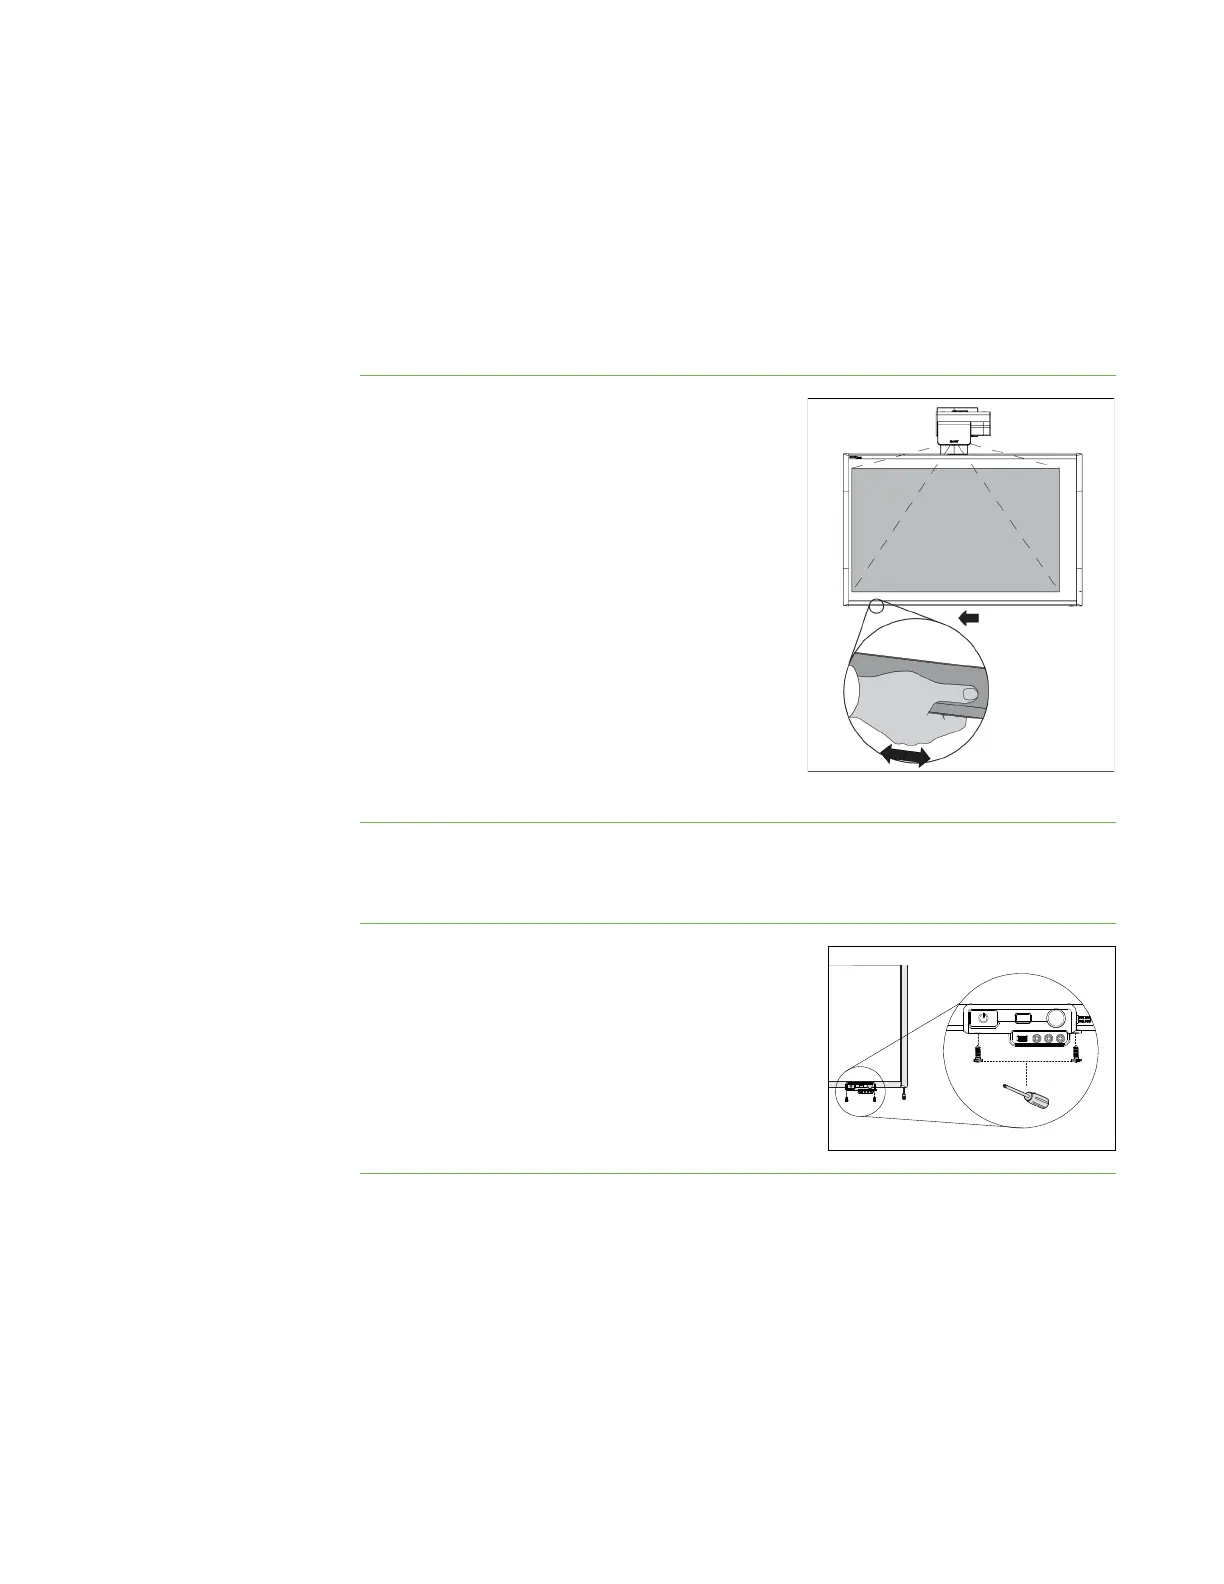
Aligning your interactive whiteboard with the projector
To align your
interactive whiteboard
with your projector
1. Plug the projector’s power cable into a wall
outlet, and then use the remote control to
turn on the projector.
2. Follow the procedures in the SMART Board
685ix Interactive Whiteboard System
Configuration and User’s Guide to align the
projector.
3. Slide the interactive whiteboard from side to
side, while holding the bottom frame of the
interactive whiteboard, to center the board
on the projected image.
4. Tighten the bolts holding the pen tray
brackets to the wall mount.
Attaching the ECP module
To attach the ECP module 1. Using the two screws you removed in the
procedure To install the ECP on page 6, attach
the ECP to the bottom frame of the interactive
whiteboard.
2. Plug the USB B connector into the controller
module’s captive USB cable connector.
 Loading...