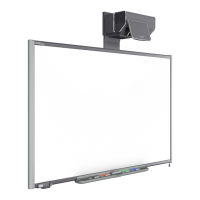
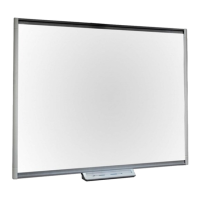
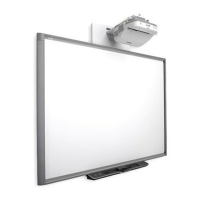
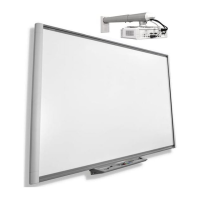
10 | INSTALLING YOUR SMART BOARD 685IX PREMIUM INTERACTIVE
WHITEBOARD SYSTEM
4. Close the wire management clip.
5. Connect the other end of the audio cable from the projector mount to the main
speaker.
6. Route the speaker cable from the main speaker to the second speaker through
the oval openings in the top right and top left of the wall mount, and then connect
it to both speakers.
7. Optionally, you can connect a USB cable from the computer to the main speaker.
NOTE
If you connect a USB cable directly from the computer to the speaker, you
can’t control the audio volume with the projector’s remote control.
8. Coil up and secure any excess cable inside the wall mount frame.
Installing additional cables
If you wish to connect your interactive whiteboard system to a network, a room control
system or other peripheral audio-visual devices, connect them now using the
techniques outlined in the previous procedures. Ensure that all cables are routed
through openings in the sides or bottom of the wall mount frame.
Installing the UX60 projector
WARNING
Two people are required to safely mount your UX60 projector on the wall mount
because it could be too heavy for one person to safely maneuver.
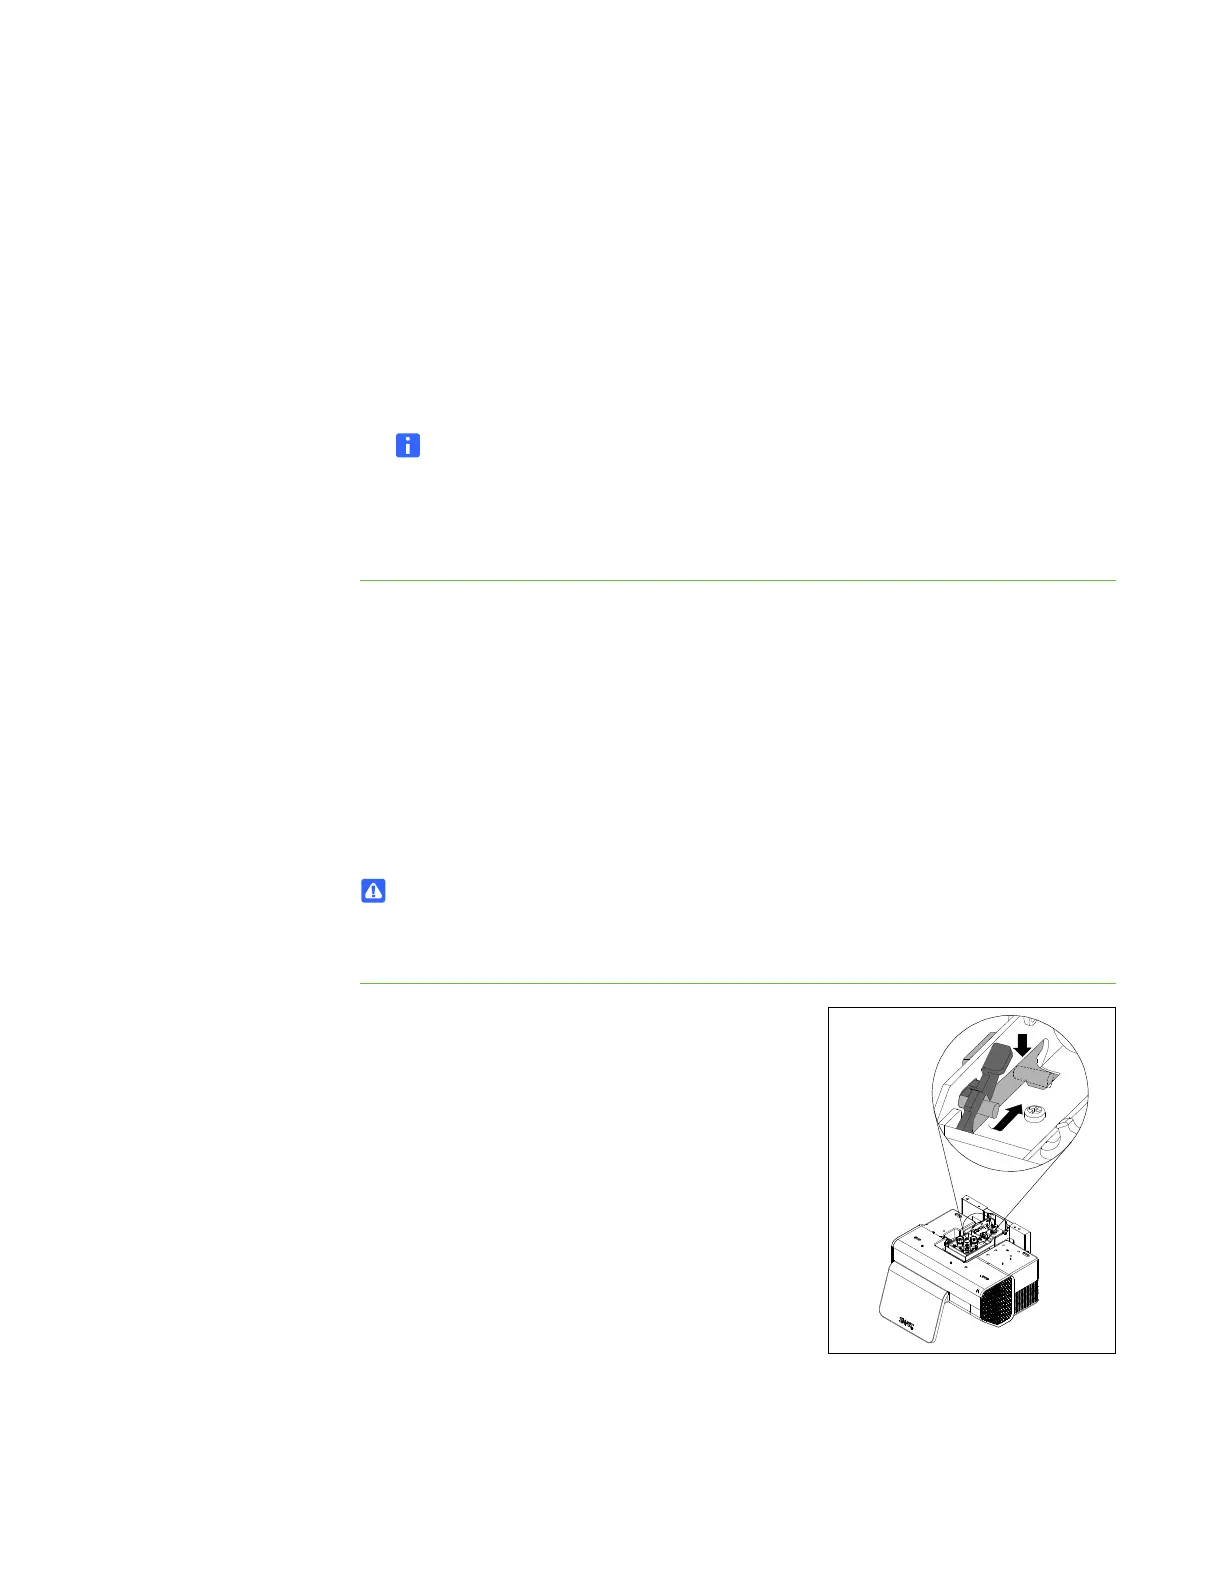
To install the UX60
projector
1. With the help of another person, fully insert the
projector adjustment module into the wall
mount bracket guide pins.
You hear a click when the adjustment module is
fully inserted and the spring is locked.