the wall. It is important to seal the hole to prevent any drafts that might affect the internal
temperature sensor. Pull the control wires through the large opening in the thermostat
subbase. Next, level and mount the subbase on the wall using the supplied anchors and
screws. (Figure 2)
Do not over tighten the mounting screws as the subbase may warp causing the
improper seating of the thermostat
connecting pins to the terminal blocks.
Use a properly sized screwdriver and
back each screw terminal out (counter
clockwise) before landing each wire to its
dedicated terminal. Do not over tighten
the terminal screws.
Check to ensure that all wires are landed
correctly and dressed properly to prevent
any shorts.
Refer to Typical System Wiring Diagrams
in this manual for proper wiring.
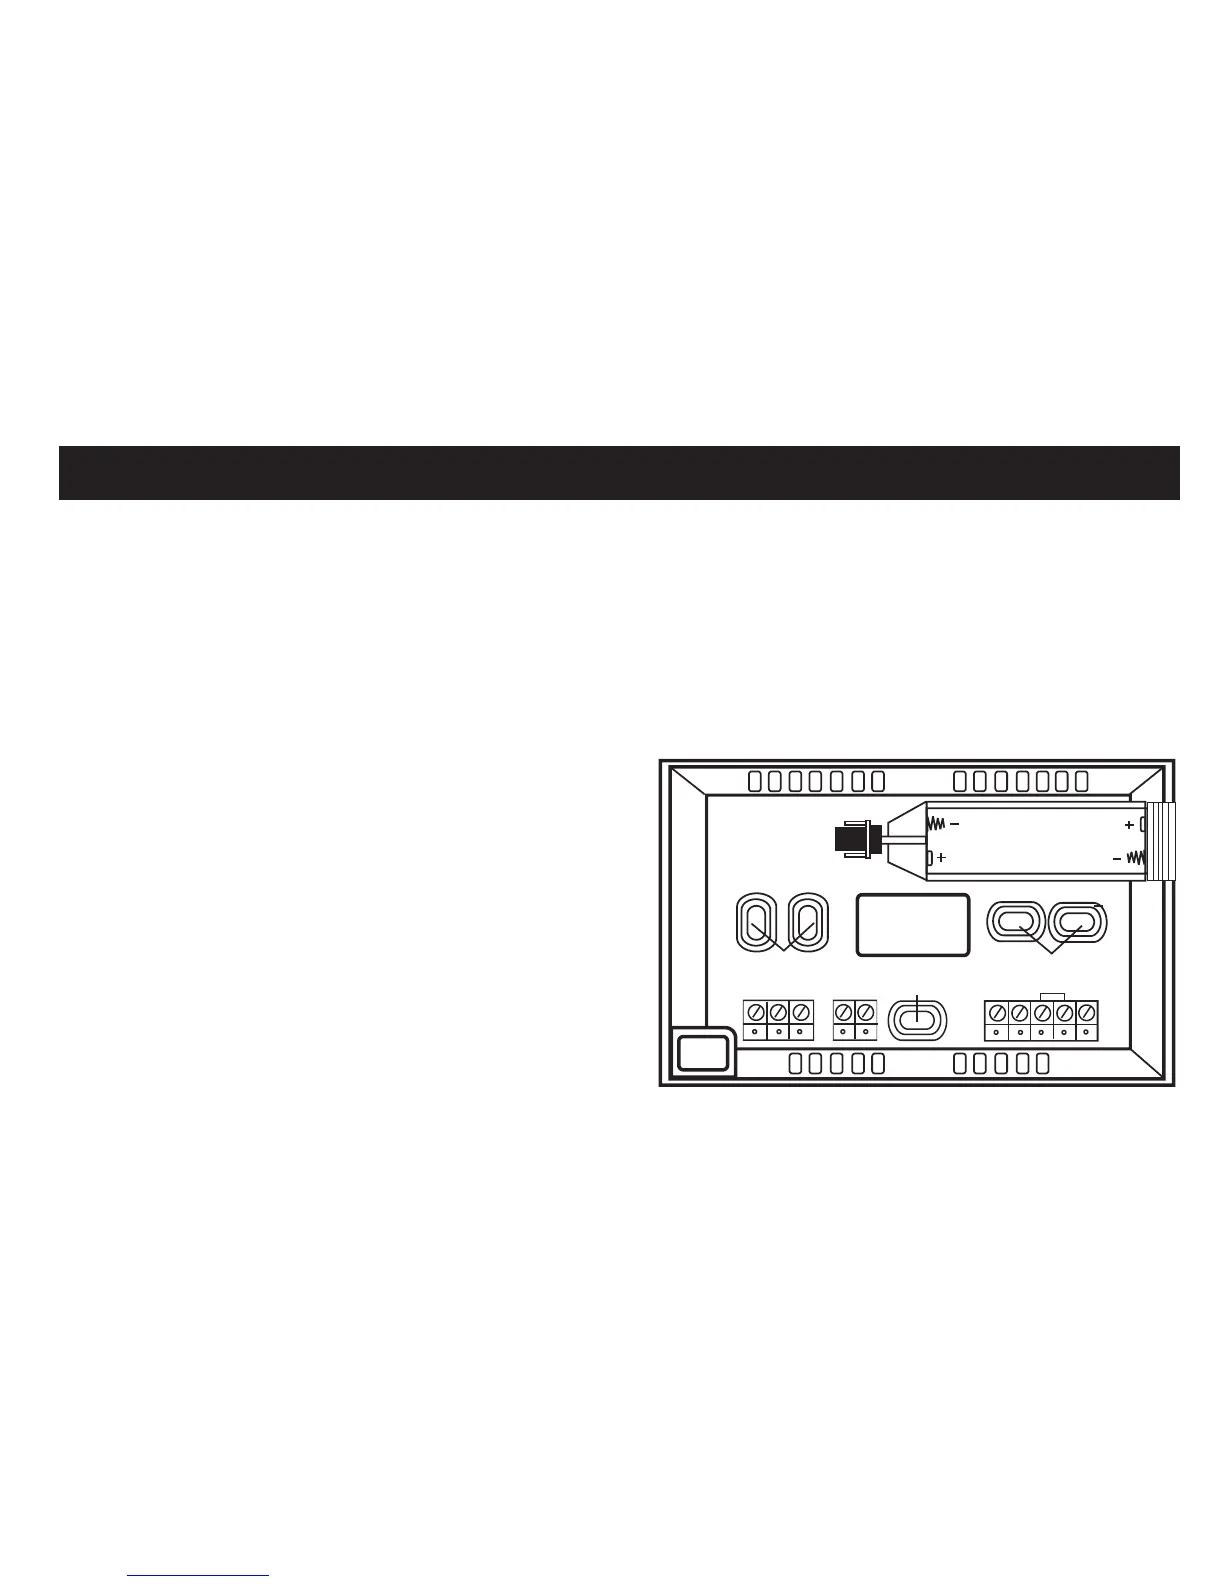
FIGURE 2
Out SC In A W
Y G
Com
R
C
Smart Temp Aust P/L
www.thermostat.com.au
WIRE
ACCESS
HOLE
BATTERY
COMPARTMENT
MOUNTING HOLES
MOUNTING
HOLE
MOUNTING HOLES
INSTALLING THE THERMOSTAT
9