CHAPTER 4
USING THE INTERACTIVE WHITEBOARD
17 smarttech.com/kb/170410
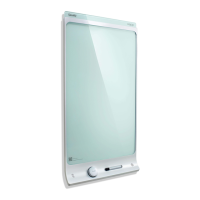
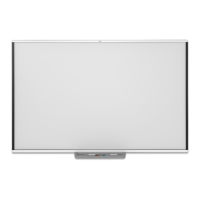
To customize the pen tray button settings
1. Press the SMART software icon in the Windows notification area or Mac Dock, and then select
SMARTSettings.
SMART settings opens.
2. Press SMART Hardware Settings and select your SMARTBoard interactive whiteboards.
3. Select Pen and Button Settings from the drop-down list, and then select the button you want
to customize.
4. Follow the on-screen instructions.
For more information about customizing settings, open the online Help by pressing the
SMARTsoftware icon in the Windows notification area or Mac Dock, selecting Help Center, and
then selecting SMART Hardware Settings.
Using SMARTInk
If SMARTInk is installed on the connected computer, the dynamic
(floating) toolbar for SMART Ink appears on the screen. You can use
this toolbar to change the pen’s color, thickness or other properties
temporarily, or use some of SMART Ink’s tools such as screen capture,
spotlight, screen shade, and so on.
To learn more about using SMART Ink and its toolbar, visit the SMART
Ink support page. Here are a few quick links to get you started:
l Turning SMART Ink on or off
l Open the toolbar
l Close the toolbar (keep SMART Ink on, but hide the floating toolbar)
l Using presentation tools, such as Spotlight, Magnifier, and Screen Shade
NOTE
SMARTNotebook software doesn’t display the SMARTInk toolbar because it includes its own
ink tools that you can use to write directly in your file.
Using gestures, dual touch, and dual write
The interactive whiteboard supports multitouch gestures, dual touch and dual write with a Windows
or Mac computer. (Some gestures might not work in all operating systems.)