I
NSTALLING
THE
S
WITCH
3-6
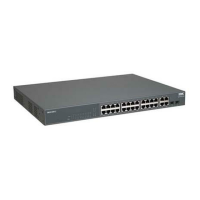
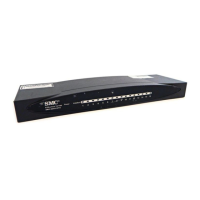
3. If installing a single switch only, turn to “Connecting to a Power
Source” at the end of this chapter.
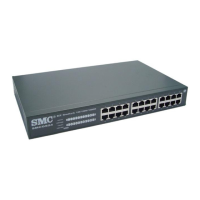
4. If installing multiple switches, mount them in the rack, one below the
other, in any order.
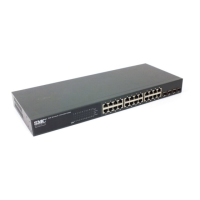
5. If also installing an RPS, mount it in the rack below the other devices.
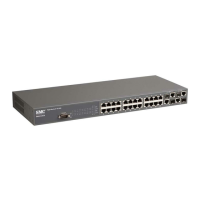
Desktop or Shelf Mounting
1. Attach the four adhesive feet to the bottom of the first switch.
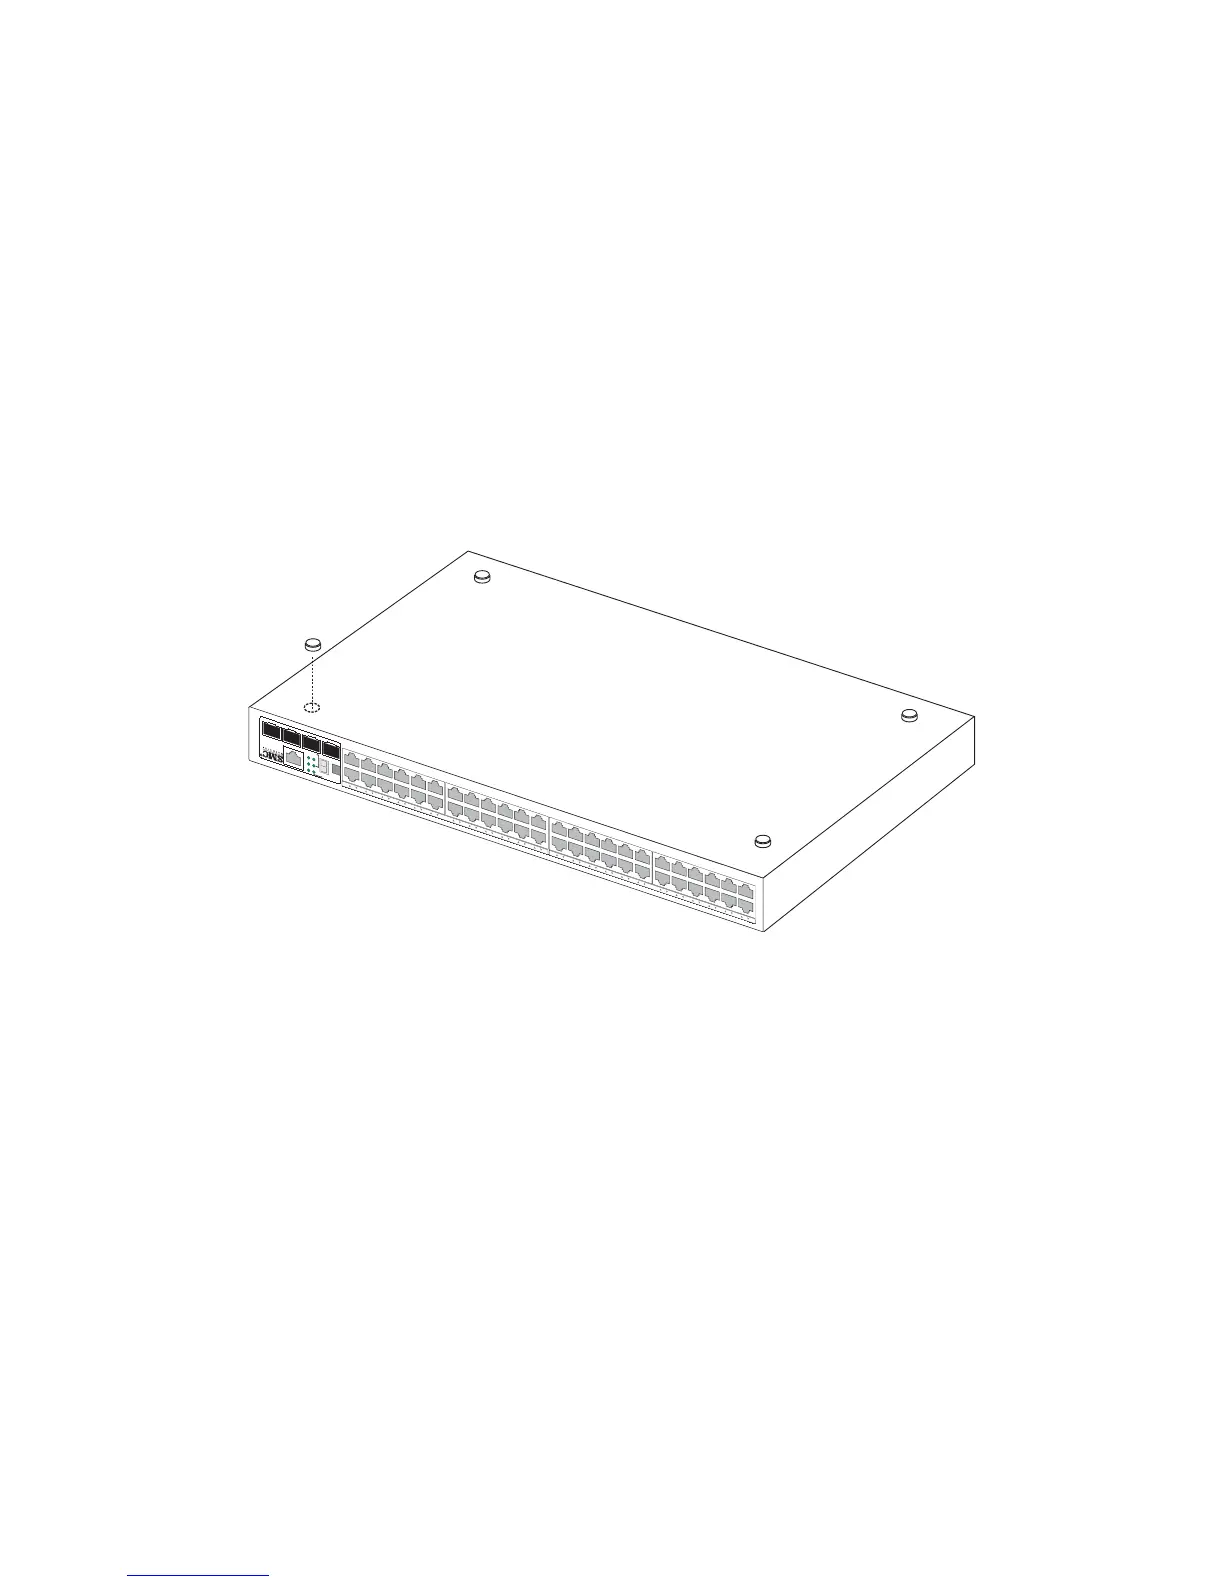
Figure 3-4 Attaching the Adhesive Feet
2. Set the device on a flat surface near an AC power source, making sure
there are at least two inches of space on all sides for proper air flow.
3. If installing a single switch only, go to “Connecting to a Power Source”
at the end of this chapter.
4. If installing multiple switches, attach four adhesive feet to each one.
Place each device squarely on top of the one below, in any order.
5. If also installing an RPS, place it close to the stack.
1
2
3
4
5
6
7
8 9
10
11
12
13
14
15
16
17
18
19
20
21
22
23
24
37
38
39
40
41
42
43
44
45
46
47
48
25
26
27
28
29
30
31
32
33
34
35
36
Master
Select
Stack ID
45 46
47
48
Console
Pwr
RPS
Diag
Stack Master
TigerStack II
10/100/1000
8
8
4
8
M
Module
Stack Link
 Loading...